

Microsoft offers more than 200 cloud services. Azure Automation is a very powerful service in the Microsoft Cloud to automate other services.
For example Azure Automation can help in order to automate
- Auto space provisioning/ Backup Restore space
- VM’s availability in specific hours (On Prem/Cloud)
- Notify users of underutilized VMs and perform remediation
- Alert on a VM then turn on tracing, collect logs, upload to Azure Storage and make available in Visual Studio for troubleshooting
- Deploy a new service to Azure and configure the end points for CPU and Memory alerts
There are many things you can automate but below I will automate one scenario
Scenario: Azure Dev VM's required only in office hours (9:00 AM - 5:00 PM). That automation will save your VM consumption time significantly.
You don't need to Start/Stop manually VM's daily.
Here is step by step guide
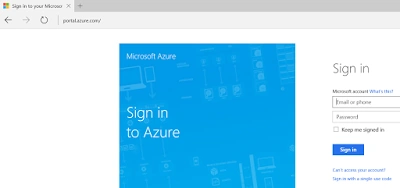
- Open Azure Portal with URL https://portal.azure.com
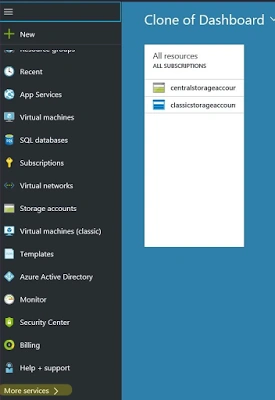
- Click on more services
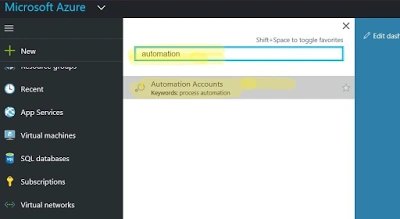
- Search with name "Automation" you will found (Automation Account)
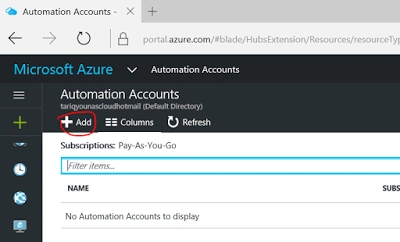
- Click "Add" to create new "Automation Account"
- Provide necessary details like name, Subscription, Resource Group, Location etc as in example its "TariqAzureAutomationAccount"
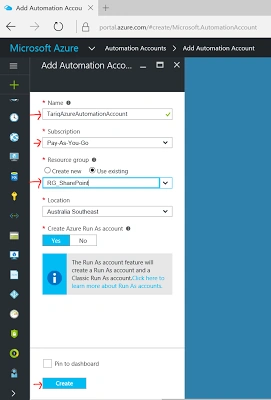
- After you press create button you can see bell sign for status -- either created or not yet
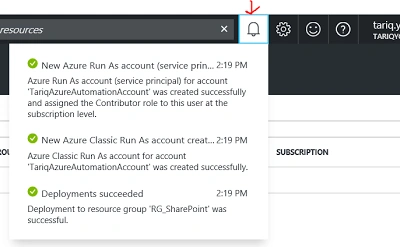
- In below image Automation Account created

- Click on created automation account for details and here you can see "RunBooks", Click on "RunBooks"
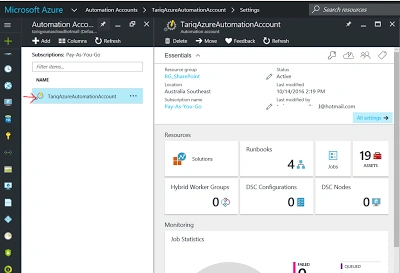
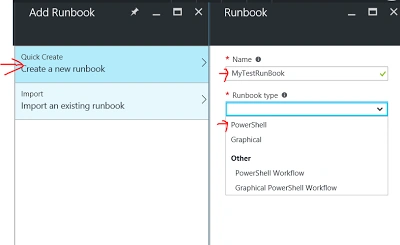
- This will redirect to page shown below to create new "RunBook"
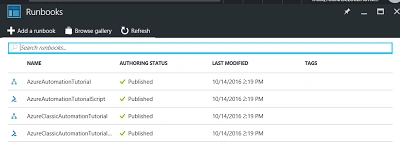
- Provide details like Name, Type as shown below
- After some seconds you can see "RunBook" created
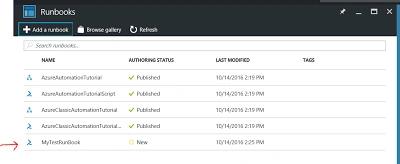
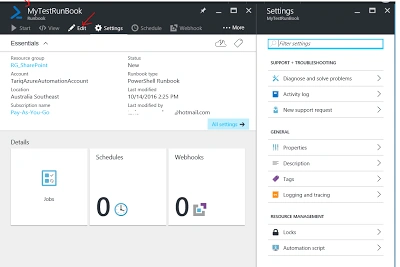
- Click on newly created RunBook as in my example is "MyTestRunBook", click Edit button
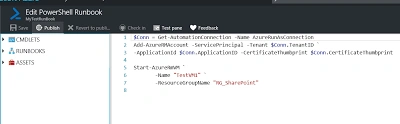
- This is called Canvas where you can write code, here I pasted Connection String. This will handle authentication with Automation Run as account
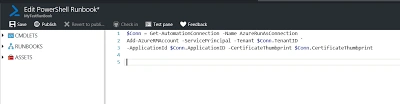
$Conn = Get-AutomationConnection -Name AzureRunAsConnection
Add-AzureRMAccount -ServicePrincipal -Tenant $Conn.TenantID `
-ApplicationId $Conn.ApplicationID -CertificateThumbprint $Conn.CertificateThumbprint - On the left side you can find PowerShell commands available for further actions.
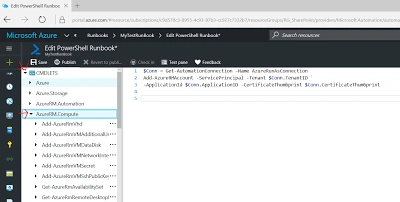
- In my example we want to start Azure Development VM, so selected "Start VM" command by doing right click and adding to canvas.
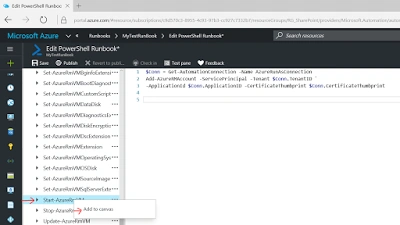
- This will look like this.
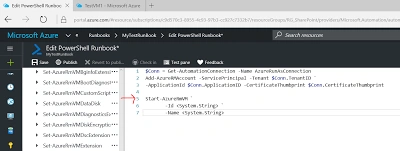
- Put your VM name and Resource Group Name as shown below.
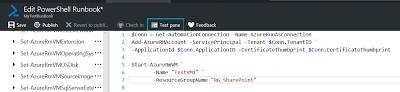
- After saving, click on start
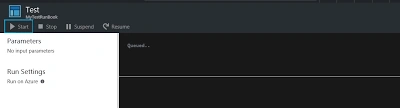
- After some moments this will show you status like below
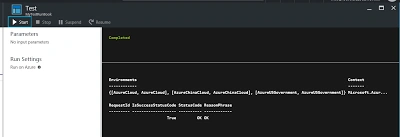
- Now save and click Publish
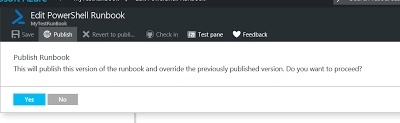
- Once you click Publish option it will give you an alert
- Window will look like below and you can set schedule for your job
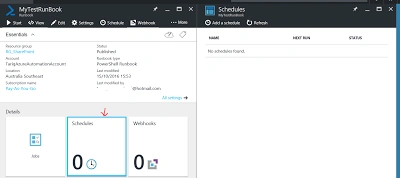
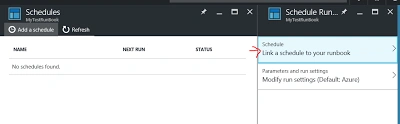
- Click on Schedule in order to create new schedule
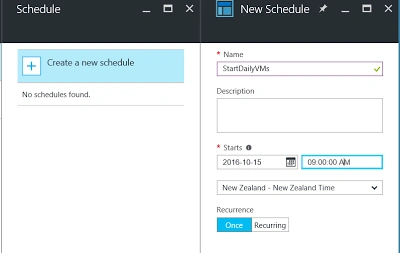
- In the below example name of schedule is "StartDailyVMs" and start time is 9:00 AM
- You can see schedule has been created and "Status" is On
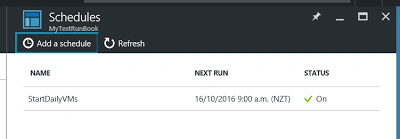
- Schedule is already done and job will be executed next day morning at 9:00AM but here you run job forcefully also
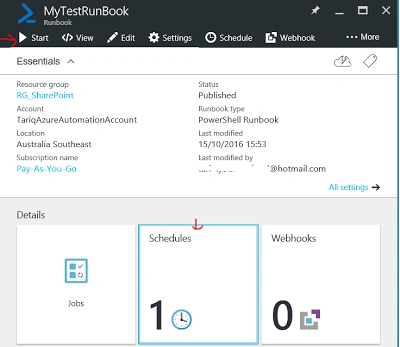
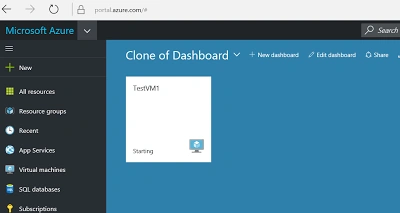
- After job I can see the status of my existing virtual machine "TestVM1" is changed from "Stopped" to "Starting"
Mudassar HassanPosted Nov 17, 2016, 12:42 AM
Very detailed explanation of developing virtual machine in azure
Muzaffar HussainPosted Nov 12, 2016, 6:01 AM
I really appreciate your article. it is very helpful.
Prasanna MuraliPosted Oct 22, 2016, 12:10 PM
Nice post..
Shamim UddinPosted Oct 17, 2016, 12:02 PM
Nice