

If your SharePoint farm still lives in your own datacenter, you can still bring it under Microsoft Purview's data governance. The Purview Information Protection scanner runs on a Windows Server in your environment. It crawls your SharePoint libraries, finds sensitive content, and can apply sensitivity labels to it, all managed from the cloud portal.
This guide walks through the full setup from start to finish, including the SQL permissions that usually trip people up. Server names like BSP-SP01 and the cluster name BSP-Purview are examples, so replace them with your own.
How it works
Component | Role |
|---|---|
Scanner cluster (Purview portal) | A logical group of scanner nodes with shared settings |
Scanner node (your server) | The Windows service ( |
Content scan job (Purview portal) | Defines what to scan, how, and with which labeling policy |
Repository | A SharePoint site, library, or file share added to the job |
SQL Server database | Stores the scanner's configuration and results |
Entra ID app registration | Lets the scanner authenticate to your tenant |
Prerequisites
A Windows Server to host the scanner. This can be a SharePoint server or a separate one with network access to the farm.
A SQL Server instance for the scanner database. Existing SharePoint SQL servers are commonly reused.
A service account (a domain account) to run the scanner service.
Local administrator rights on the scanner server.
A Purview/Entra role that can manage the Information Protection scanner.
Sensitivity labels already published in your tenant.
Step 1: Install the Purview Information Protection client
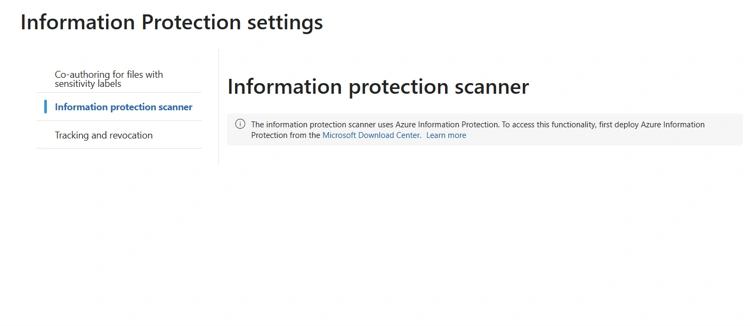
Download the Microsoft Purview Information Protection client from the Microsoft Download Center and install it on the scanner server.
Then verify that the PowerShell module is available:
Get-Module -ListAvailable PurviewInformationProtection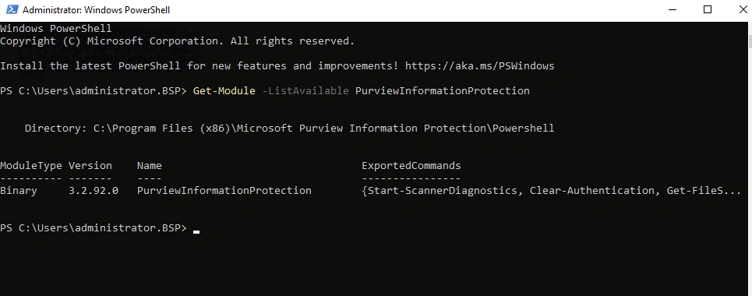
If the module is listed, the installation worked. If nothing is returned, close and reopen PowerShell, or reinstall the client.
Step 2: Check your SharePoint version
The scanner supports several SharePoint on-premises versions. Confirm which one you are running. From the SharePoint Management Shell:
(Get-SPFarm).BuildVersion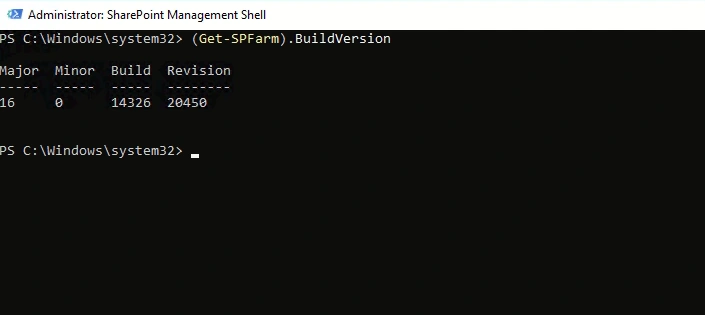
Compare the build number against Microsoft's current supported-version list for the scanner. Running a recent cumulative update is recommended.
Step 3: Identify your SQL Server and instance
The scanner needs a SQL Server instance for its database. To see which SQL servers your SharePoint farm already uses:
Get-SPDatabase | Select Name, Server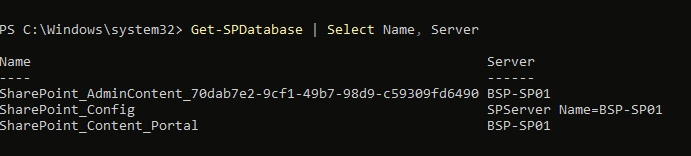
How to get the exact SQL Server / instance name
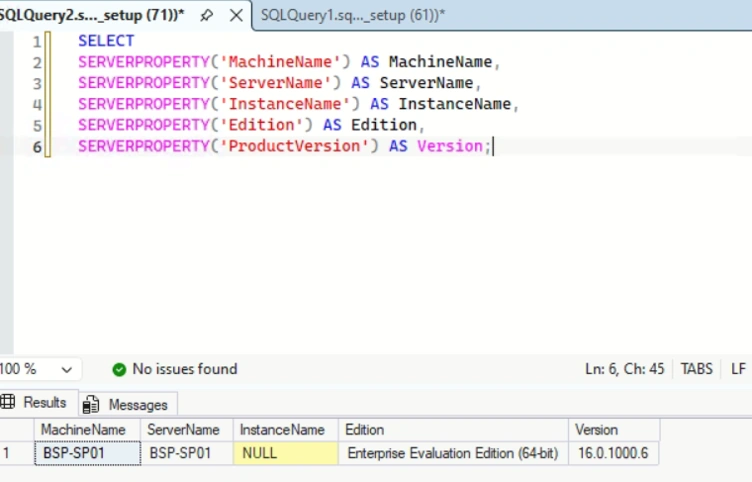
In SQL Server Management Studio (SSMS), open a New Query and run:
SELECT
  SERVERPROPERTY('MachineName')    AS MachineName,
  SERVERPROPERTY('ServerName')     AS ServerName,
  SERVERPROPERTY('InstanceName')   AS InstanceName,
  SERVERPROPERTY('Edition')        AS Edition,
  SERVERPROPERTY('ProductVersion') AS Version;
How to read the result:
ServerNameis the value you pass to-SqlServerInstance.If
InstanceNameisNULL, it is the default instance, and you use just the server name (for exampleBSP-SP01).If it has a value, use
ServerNamein the formSERVER\INSTANCE.
Step 4: Create the scanner cluster in the Purview portal
Sign in to the Microsoft Purview portal.
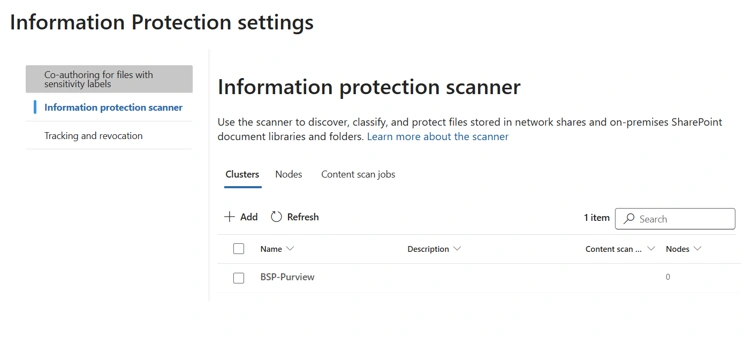
Go to Information Protection → Scanner.
Under Clusters, create a new cluster (for example
BSP-Purview).
The cluster name must match exactly what you pass to Install-Scanner later.
Step 5: Create a content scan job
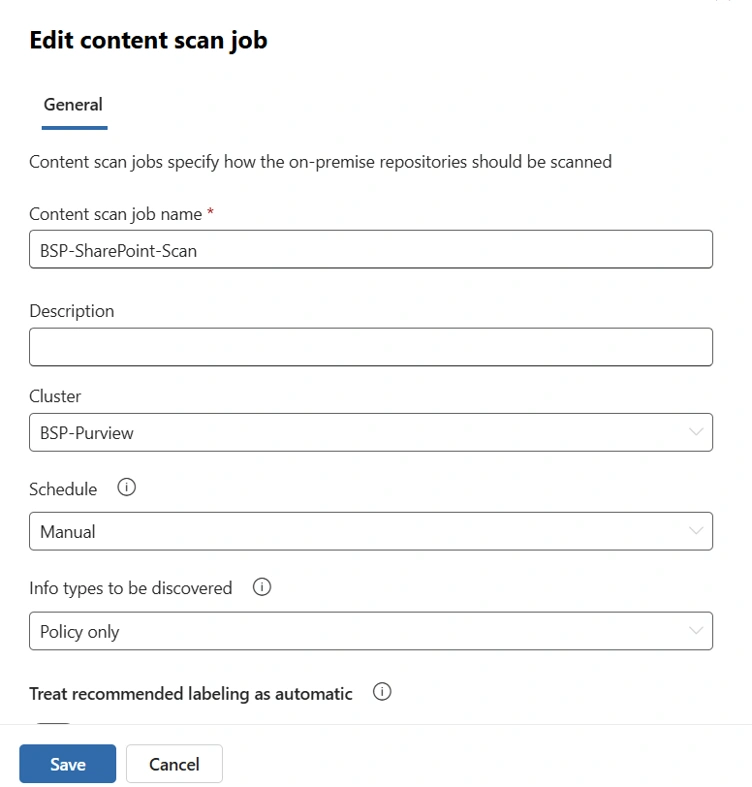
Still in the portal, create a Content scan job under the scanner section. Typical settings for a first run:
Schedule: Manual (so you control when it runs)
Info types to be discovered: All
Treat recommended labeling as automatic: Off for now
Enforce sensitivity labeling policy: Off for the initial discovery pass
Cluster: the one you created in Step 4
Starting with discovery only (no enforcement) is the safest approach. You can see what the scanner finds before it changes any files.
Step 6: Prepare SQL permissions (the step most people miss)
Install-Scanner creates the scanner database, so the account running the installation needs high SQL privileges temporarily.
In this example, the installing account is BSP\Administrator. In SSMS:
Go to Security → Logins and create a new login for
BSP\Administrator(Windows authentication) if it does not already exist.Under Server Roles, assign sysadmin.
Tip:
sysadminis only needed during installation. After the scanner is installed, you can remove it and leave the scanner service account with the minimum rights it needs on the scanner database (typicallydb_owneron that database only).
Step 7: Install the scanner
Open PowerShell as Administrator, under the account you gave sysadmin rights. First, capture the service account credentials:
$ScannerCred = Get-CredentialEnter the domain service account that will run the scanner service. Then run:
Install-Scanner `
  -ServiceUserCredentials $ScannerCred `
  -SqlServerInstance "BSP-SP01" `
  -Cluster "BSP-Purview"
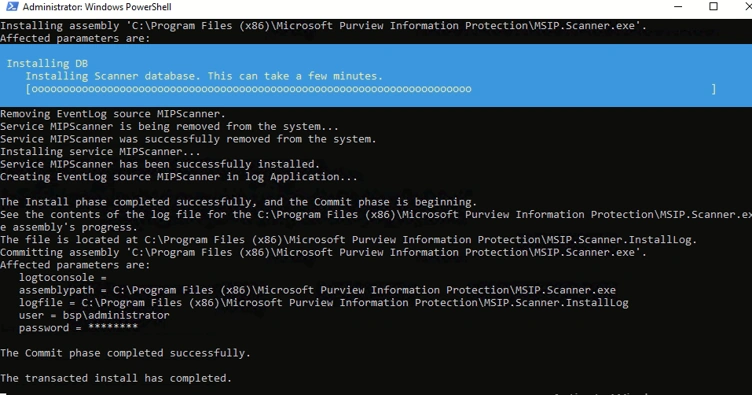
This command:
Creates the scanner database on your SQL instance
Installs the MIPScanner Windows service
Associates the node with your cluster
Check that the service exists:
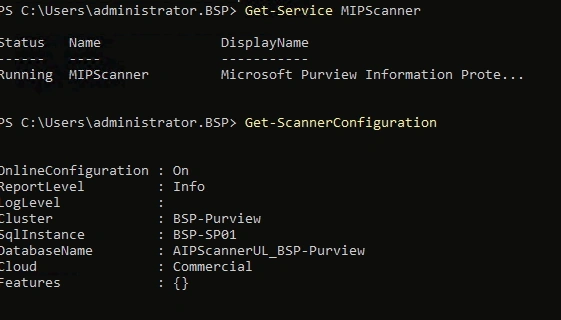
Get-Service MIPScannerIn this stage the service may be stopped. It still needs authentication. Then try the Step 8.

Your progress checklist
Install Scanner
Scanner node registers
Content scan job
Entra authentication
Add SharePoint repository
Discovery scan
Step 8: Authenticate the scanner with Entra ID
The scanner must authenticate to your Microsoft Entra tenant to download labels and policies.
In the Entra admin center, register an application for the scanner.
Note the Application (client) ID, Tenant ID, and create a client secret.
Grant the required API permissions as described in Microsoft's scanner documentation, and grant admin consent.
Then run, with your own values:
Set-Authentication `
  -AppId "<application-id>" `
  -AppSecret "<client-secret>" `
  -TenantId "<tenant-id>" `
  -DelegatedUser "<[email protected]>"
On success you will see:
Acquired access token.Restart the service so it picks up the new token, then check it:
Restart-Service MIPScanner
Get-Service MIPScanner
The status should now show Running.
Step 9: Verify the scanner configuration
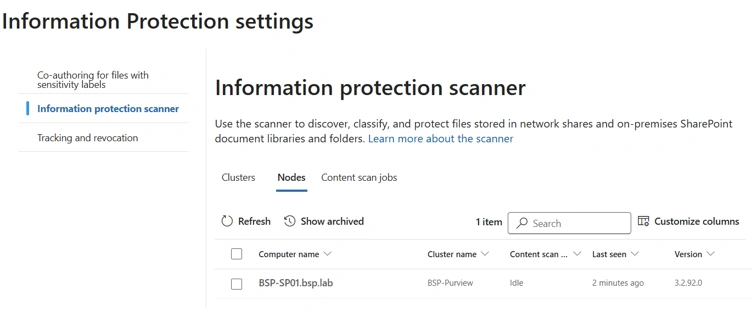
Get-ScannerConfigurationThis confirms the scanner can read its settings from the cloud. Back in the Purview portal, open your cluster. Your node should now appear as registered.
Step 10: Add your SharePoint repository
In the portal, open your content scan job.
Select Repositories → Add.
Enter the SharePoint path, for example:
Site:
http://sp01/sites/financeLibrary:
http://sp01/sites/finance/Shared DocumentsWeb application:
http://sp01
Save the repository.

SharePoint permissions for the service account
The scanner service account needs access to the content it scans:
Read access for discovery only
Full Control (or equivalent rights) if you want it to apply labels or protection and modify files
Grant these via a SharePoint web application policy or site-level permissions.
Step 11: Run your first discovery scan
You can start the scan from the portal using Scan now, or from PowerShell:
Start-ScanMonitor progress with:
Get-ScannerStatusWhen it completes, review the results in the portal's reports and the local logs, which are normally under %localappdata%\Microsoft\MSIP\Scanner\Reports.
Troubleshooting
Symptom | Likely cause | Fix |
|---|---|---|
| Installing account lacks | Add the login and |
Cannot connect to SQL | Wrong instance name or firewall | Re-run the SSMS query and test connectivity |
Service won't start | Authentication not completed | Run |
Node not shown in portal | Cluster name mismatch or no token | Verify the |
Files not scanned | Missing SharePoint permissions | Check the service account's rights on the repository |
Scan finds nothing | Wrong repository path or no matching info types | Confirm the URL and the info types in the job |
Note: You can check the scanned file via Activity Explorer under file discovered.
Join the conversation! Your thoughts help the community grow.