

Introduction
We will be creating a new list by calling the web service _vti_bin/lists.asmx. I have created a custom list named “List Templates” with the following values. Please refer to SPListTemplateType enumeration for list templates and their IDs.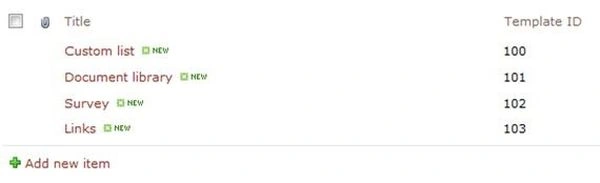
I have created a custom list named “Manage Lists” with the following columns.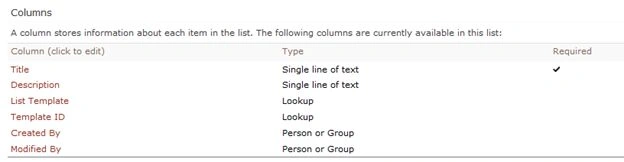
The List Template column is a lookup column from the List Templates list and Template ID is a projected field.
Create list workflow
- Navigate to the Manage Lists list.
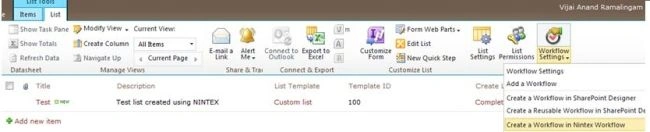
- Click on the List tab and then click on Workflow Settings.
- Click on Create a Workflow in Nintex Workflow.
- Click on Cancel.
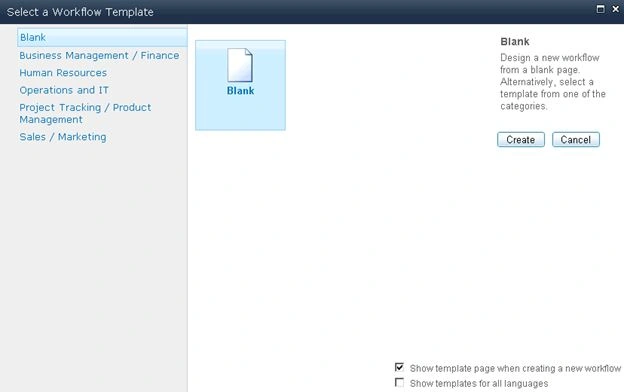
- Drag and drop the Call web service action from the Integration section.
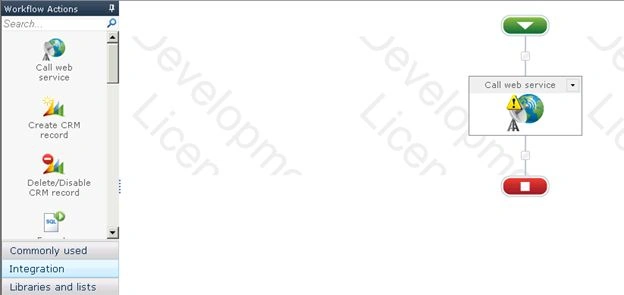
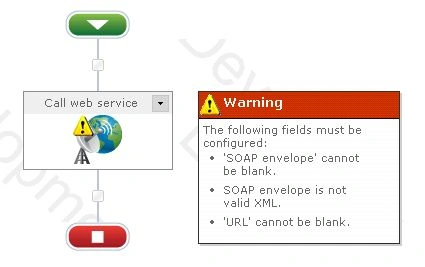
- You will see the warning symbol in the workflow action, clicking on that will show the following warning message.
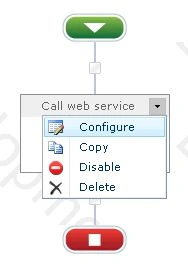
- Click on Configure from the drop down list in the Call web service action.
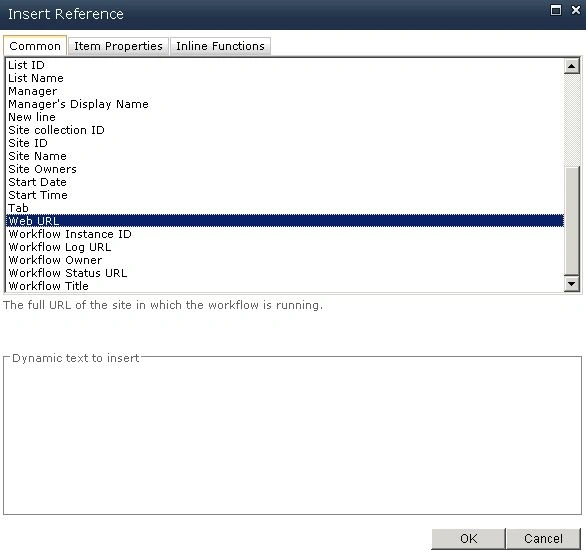
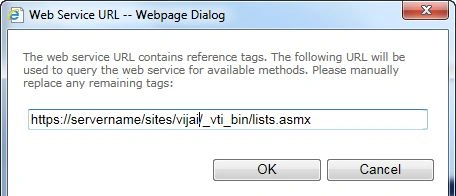
- Click on the Insert Reference button for the URL column and then click on the Common tab. Select Web URL and then click on Ok.
- Append /_vti_bin/lists.asmx in the URL column.
- Enter the User Name and Password to call the web service and then click on the Reference button.
- Click Ok.
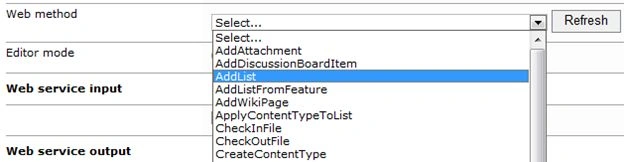
- All the web service methods will be populated. Select AddList web method that will be used to create a new list.
- The Web Service Input section will be populated for passing the input values to the web method.
- Click on the Insert Reference button for the listName column and then click on the Item Properties tab. Select Title and then click on Ok.
- Click on the Insert Reference button for the description column and then click on the Item Properties tab. Select Description and then click on Ok.
- Click on the Insert Reference button for the templateID column and then click on the Item Properties tab. Select Template ID and then click on Ok.
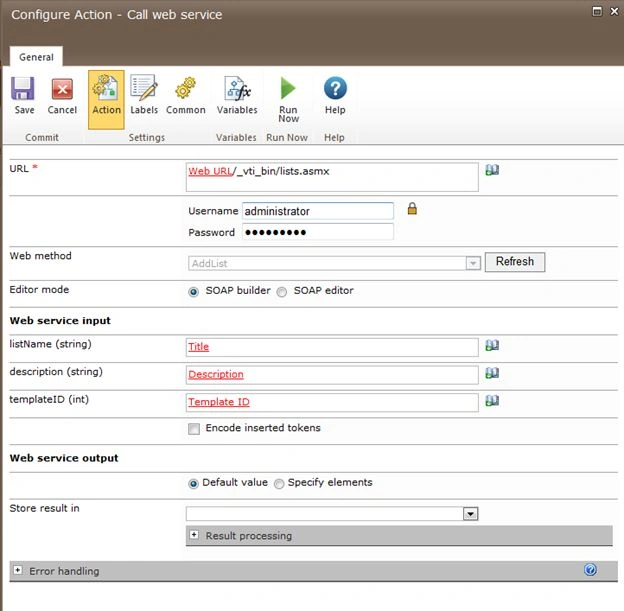
- Click Save.
Publish the workflow
- Click the Publish button in the ribbon interface.

- Make sure the Title is set. Optionally you can set the values for Description and change the Comments.
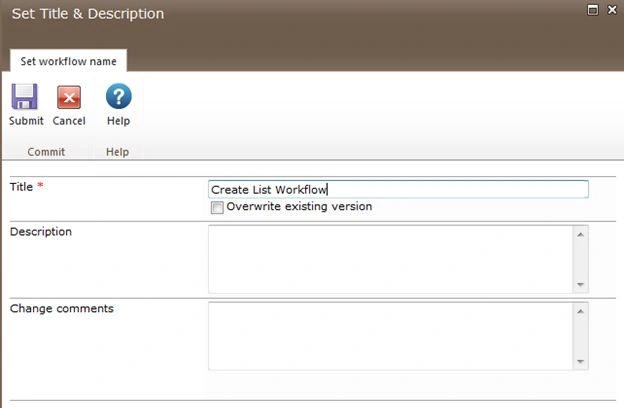
- Click on the Submit button.
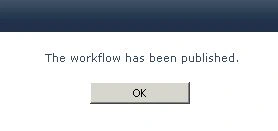
- The workflow is published successfully.
Test the workflow
- Navigate to the Manage Lists list.
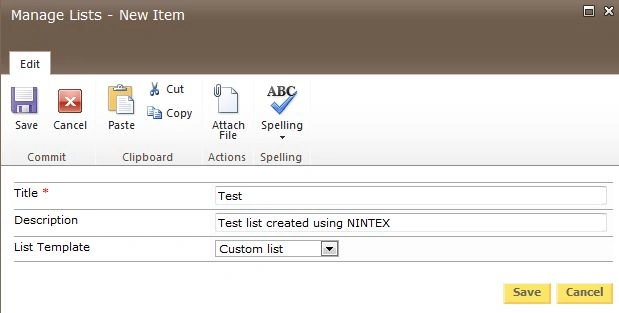
- Create a new item.
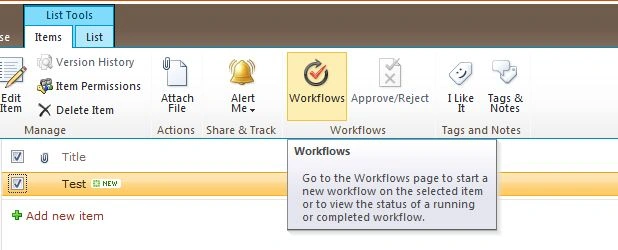
- Select the item and then click on Workflows in the ribbon interface.
- Click on the Create List Workflow workflow and then click on the Start button.
- After a few minutes the workflow status will be changed to Completed.

- The list is created successfully.
Summary
Thus in this article you saw how to create a new list in SharePoint 2010 using a NINTEX workflow.
SriramPosted Jul 2, 2015, 8:21 AM
Good.........
Santhakumar MunuswamyPosted Jun 18, 2015, 2:09 PM
Thanks for nice one
Sibeesh VenuPosted Jun 18, 2015, 5:59 AM
Good one.
NitinPosted Jun 18, 2015, 5:28 AM
nice