

Here's a step-by-step guide on how to achieve this based on the Microsoft documentation.
What do you need?
Before you begin, ensure you have the following.
- A Microsoft Power Apps or Power Automate account.
- Postman is installed on your machine.
- A ready Postman collection that you want to convert into a custom connector.
Step 1. Export your Postman Collection
- Open Postman and navigate to the collection you want to export.
- Click on the three dots (...) Next to the collection name select Export.
- Choose the Collection v2.1 format and click Export.
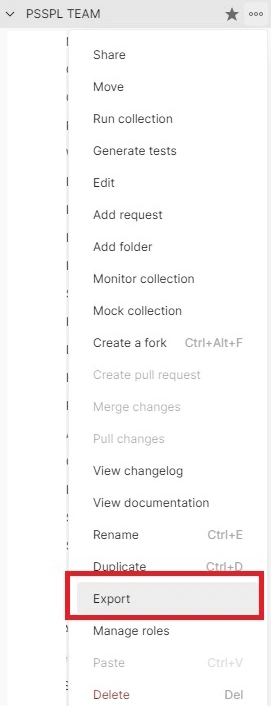
- Save the file to your local machine.
Step 2. Import the Collection into the Power Platform
- Go to the Power Automate or Power Apps portal.
- In the left-hand navigation pane, click on More
- In the context menu, click on Discover All.
- Then Custom connectors.
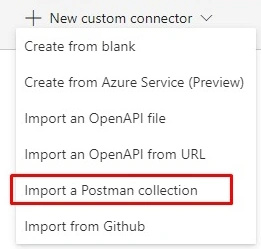
- Click + New custom connector, and select Import a Postman collection.
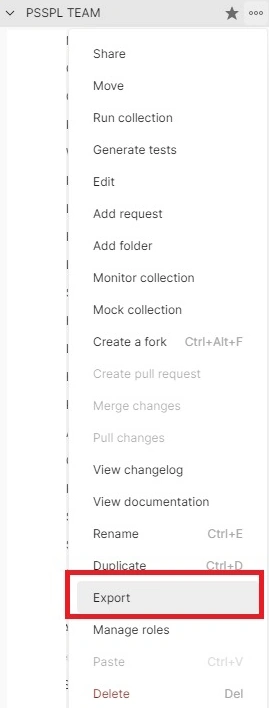
- Upload the Postman collection file you exported earlier.
Step 3. Configure the Custom Connector
- General Information: Fill in the general information about your connector, such as the name, description, and icon.
- Host: Specify the host URL for your API.
- Base URL: Define the base URL for the API endpoints.
Step 4. Define Security Settings
- Choose the authentication type your API uses (e.g., API key, OAuth 2.0, etc.).
- Enter the necessary authentication details to allow the connector to access the API securely.
Step 5. Review and Update Definitions
- Power Platform will automatically parse the Postman collection and create the necessary actions and triggers.
- Review these actions and triggers to ensure they are correctly defined. Make any necessary adjustments.
Step 6. Test the Connector
- Use the built-in test feature to verify that your custom connector works as expected.
- Fix any issues that arise during testing.
Step 7. Use your Custom Connector
- Once tested and verified, your custom connector is ready to use.
- You can now use it in your Power Apps or Power Automate workflows.
Benefits of using a Postman Collection
Using a Postman collection to define a custom connector offers several advantages.
- Efficiency: Quickly convert existing Postman collections into custom connectors without starting from scratch.
- Accuracy: Ensure the actions and triggers in your connector match those tested in Postman.
- Convenience: Simplify the process of sharing and reusing API configurations across different environments and teams.
Conclusion
Defining a custom connector using a Postman collection is a streamlined and efficient way to extend the functionality of Microsoft Power Platform applications. By following the steps outlined above, you can easily convert your Postman collections into powerful custom connectors, enhancing the capabilities of your applications and workflows.
Join the conversation! Your thoughts help the community grow.