

Introduction
This article explains how to display an image using a servlet in Java. The NetBeans IDE is used for the sample example.
Start creating this app
We need to create the following files:
- HTML File
- Servlet File
- XML File
1. HTML File
This file is used to create the user interface where the user clicks on a link to get the image.
2. Servlet File
This file is used to write an image on a browser window.
3. XML file
This file is used to configure the servlet file to the server.
The following is the procedure to create this application.
Step 1
Open the Netbeans IDE.
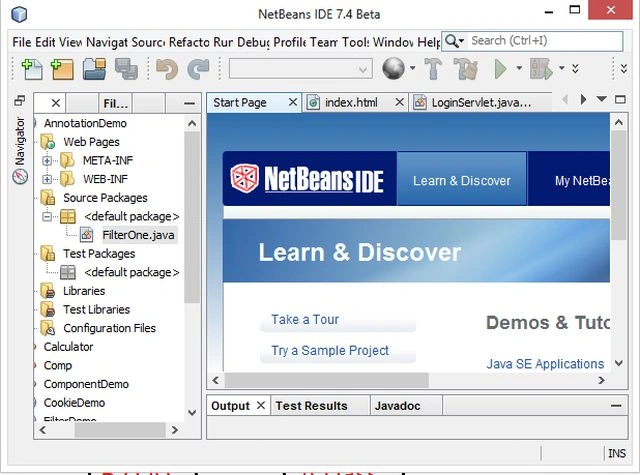
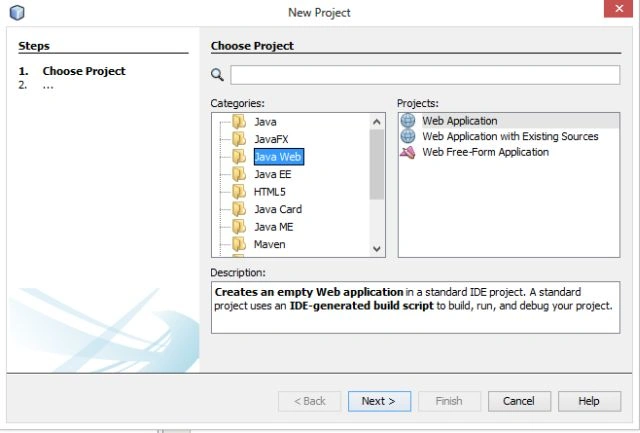
Step 2
Choose "Java web" -> "web application" as in the following.
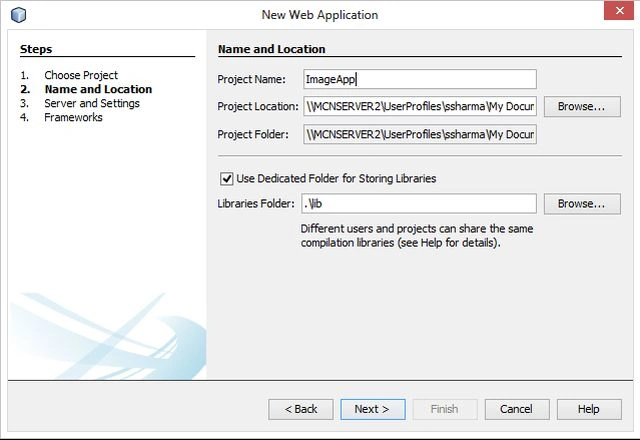
Step 3
Type your project named as "ImageApp" as in the following.
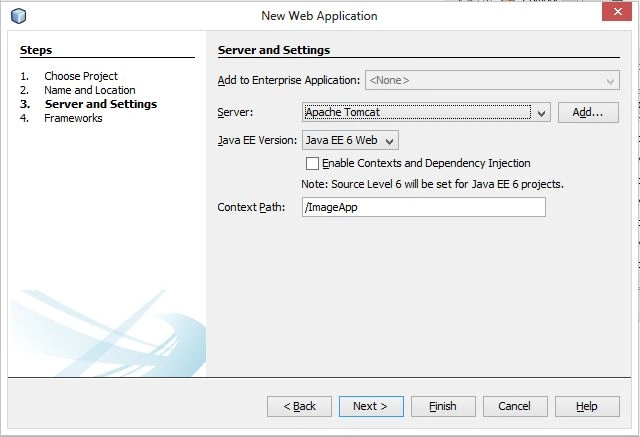
Step 4
Select the Java version and the server wizard as in the following.
Step 5
Now delete your default "index.jsp" file and create a new "index.html" file and provide the following code for it.
index.html
<!DOCTYPE html>
<html>
<head>
<title>Image Application</title>
<meta http-equiv="Content-Type" content="text/html; charset=UTF-8">
<meta name="viewport" content="width=device-width">
</head>
<body bgcolor="pink">
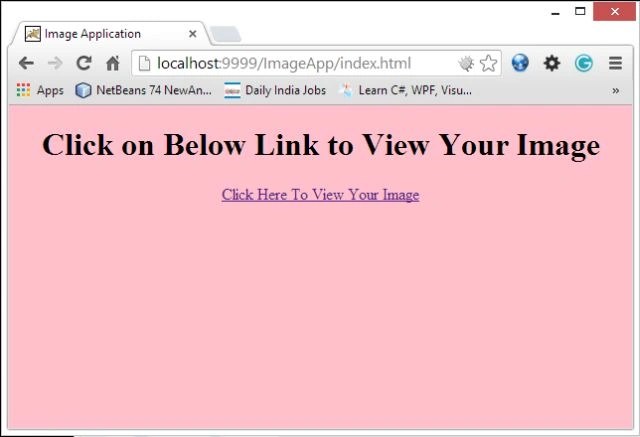
<center><h1>Click on Below Link to View Your Image</h1>
<a href="ImageServlet">Click Here To View Your Image</a>
</body>
</html>Step 6
Now create a servlet file named "ImageServlet" and provide the following code for it.
ImageServlet.java
import java.io.*;
import javax.servlet.*;
import javax.servlet.http.*;
public class ImageServlet extends HttpServlet {
@Override
protected void doGet(HttpServletRequest request, HttpServletResponse response)
throws ServletException, IOException {
response.setContentType("image/jpeg");
ServletOutputStream out;
out = response.getOutputStream();
FileInputStream flinp = new FileInputStream("e:\\a.jpg");
BufferedInputStream buffinp = new BufferedInputStream(flinp);
BufferedOutputStream buffoup = new BufferedOutputStream(out);
int ch=0;
while ((ch=buffinp.read()) != -1) {
buffoup.write(ch);
}
buffinp.close();
flinp.close();
buffoup.close();
out.close();
}
}Step 7
Now compare your default "web.xml" file with the following code.
web.xml
<?xml version="1.0" encoding="UTF-8"?>
<web-app version="3.0" xmlns="http://java.sun.com/xml/ns/javaee" xmlns:xsi="http://www.w3.org/2001/XMLSchema-instance" xsi:schemaLocation="http://java.sun.com/xml/ns/javaee http://java.sun.com/xml/ns/javaee/web-app_3_0.xsd">
<servlet>
<servlet-name>ImageServlet</servlet-name>
<servlet-class>ImageServlet</servlet-class>
</servlet>
<servlet-mapping>
<servlet-name>ImageServlet</servlet-name>
<url-pattern>/ImageServlet</url-pattern>
</servlet-mapping>
<session-config>
<session-timeout>
30
</session-timeout>
</session-config>
</web-app>Step 8
Now your project is ready to run.
Right-click on the project menu then select Run. The following output will be shown.
Step 9
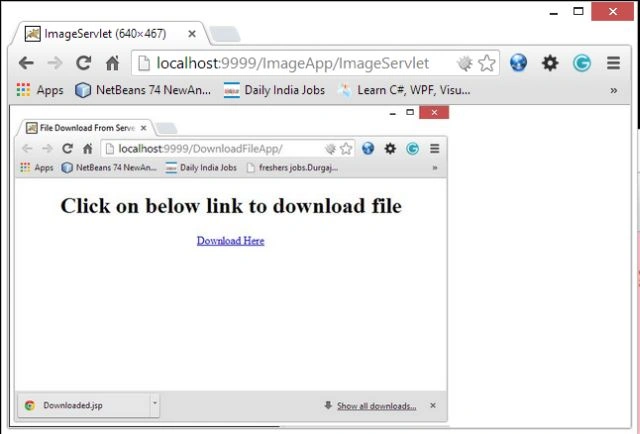
Click on the given link; the following image will be shown there.
Join the conversation! Your thoughts help the community grow.