

How to Download and Enable Extensions LightSwitch Visual Studio 2012
This article describes how to download and enable extensions in LightSwitch using Visual Studio 2012.
Step 1
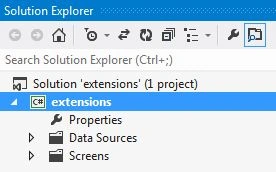
Open Solution Explorer.
Step 2
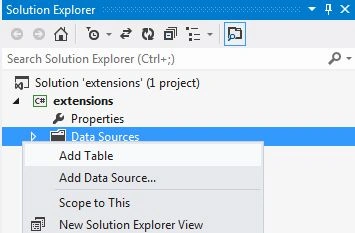
In Solution Explorer, right-click on the data sources and choose "Add Table".
Step 3
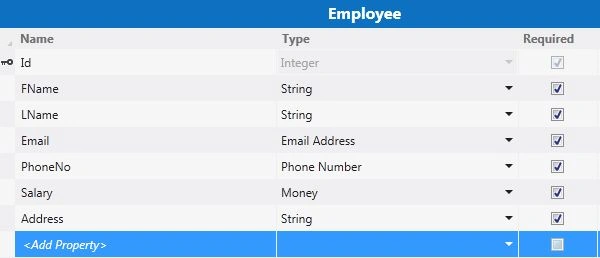
The table appears.
Step 4
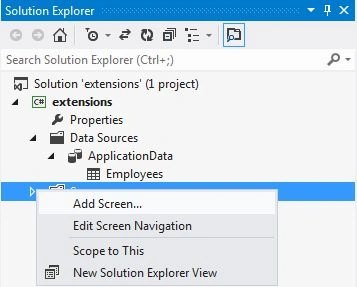
In the Solution Explorer, right-click on "Screens" and choose "Add Screen".
Step 5
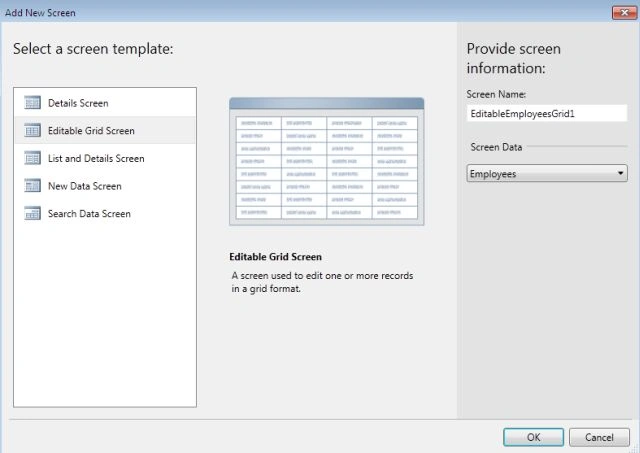
Select the EditableGrid Screen from the Screen Templates. Provide Screen information and click "OK".
Step 6
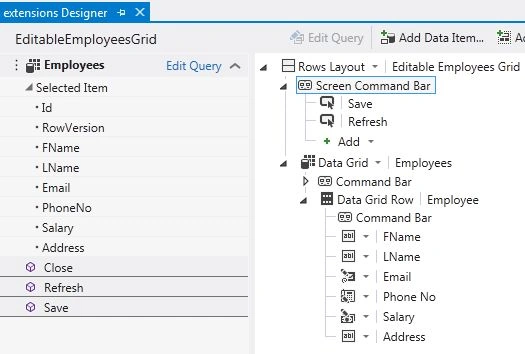
The EditableEmployee Grid Designer appears.
Step 7
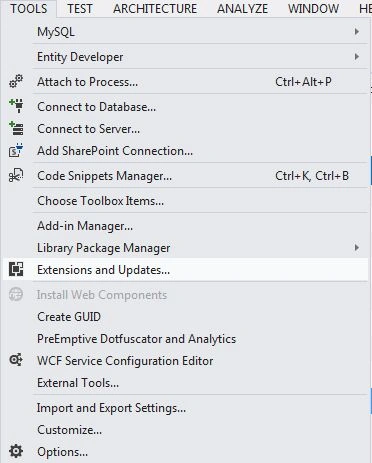
From the Tools menu, select "Extensions and Updates".
Step 8
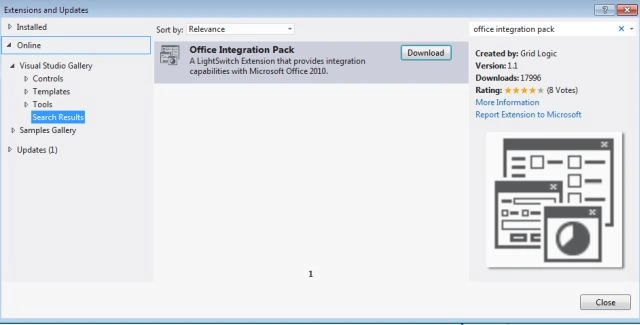
A window appears. Select the Online Tab from several extensions.
Step 9
Select the Extension you want and click on the download button.
Step 10
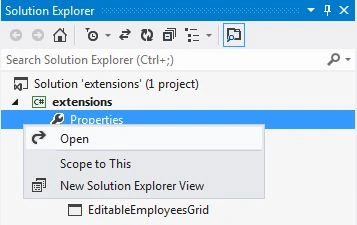
After downloading, go to the Solution Explorer and right-click or double-click to open the property window.
Step 11
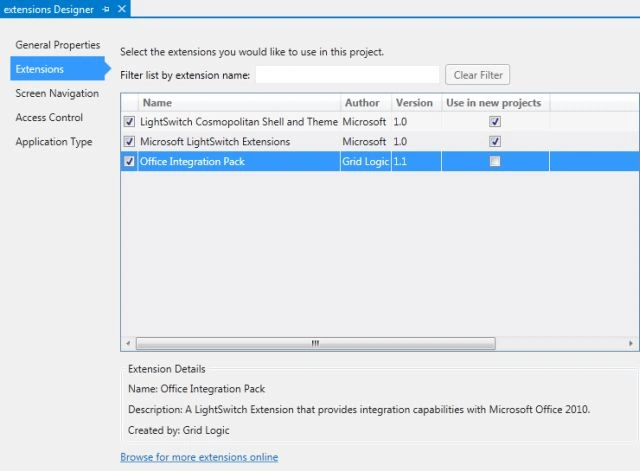
Select the Extension Tab to enable the extension.
Join the conversation! Your thoughts help the community grow.