

If you are the new in MVVM pattern using Prism Library then you can follow my very first article to start the MVVM and add the dlls into the project from the following link:
Note: In this article I am using Visual Studio 2015 and ‘Prism.Unity’ via nugget Packages.
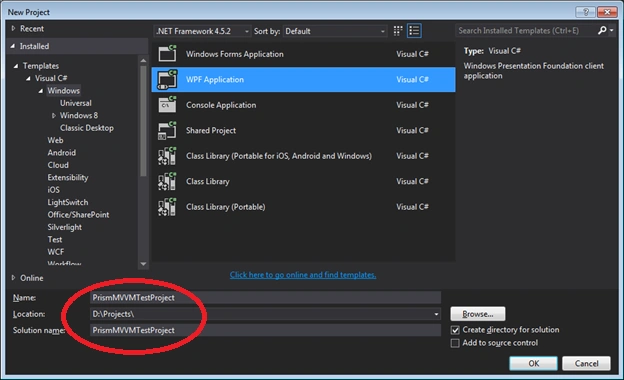
Step 1: Create a project named ‘PrismMVVMTestProject’ of WPF application.
Step 2:
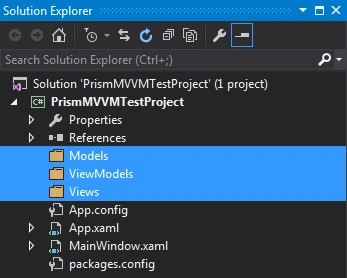
It’s a better approach to create 3 different folders in the project for Model, View and View model respectively.
Step 3: Create pages in all folders,
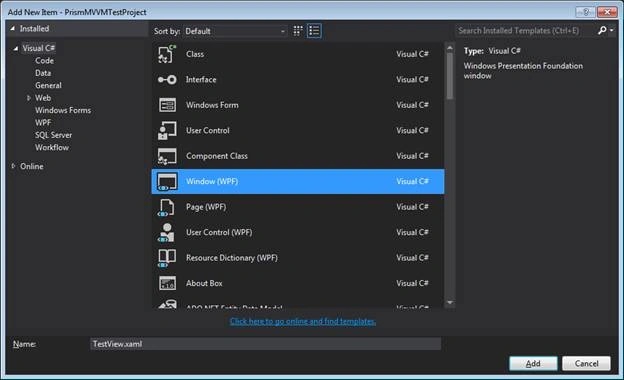
- Create a View Named ‘TestView.xaml’ in the Views folder.
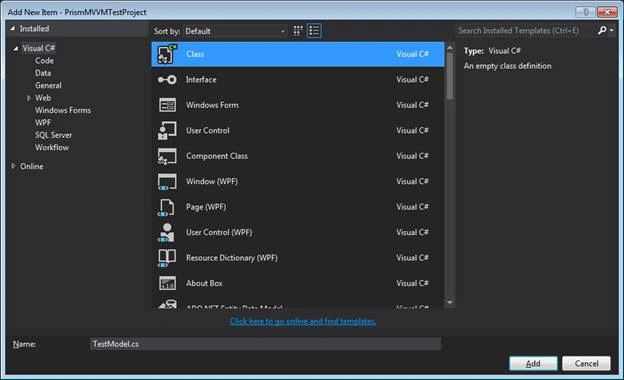
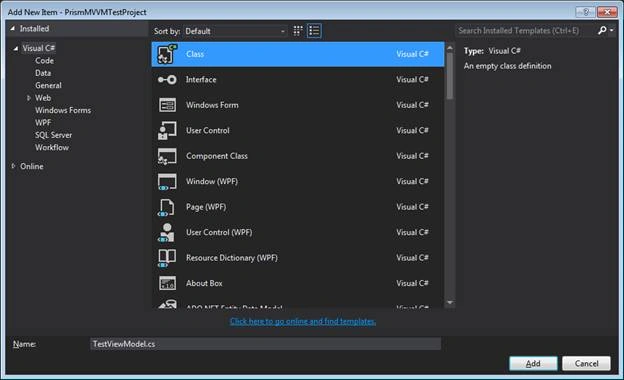
- Create a Model named ‘TestModel.cs in the Models folder.
- Create a ViewModel named ‘TestViewModel.cs’ in the ViewModels folder.
Step 4:
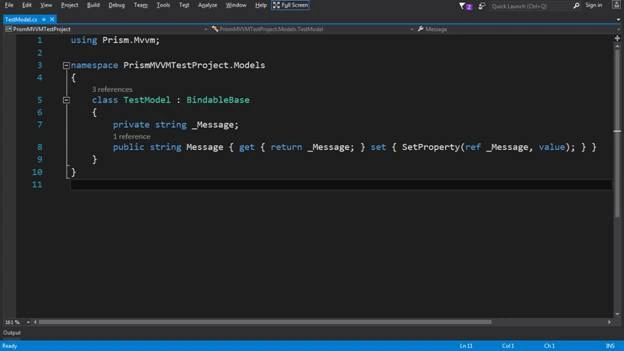
Add the namespace named ‘Prism.MVVM’ in the TestModel page to inherit the class named ‘Bindable Base’. Create a property named Message where ‘ref‘ parameter allows you to update its value.
- using Prism.Mvvm;
- namespace PrismMVVMTestProject.Models
- {
- class TestModel: BindableBase
- {
- private string _Message;
- public string Message
- {
- get
- {
- return _Message;
- }
- set
- {
- SetProperty(ref _Message, value);
- }
- }
- }
- }
Step 5:
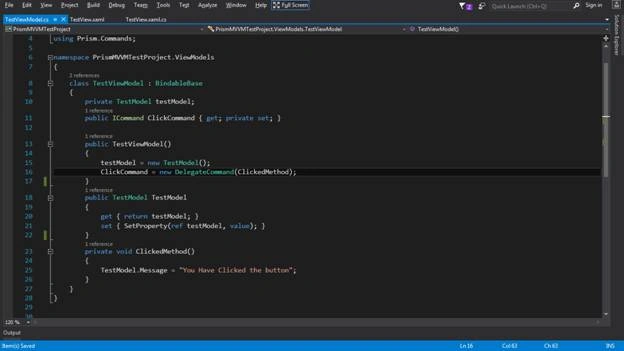
a. Add the following namespaces on the TestViewModel page,
- ‘Prism.MVVM’ - To inherit the class named ‘Bindable Base’.
- ‘PrismMVVMTestProject.Models’ - To accessing TestModel in this page.
- System.Windows.Input - To add ICommand
- Prism.Commands - To Use DelegateCommand
b. Create a property of TestModel class object where ‘ref‘ parameter allows you to update its value.
c. Attach command to the method which will act like event.
d. Set the message value ‘You Have Clicked the button’ as string in that method.
- using PrismMVVMTestProject.Models;
- using Prism.Mvvm;
- using System.Windows.Input;
- using Prism.Commands;
- namespace PrismMVVMTestProject.ViewModels
- {
- class TestViewModel: BindableBase
- {
- private TestModel testModel;
- public ICommand ClickCommand
- {
- get;
- private set;
- }
- public TestViewModel()
- {
- testModel = new TestModel();
- ClickCommand = new DelegateCommand(ClickedMethod);
- }
- public TestModel TestModel
- {
- get
- {
- return testModel;
- }
- set
- {
- SetProperty(ref testModel, value);
- }
- }
- private void ClickedMethod()
- {
- TestModel.Message = "You Have Clicked the button";
- }
- }
- }
Step 6:
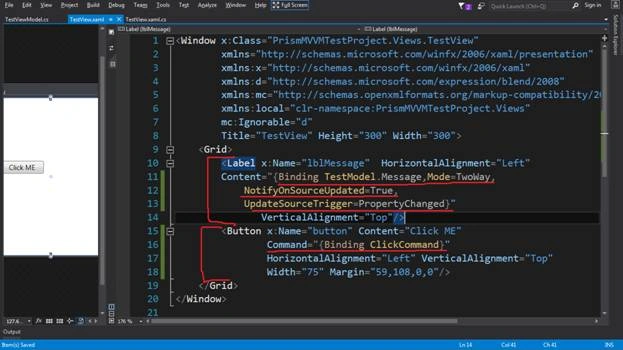
- Add a label named lblMessage in the TestView page and bind its content with the model property name with some other properties of binding like Mode, NotifyOnSourceUpdated and UpdateSourceTrigger.
- Add a button with command property and bind it that command which we have created in view model,
- <Label x:Name="lblMessage" HorizontalAlignment="Left"
- Content="{Binding TestModel.Message,Mode=TwoWay,NotifyOnSourceUpdated=True,UpdateSourceTrigger=PropertyChanged}"
- VerticalAlignment="Top"/>
- <Button x:Name="button" Content="Click ME" Command="{Binding ClickCommand}"
- HorizontalAlignment="Left" VerticalAlignment="Top" Width="75" Margin="59,108,0,0"/>
Step 7:
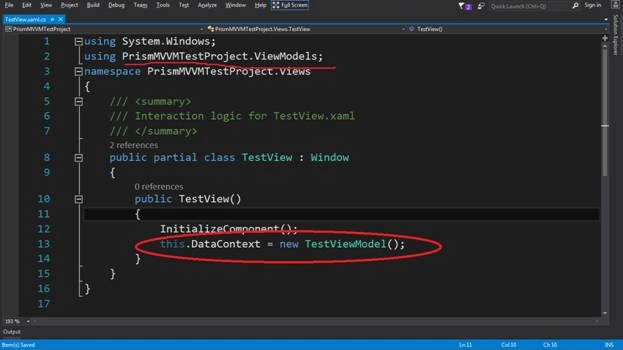
Add PrismMVVMTestProject.ViewModels namespace and bind Data Context of TestView Page to the ViewModel,
- named‘ TestViewModel’.
- using System.Windows;
- using PrismMVVMTestProject.ViewModels;
- namespace PrismMVVMTestProject.Views
- {
- /// <summary>
- /// Interaction logic for TestView.xaml
- /// </summary>
- public partial class TestView: Window
- {
- public TestView()
- {
- InitializeComponent();
- this.DataContext = new TestViewModel();
- }
- }
- }
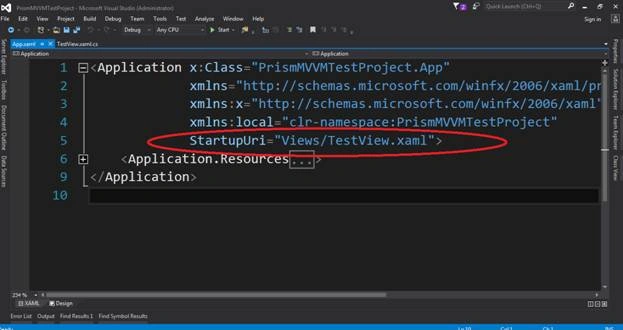
Step 8: Change the ‘StartupUri’ from default page ‘MainWindow’ to ‘TestView’ page,
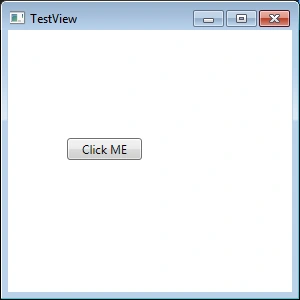
Run the page and see the output:
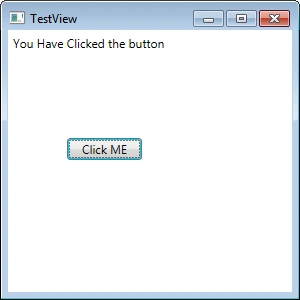
After click on the button.
Read more articles on WPF:
NitinPosted Apr 10, 2016, 1:22 AM
good one
Vignesh ManiPosted Apr 9, 2016, 4:42 PM
Nice