

Introduction
This article will help you learn how to insert the items in the Azure Table Storage.
Before reading this article, please go through some important articles mentioned below:
- Exploring Storage Explorer
- Exploring Azure Blob Storage Tiers
- Quick Start With Azure Storage
- A Detailed Overview Of Azure Storage Account Creation
- A Detailed Overview Of Blob Storage
- How To Transfer Azure Storage Blobs Between The Containers
- How To Retrieve Accidentally Deleted Azure Storage Blobs
Azure Storage
Azure Storage is one of the cloud computing PaaS (Platform as a Service) services the Microsoft Azure team provides. It provides cloud storage that is highly available, secure, durable, scalable, and redundant. It is massively scalable and elastic. It can store and process hundreds of terabytes of data, or you can store the small amounts of data required for a small business website.
What is Table storage?
Azure Table Storage stores large quantities of structured information. The service is a NoSQL datastore that allows authenticated calls from inside and outside the Azure cloud. Azure tables are ideal for storing structured and nonrelational data.
Common uses of Table storage include,
- Storing TBs of structured data capable of serving web scale applications
- Store data sets that do not require complex joins, foreign keys, or stored procedures and can be denormalized for quick access.
- Quickly querying data using a clustered index.
- Access data using OData protocol and LINQ queries via WCF Data Service .NET. Libraries
Prerequisites
- Microsoft Azure Account.
This article demonstrates how to add data in Azure Tables.
Step 1
First, create a storage account.
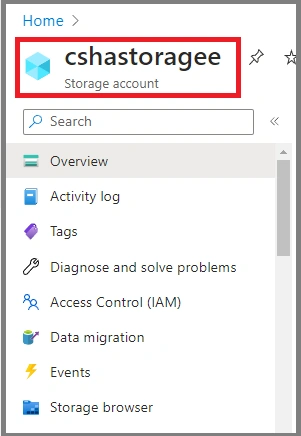
Step 2
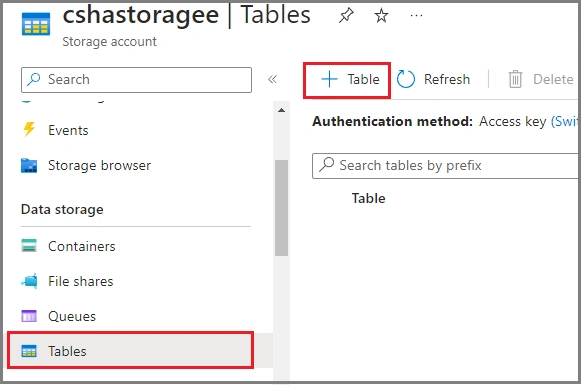
Navigate to the Data Storage menu, then choose” Tables”. Now, create the table.
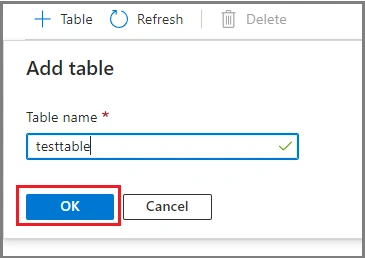
Enter the table name and click on “OK”
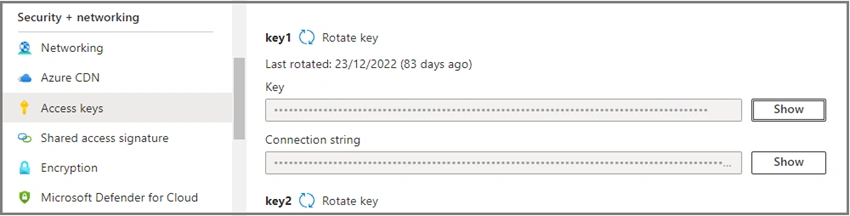
Copy the connection string from the Access key
Now, create the console application in visual studio to create a table through the program.
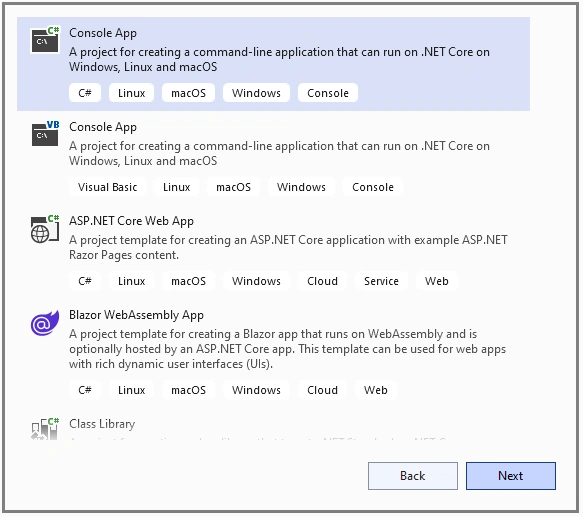
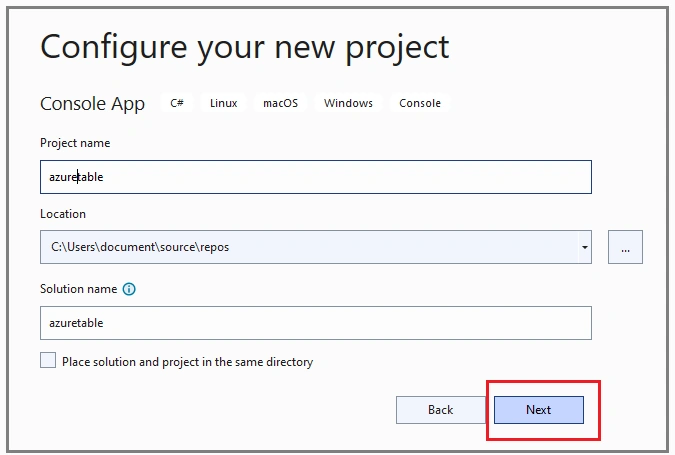
Enter the project name, and next to create a console application
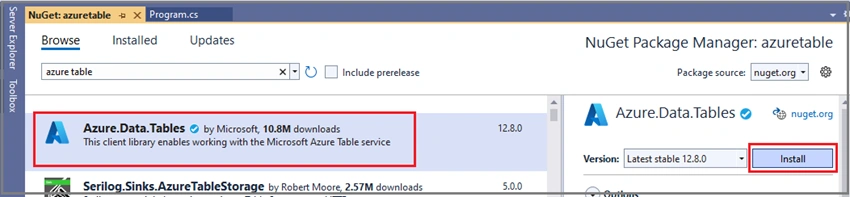
Install Azure.Data.Tables package
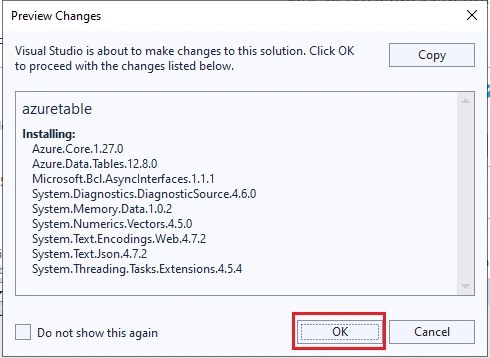
Click on the ok button
Add the following coding and also insert the connection string.
using System;
using System.Configuration;
using Azure.Data.Tables;
namespace azuretable {
    class Program {
        static void Main(string[] args) {
            var serviceClient = new TableServiceClient("Paste the connection string");
            TableClient table = serviceClient.GetTableClient("Azure");
            table.CreateIfNotExists();
            var tableEntity = new TableEntity("Product", Guid.NewGuid().ToString()) {
                {
                    "Product",
                    "Pen"
                }, {
                    "Price",
                    5.00
                }, {
                    "Quantity",
                    21
                }
            };
            table.AddEntity(tableEntity);
            Console.ReadKey();
        }
    }
}
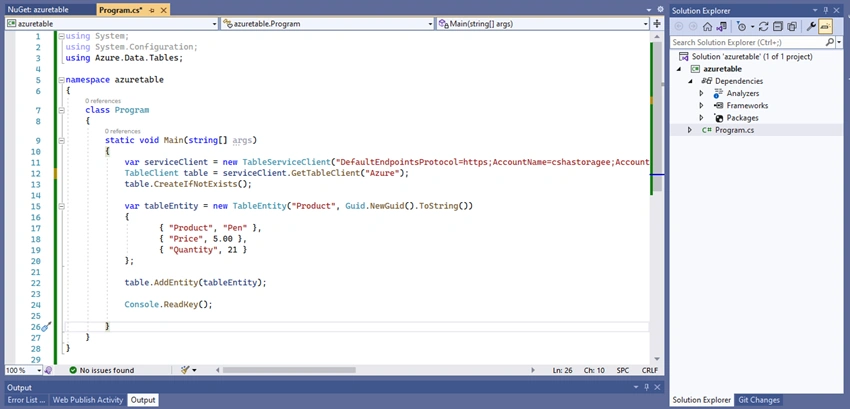
Run the program
Summary
I hope you understood how to insert the items in the Azure storage table.
Join the conversation! Your thoughts help the community grow.