

Introduction
Kubernetes cluster can be deployed on either physical or virtual machines. To get started with Kubernetes development, you can use Minikube.
VM Requirements
- 2 CPUs or more
- 2GB of free memory
- 20GB of free disk space
- Internet connection or V Switch should be External
- Container or virtual machine manager such as: Docker, Hyperkit, Hyper-V, KVM, Parallels, Podman, VirtualBox, or VMware Fusion/Workstation
I will provide step by step to install Kubernetes via Minikube using Windows 10 PowerShell with screenshots below.
Step 1
Go to windows search bar, type the Window PowerShell select Run as Administrator in your Hyper-V host machine.

Step 2
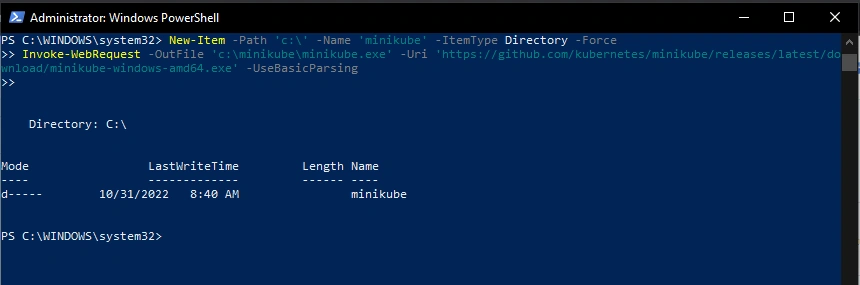
If using minikube latest Version on the PowerShell, use this command
New-Item -Path 'c:\' -Name 'minikube' -ItemType Directory -Force
Invoke-WebRequest -OutFile 'c:\minikube\minikube.exe' -Uri 'https://github.com/kubernetes/minikube/releases/latest/download/minikube-windows-amd64.exe' -UseBasicParsing
Step 3
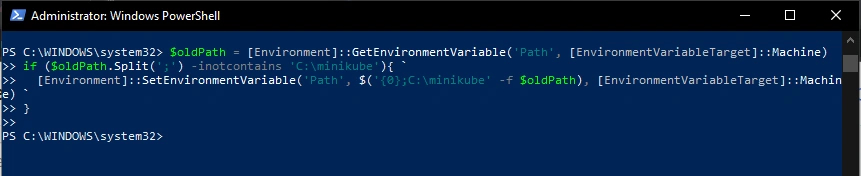
Add the minikube.exe binary to your PATH
$oldPath = [Environment]::GetEnvironmentVariable('Path', [EnvironmentVariableTarget]::Machine)
if ($oldPath.Split(';') -inotcontains 'C:\minikube'){ `
  [Environment]::SetEnvironmentVariable('Path', $('{0};C:\minikube' -f $oldPath), [EnvironmentVariableTarget]::Machine) `
}
Step 4
Type choco in PowerShell to check the version of chocolatey.
choco

Step 5
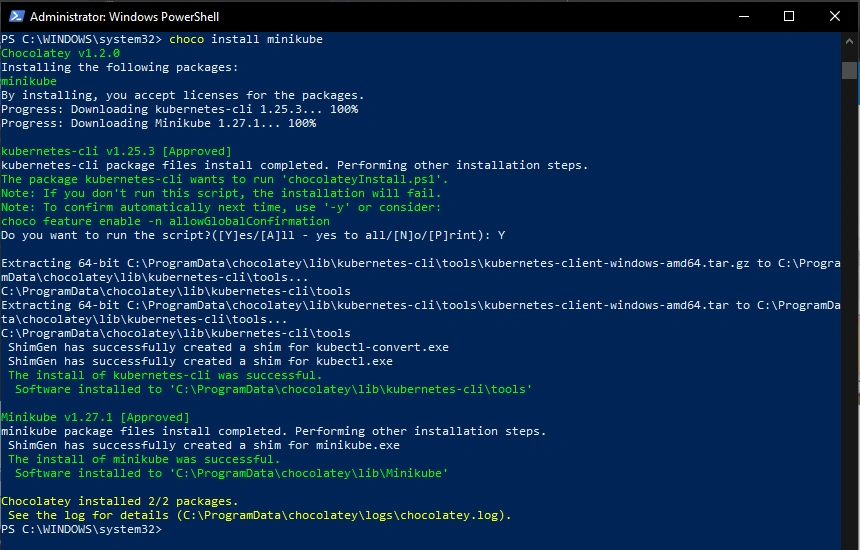
The following command will download Kubernetes-cli and the minikube package. Select Yes to confirm the installation.
choco install minikube
Step 6
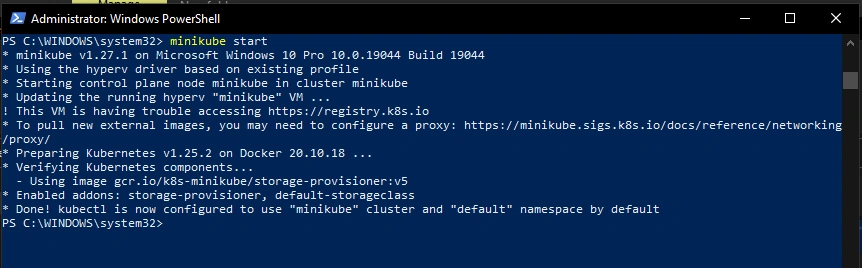
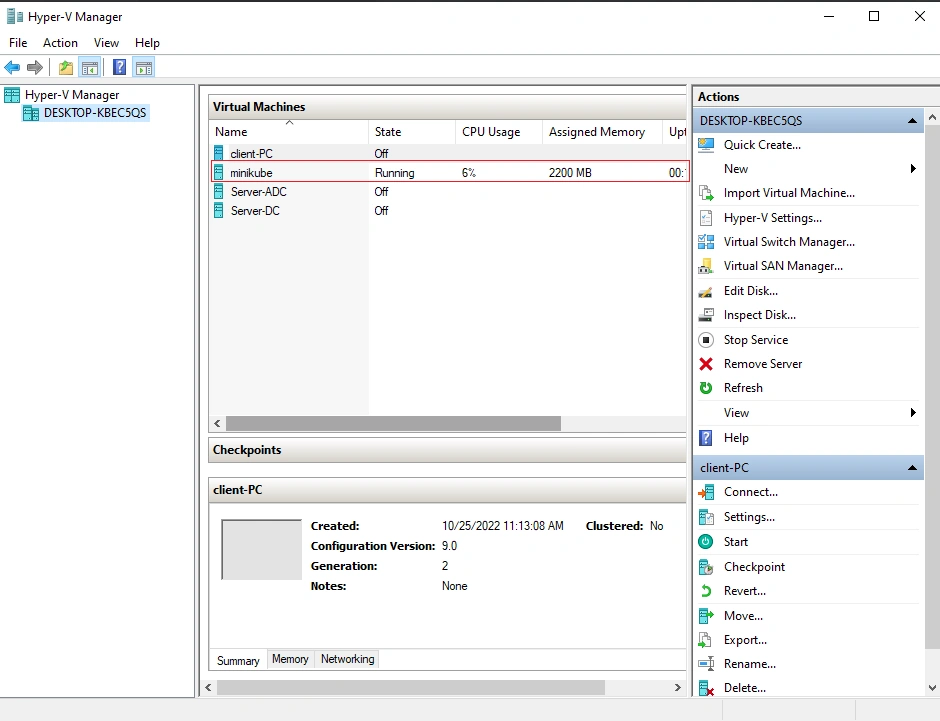
You run the command, it takes some time to download minikube. Once it is finished downloading, Kubernetes cluster will appear on your Hyper-V manager.
minikube start
Step 7
You can use the following command in Powershell to get minikube control information.
You get the dashboard panel URL details also.
kubectl cluster-info

Step 8
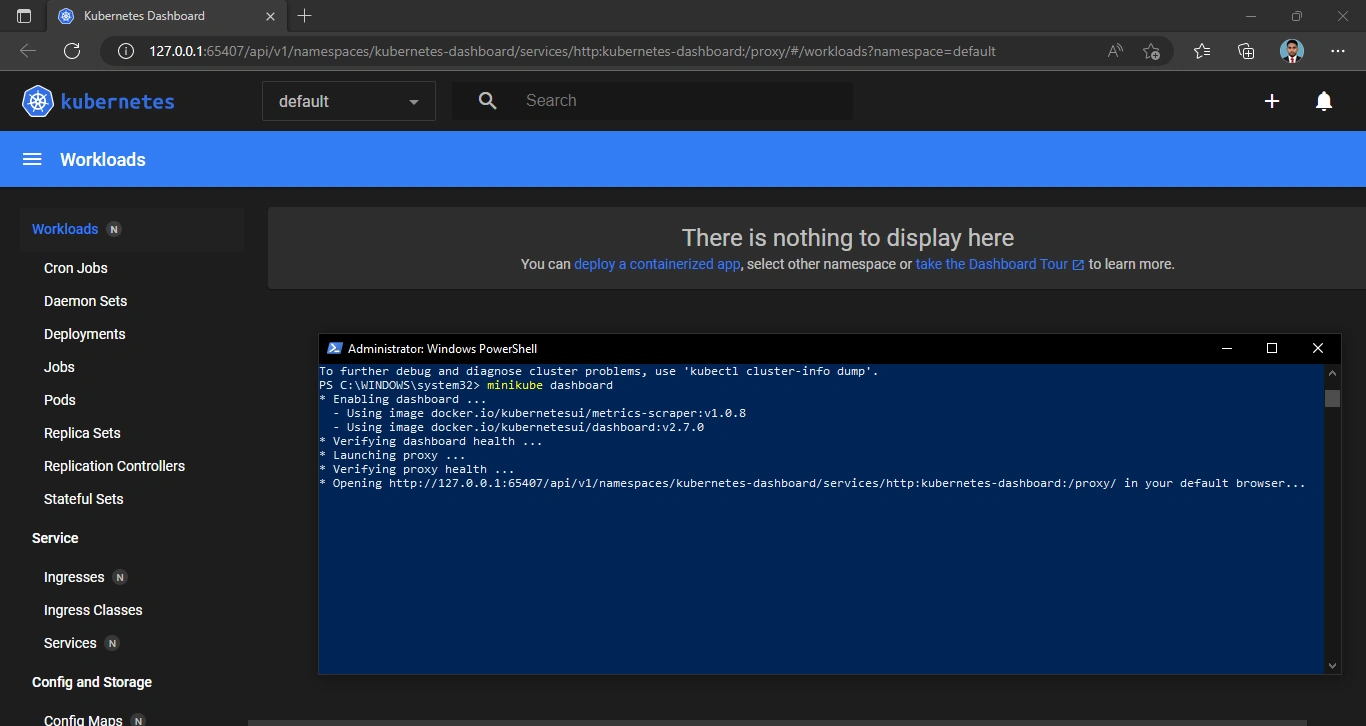
Navigate directly to the dashboard using the following command. Now, my Kubernetes has been created successfully.
minikube dashboard
Step 9
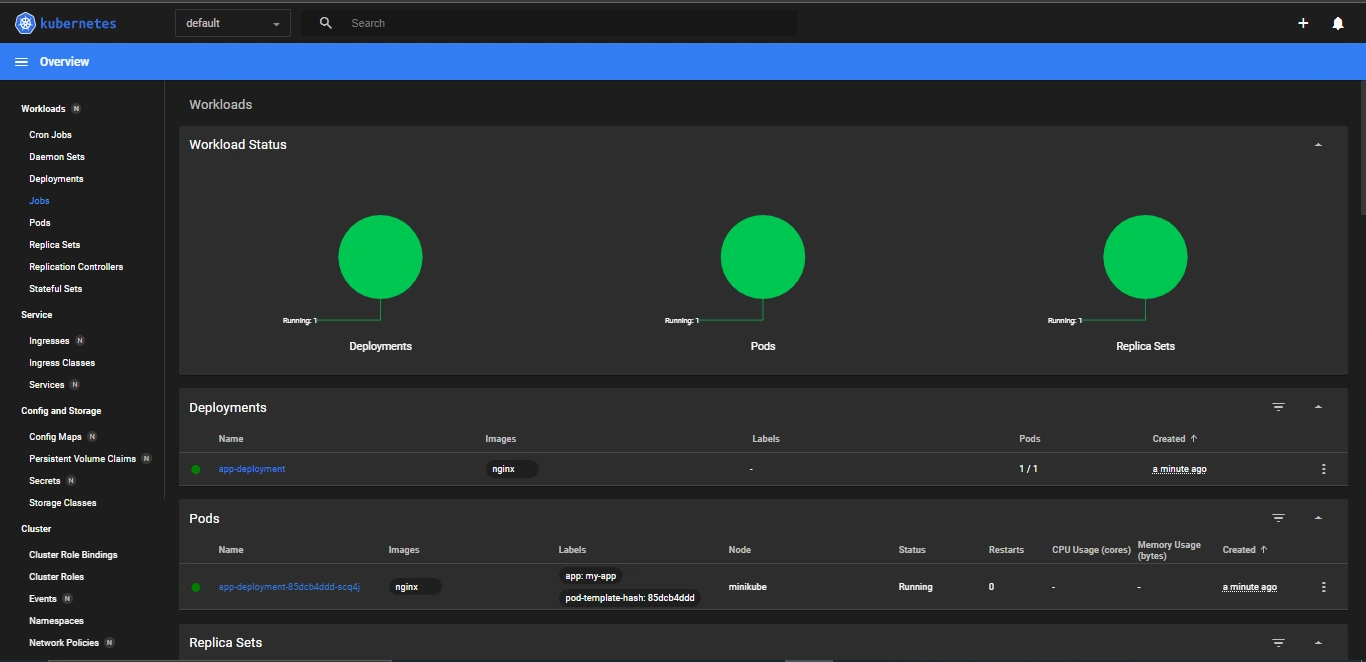
Create a sample applications deployment and expose it on port 80:
kubectl create deployment hello-minikube --image=docker.io/nginx:1.23
kubectl expose deployment hello-minikube --type=NodePort --port=80

Step 10
Your deployment will soon show up when you run the code
kubectl get services hello-minikube

Step 11
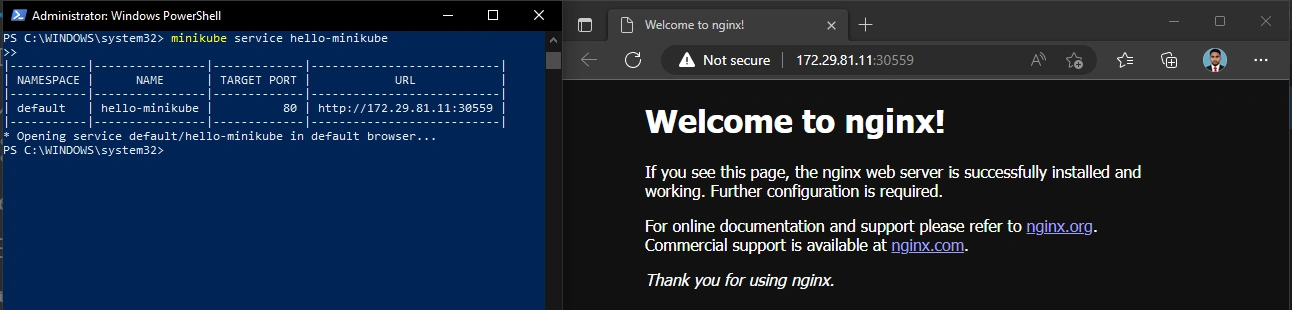
Let minikube launch a web browser
minikube service hello-minikube
Conclusion
This article taught us how to set up Kubernetes using minikube on local Windows 10 machines. If you have any questions, please contact me.
Thanks.
Join the conversation! Your thoughts help the community grow.