
In this article you will see how to install Workflow Manager 1.0 for SharePoint 2013.
Introduction
In SharePoint 2013, Workflow Manager must be downloaded and installed separately. By default Workflow Manager will not be installed when you install SharePoint 2013 whereas in SharePoint 2010 the workflow engine is installed automatically when you install the SharePoint 2010 product. If you don't install Workflow Manager 1.0 for SharePoint 2013 then you will be able to create only SharePoint 2010 workflows.
Download
Please download the executable file from the following link http://go.microsoft.com/fwlink/?LinkID=252092
Install Workflow Manager 1.0
1. Once you download the executable file double-click on (open) the exe file.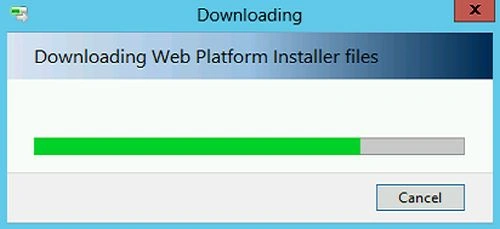
2. Microsoft Web Platform Installer will install the Workflow Manager.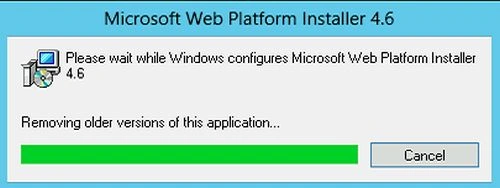
3. Click on "Install".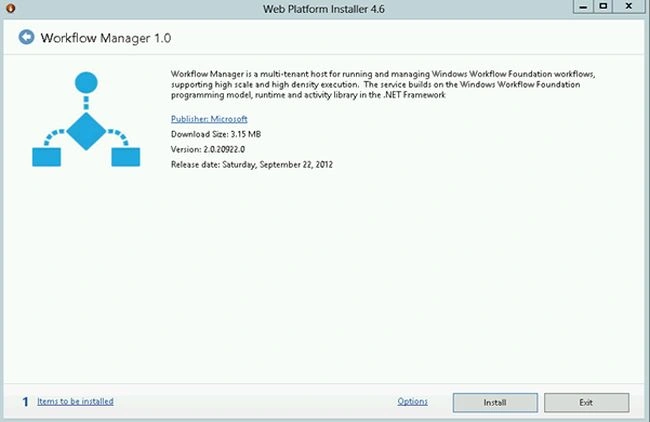
4. Click on "I Accept".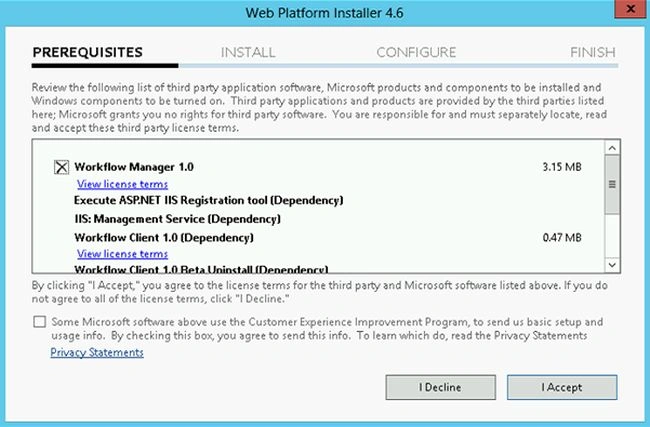
5. Web Platform Installer will start the installation.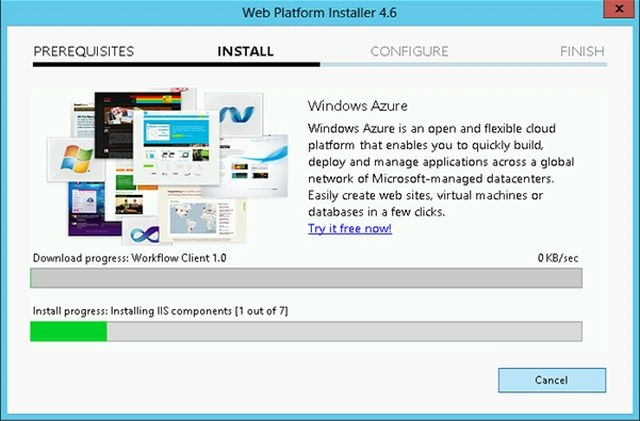
6. Click on "Continue".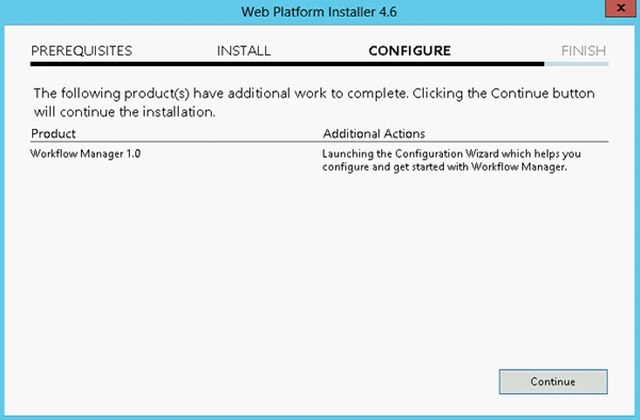
7. Installation is completed successfully. Click on "Finish".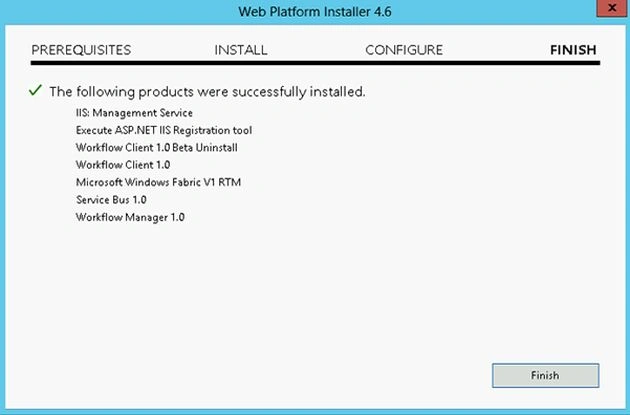
8. Click on "Exit".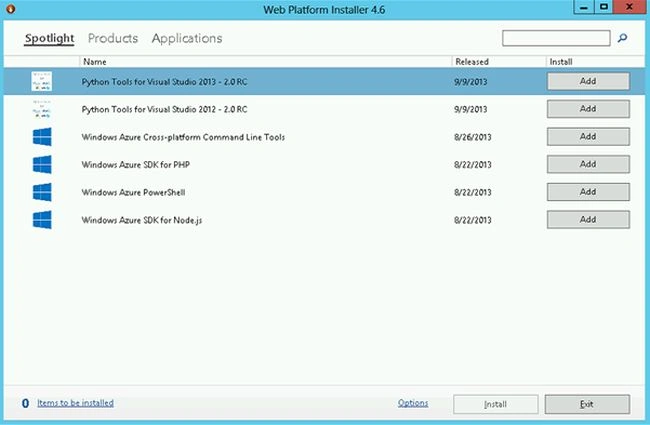
9. Installation is completed successfully. You can close the following pop-up and later you can configure the Workflow Manager for SharePoint 2013.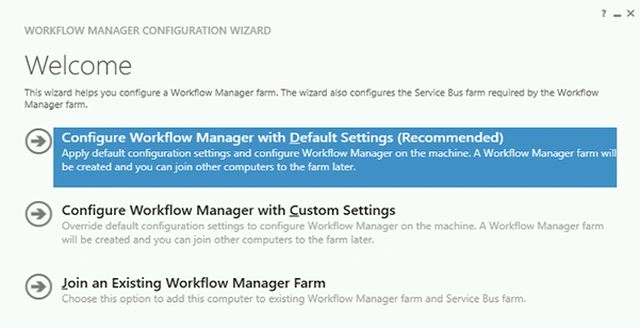
Note
Ensure you have internet access in the server when you do the installation using the procedure described in this article. You will not be able to install Workflow Manager 1.0 using this executable file in the 14 days trial version Cloudshare (SharePoint 2013 RTM) environment.
Summary
Thus in this article you have seen how to install Workflow Manager 1.0 for SharePoint 2013.

How to Install Workflow Manager 1.0 For SharePoint 2013
Join the conversation! Your thoughts help the community grow.
Sign in to leave a comment
It is the same account you read, post and publish with — and you will come straight back to this page.
Vinodh NarayananPosted Jan 18, 2016, 2:59 AM
good one sir