

Introduction
In this article you will be seeing how to localize a feature in SharePoint 2010 using Visual Studio 2010. Instead of using the hard-code values for feature title and description, we can use expressions that represent localized resources.
Steps Involved
- Open Visual Studio as administrator.
- Go to File, select New and then click on Project.

- Select Empty SharePoint Project from the installed templates.
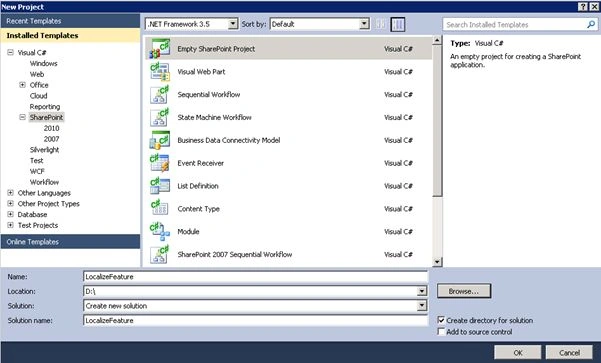
- Enter the Name as LocalizeFeature and then click on Ok.
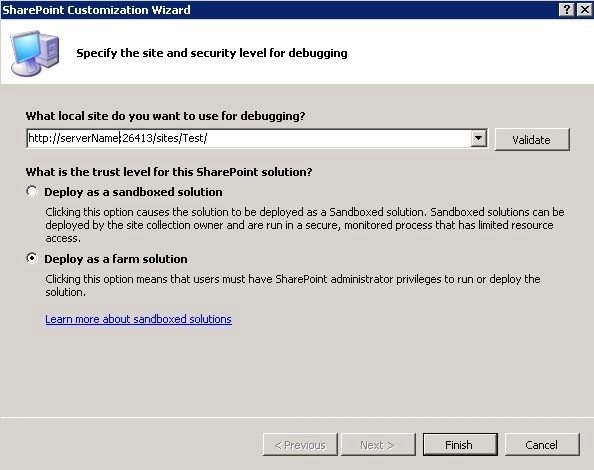
- Enter the site URL and select "Deploy as farm solution".
- Click on Finish.
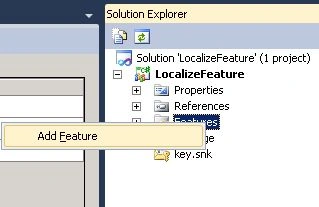
- Right-click on the Features folder and then click on Add Feature.
- Rename the feature as LocalizeFeature.
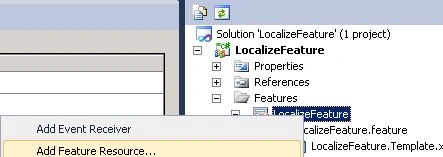
- Right-click on the LocalizeFeature and then click on Add Feature Resource.
- In the Add Resource pop up, select the culture of the resource file.
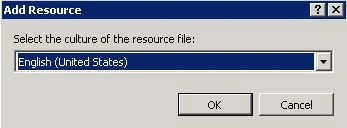
- I have selected English (United States), and then click on Ok.
- In the Resource Editor, enter the String Name and Value as shown in Figure.

- Similarly I have added a feature resource for the French (France) language and the string names and values are added as shown in the following figure:

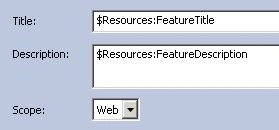
- Double-click on LocalizeFeature.feature and change the title & description as shown in the following figure:
- Right-click the solution and then click on Deploy Solution.
Testing
- Navigate to the site, click on Site Actions.
- Click on Site Settings.
- Click on Manage Site Features under Site Actions.
- You will see the feature title and description in English (the default language is English) as shown in the following figure:

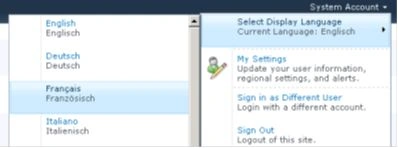
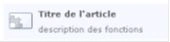
- Change the language to French and you will be able to see the localized feature title and description as shown in the following figure:
Note: Make sure the language packs are installed in the SharePoint server.
Summary:
Thus in this article you have seen how to localize a feature in SharePoint 2010 using Visual Studio 2010.
Join the conversation! Your thoughts help the community grow.