

Localizing a Silverlight client screen - Part 2
In my previous article (http://www.c-sharpcorner.com/UploadFile/18ddf7/localizing-a-lightswitch-application-using-lightswitch-par/) I described how to create the LightSwitch HTML Application using Visual Studio 2012.
In this article I describe how to localize the Silverlight client screen.
Procedure for localizing the client screen
Step 1
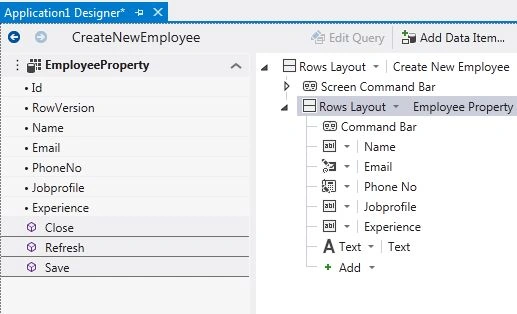
Open the Screen Designer of DesktopClient (CreateNewEmployee).
Step 2
In the Screen Designer, choose "Rows Layout" | "New Employee" node.
Step 3
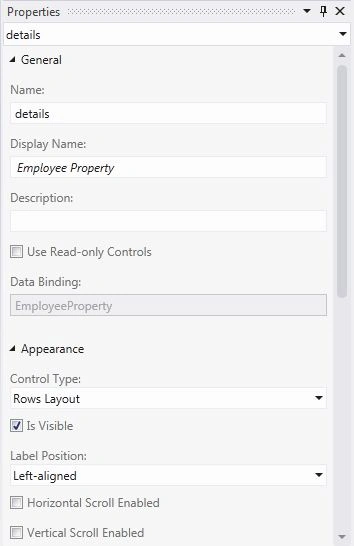
Open the Property Window for the "Rows Layout" | "New Employee" node.
Step 4
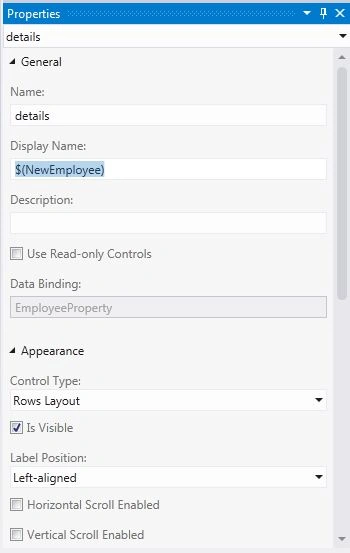
In the Properties window, choose the Display Name property, and then enter "$(NewEmployee)".
The "$()" notation signifies that the value for the Display Name property is a resource identifier. At run time, LightSwitch will retrieve the actual value from a resource file.
Step 5
Now the screen designer will look as shown in the following:

Step 6
In the Screen Designer, choose the "Name" node.
Step 7
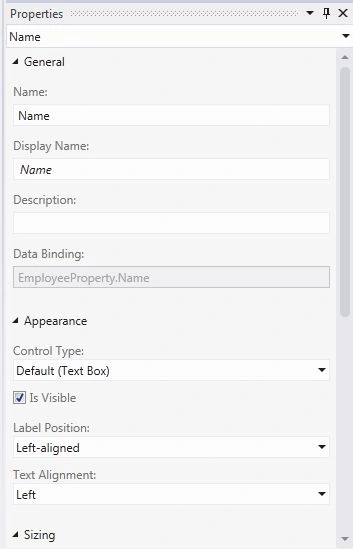
Open the Property Window for the Name.
Step 8
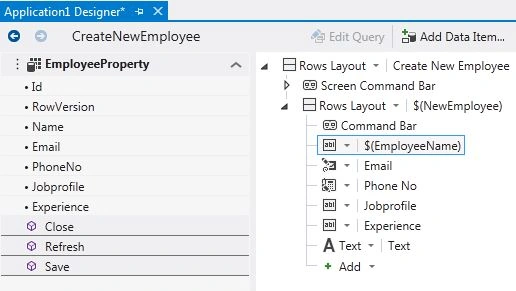
In the Properties window, choose the "Display Name" property, and then enter "$(EmployeeName)".

Step 9
Now the screen designer will look as shown in the following:
Step 10
In the Screen Designer, choose the "Email" node.
Step 11
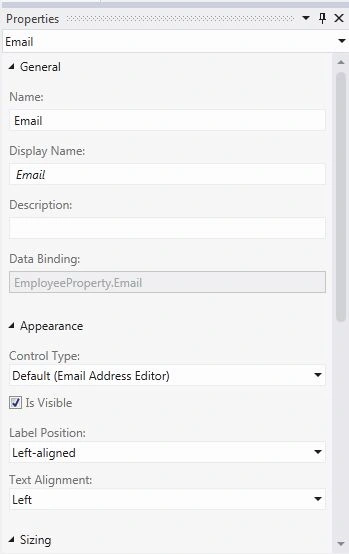
Open the Property Window for the Email.
Step 12
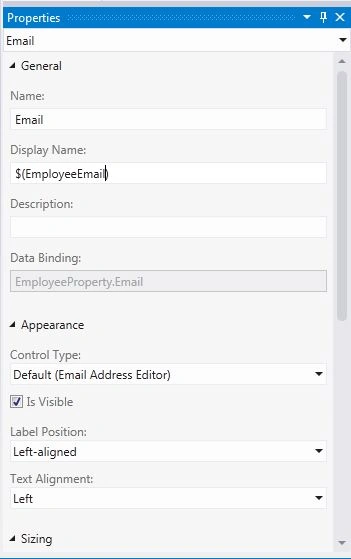
In the Properties window, choose the "Display Name" property, and then enter "$(EmployeeEmail)".
Step 13
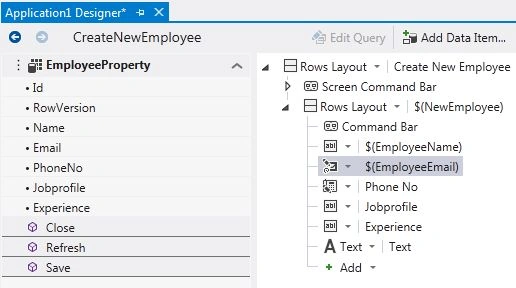
Now the screen designer will look like this as shown in the following:
Step 14
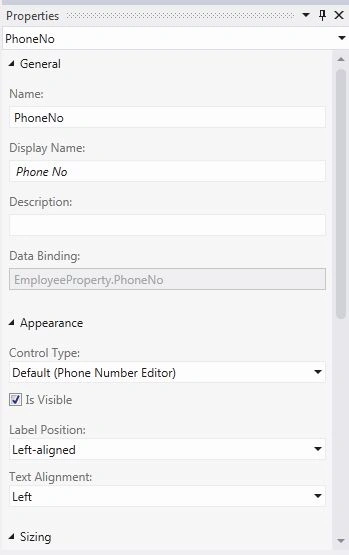
In the Screen Designer, choose the "PhoneNo" node.
Step 15
Open the Property Window for the PhoneNo.
Step 16
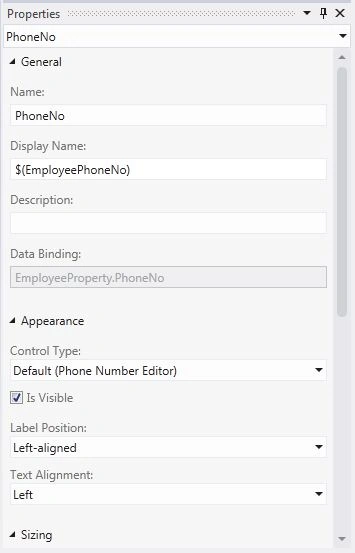
In the Properties window, choose the Display Name property, and then enter "$(EmployeePhoneNo)".
Step 17
Now the screen designer will look like this as shown in the following:

Step 18
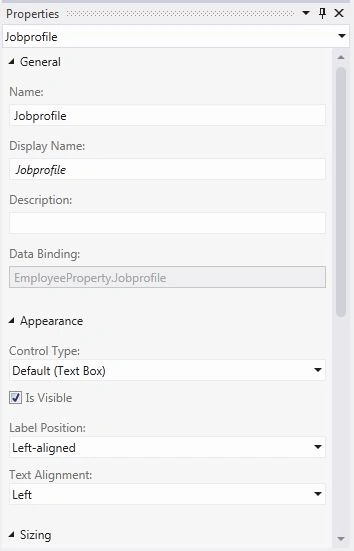
In the Screen Designer, choose the "Jobprofile" node.
Step 19
Open the Property Window for the Jobprofile.
Step 20
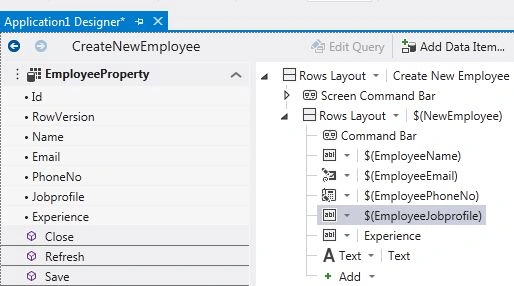
In the Properties window, choose the Display Name property, and then enter "$(EmployeeJobprofile)".

Step 21
Now the screen designer will look like as shown in the following:
Step 22
In the Screen Designer, choose the "Experience" node.
Step 23
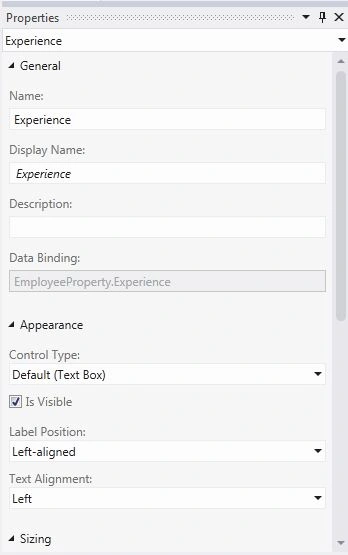
Open the Property Window for the Experience.
Step 24
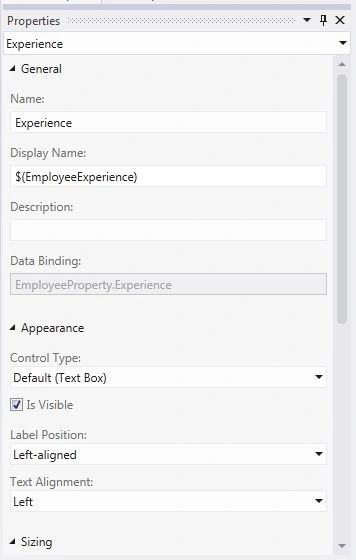
In the Properties window, choose the Display Name property, and then enter "$(EmployeeExperience)".
Step 25
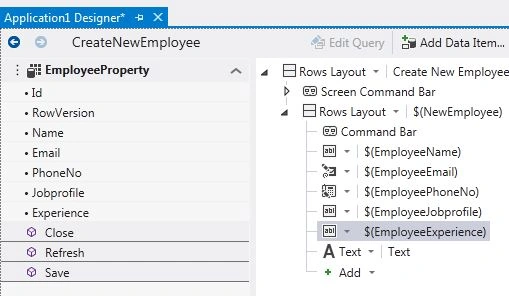
Now the screen designer will look like this as shown.
Step 26
In the Screen Designer, choose the Text node.

Step 27
In the Screen Designer, open the shortcut menu for the Text node, and then choose "Edit Content".

Step 28
In the Properties window, replace the existing text with "$(Text)".
Step 29
Now the screen designer will look like as shown in the following:

Step 30
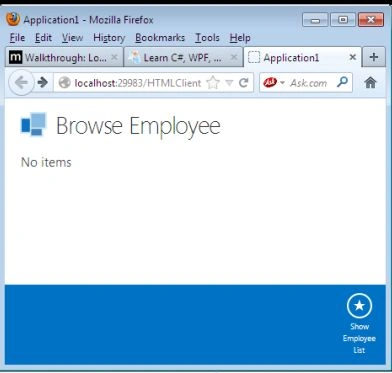
As we run the application we will have:
Step 31
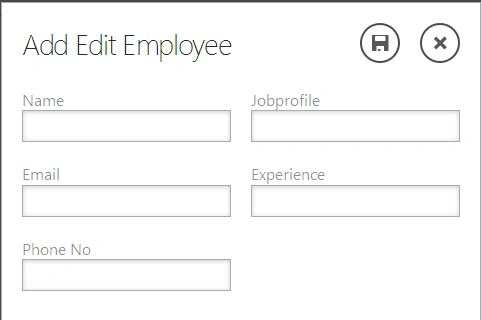
Click on the show employee list; we will see:
Step 32
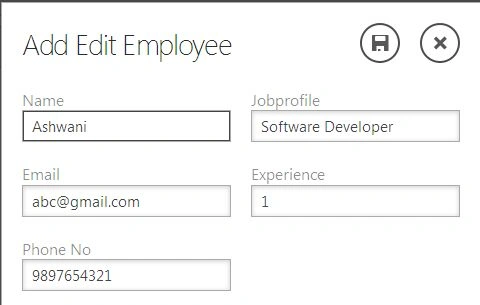
Enter the Value in the following fields:
Step 33
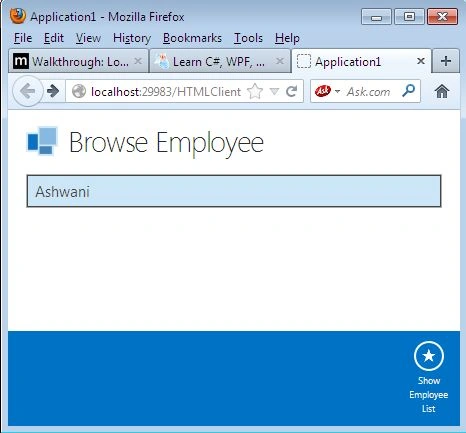
After inserting the data into the following fields, click on the save button and we get:
Join the conversation! Your thoughts help the community grow.