

Introduction
One of the most important tasks when we build an application is to allow the user to save data. We all know that each platform has a different implementation to do that. When we use Xamarin with the .Forms UI Technology and the PCL (Portable Class Library) code sharing strategy, we could get confused about writing, reading, and saving data implementation.
The goal of this tutorial is to show you how to write, read, and save data using Xamarin.Forms.
There are four “places” there to save data:
- Preferences or Application Properties: Great to save the using preferences of the user.
- File System: Great to save most types of data
- Database: Great when we need to allow the user to do relational operations with the data.
- Cloud: When we need to connect to a web service
In this tutorial series, I’ll cover the all four methods for the three mobile platforms and Windows desktop.
It’s important to say, before starting, that I’ll use “basic code method” and not the “clean code” one, because the purpose of the present tutorial is to show you the basics to save data.
Prerequisites
- IDE: Visual Studio 2017 Community Edition.
The steps given below will lead you to the goal.
Part 1
Preferences or Application Properties
Step 1
- Launch Visual Studio and create a default application.
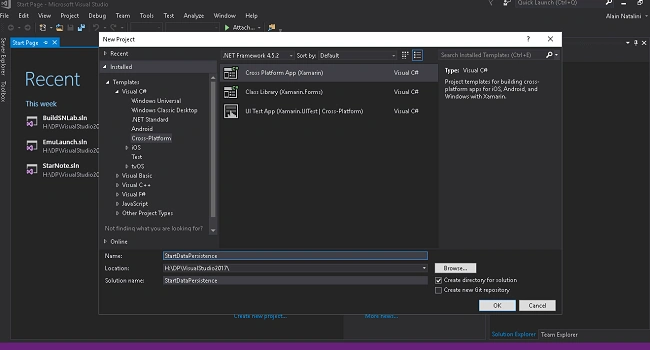
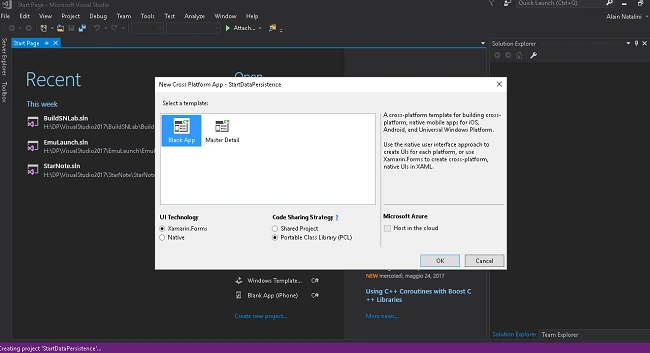
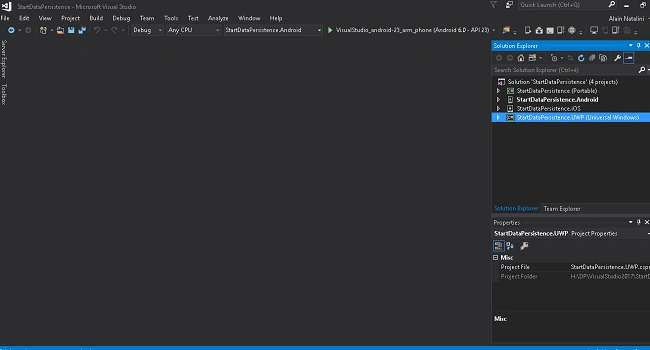
Step 2
- Now, we need to customize the User Inteface, adding a text field and two switches. To do that, go to Solution Explorer, expand the solution Portable node, open the MainPage.xaml file, and replace the auto-generated code with the given one.
- <?xml version="1.0" encoding="utf-8" ?>
- <ContentPage xmlns="http://xamarin.com/schemas/2014/forms" xmlns:x="http://schemas.microsoft.com/winfx/2009/xaml" xmlns:local="clr-namespace:StartWithDataPersistence" x:Class="StartWithDataPersistence.MainPage" Title="Settings">
- <TableView Intent="Settings" HorizontalOptions="Center" VerticalOptions="StartAndExpand">
- <TableRoot>
- <TableSection>
- <EntryCell x:Name="userNickName" Text="{Binding NickName}" Label="NickName" Placeholder="Insert here your NickName" Completed="OnChange" />
- <SwitchCell x:Name="notificationEnabled" Text="Notifications" On="{Binding NotificationsEnabled}" OnChanged="OnChange" />
- <SwitchCell x:Name="airplaneModeEnabled" Text="Airplane Mode" On="{Binding AirplaneModeEnabled}" OnChanged="OnChange" /> </TableSection>
- </TableRoot>
- </TableView>
- </ContentPage>
Before
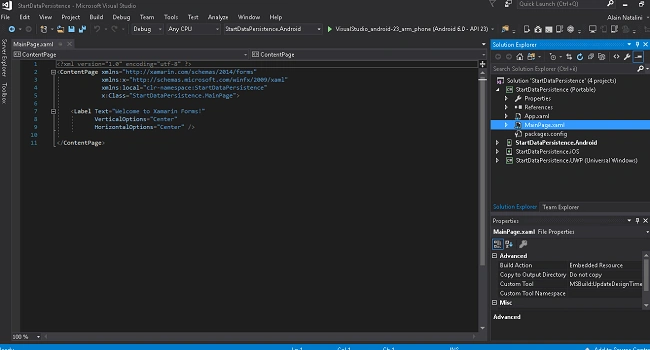
After

Step 3
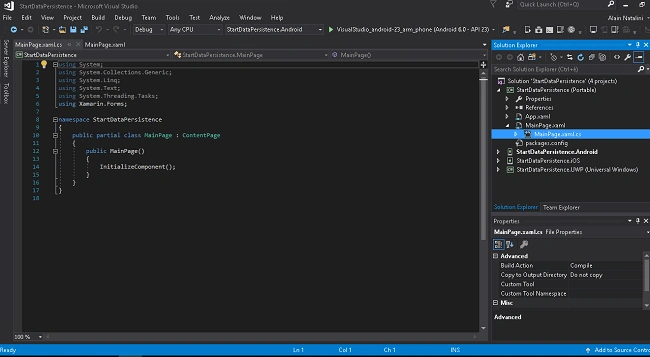
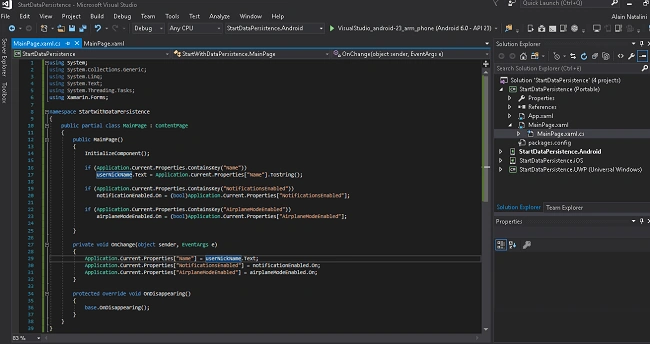
- Now, we are going to connect the User Interface to the engine, in the Code Behind of the app. Our goal is to save the user’s settings.
As we saw before, we have added an EntryCell (the name of the user) and two Switches (Notifications and Airplane Mode). To do that, go to Solution Explorer, expand the solution Portable node, open the MainPage.xaml.cs file , delete the auto-generated code and write the following.- using System;
- using System.Collections.Generic;
- using System.Linq;
- using System.Text;
- using System.Threading.Tasks;
- using Xamarin.Forms;
- namespace StartWithDataPersistence {
- public partial class MainPage: ContentPage {
- public MainPage() {
- InitializeComponent();
- if (Application.Current.Properties.ContainsKey("Name")) userNickName.Text = Application.Current.Properties["Name"].ToString();
- if (Application.Current.Properties.ContainsKey("NotificationsEnabled")) notificationEnabled.On = (bool) Application.Current.Properties["NotificationsEnabled"];
- if (Application.Current.Properties.ContainsKey("AirplaneModeEnabled")) airplaneModeEnabled.On = (bool) Application.Current.Properties["AirplaneModeEnabled"];
- }
- private void OnChange(object sender, EventArgs e) {
- Application.Current.Properties["Name"] = userNickName.Text;
- Application.Current.Properties["NotificationsEnabled"] = notificationEnabled.On;
- Application.Current.Properties["AirplaneModeEnabled"] = airplaneModeEnabled.On;
- }
- protected override void OnDisappearing() {
- base.OnDisappearing();
- }
- }
- }
Before
After
Step 4
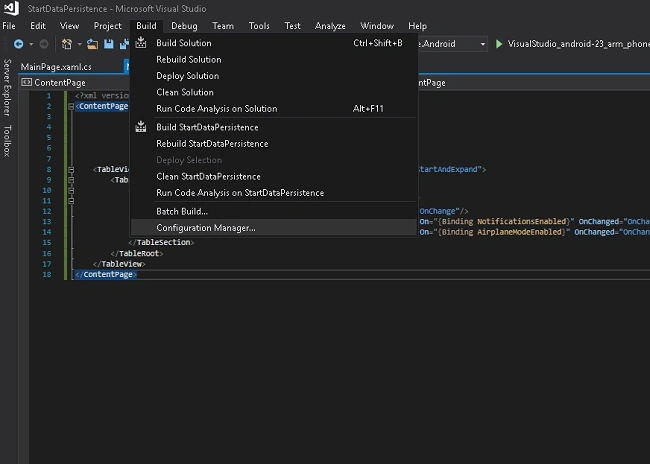
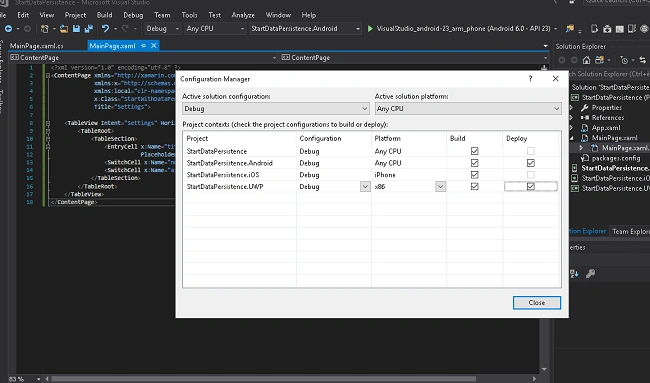
- Well, now we’ll take a look at the output and behaviour of our application. We need to set the concerned one as start-up project, and setup the Configuration Manager.
To do that, go to Solution Explorer, right click on the project of our interest and click on SetUp As StartUp Project. Then, go to Configuration Manager and be sure to check all the concerned platforms.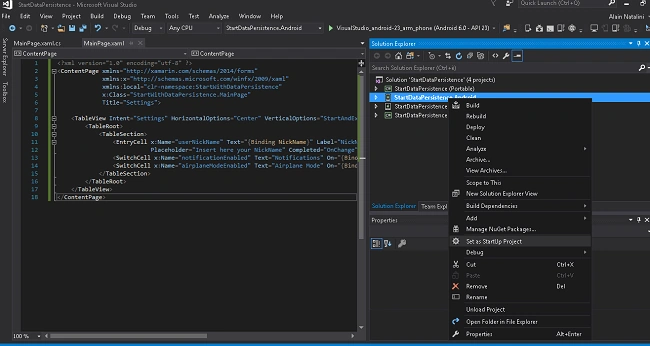
Step 5
- Now, we’ll see the output on the three mobile platforms, on Windows desktop, and the relative behavior within:
Windows 10 Desktop
Launch application.
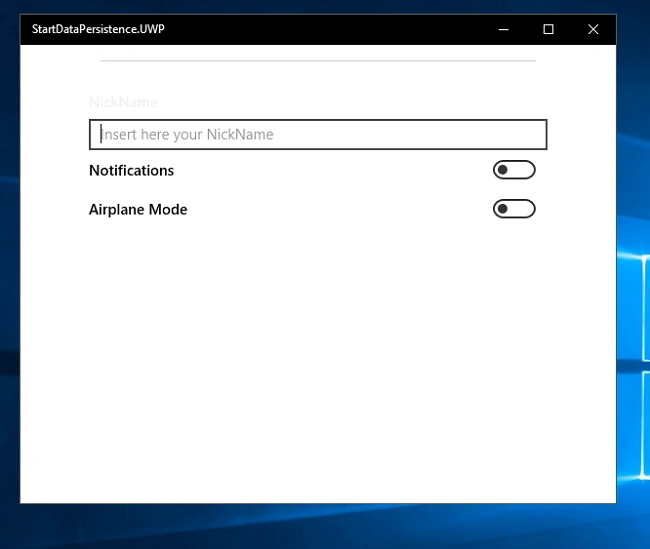
Insert the user’s preferences.
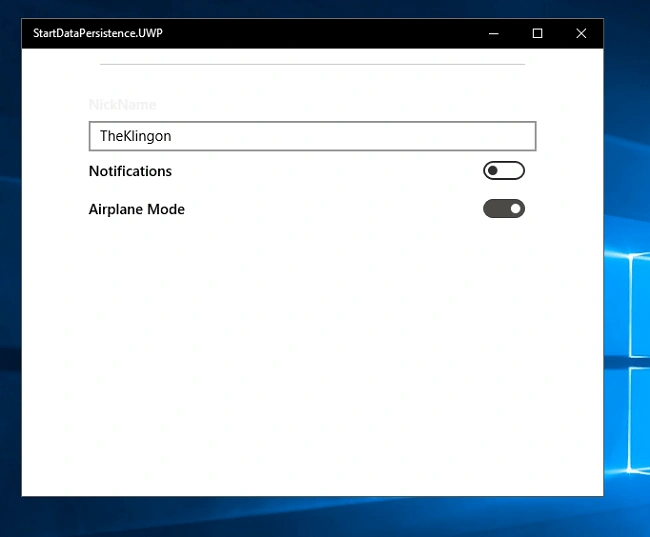
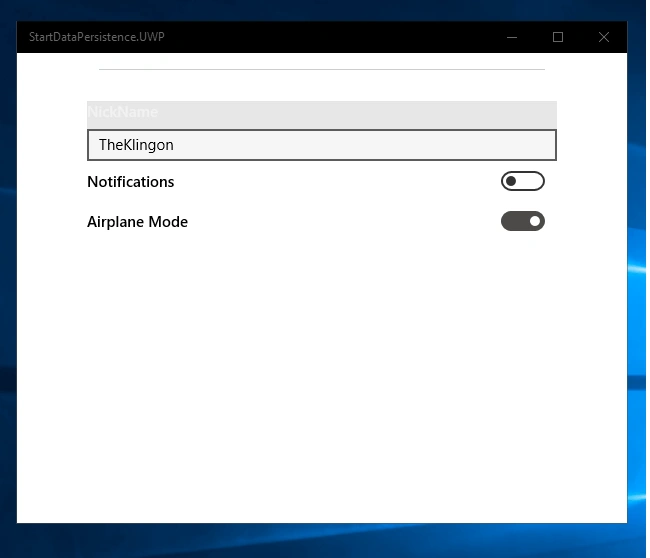
Restart the app. We’ll get the following output.
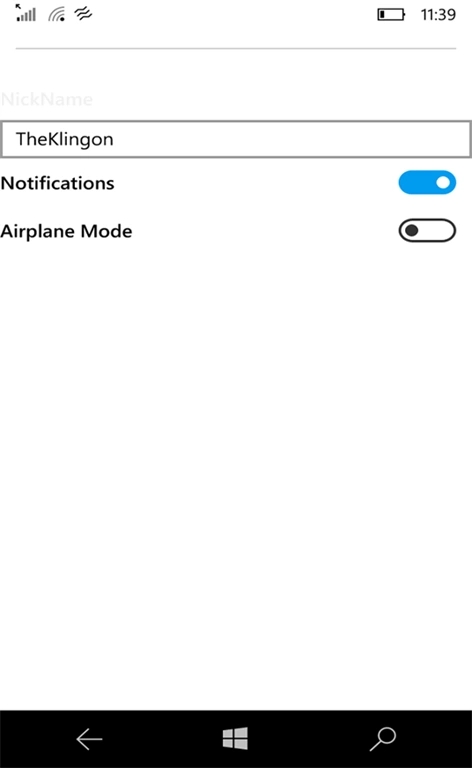
Windows 10 Mobile
Launch application.
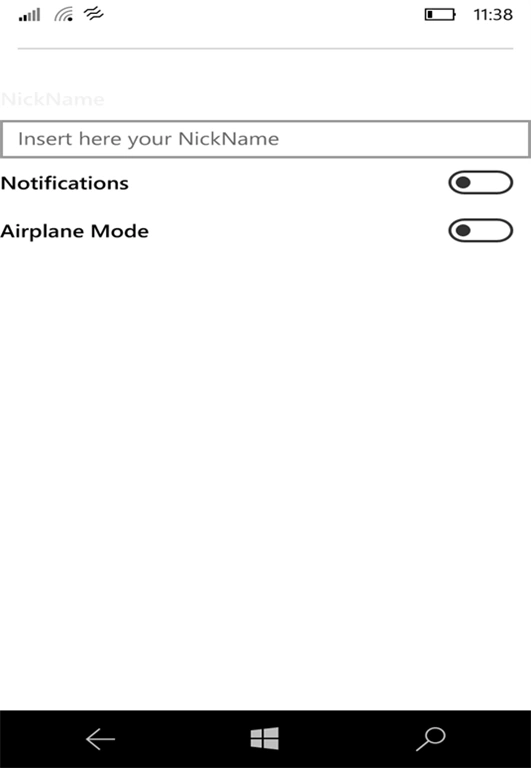
Insert the user’s preferences.
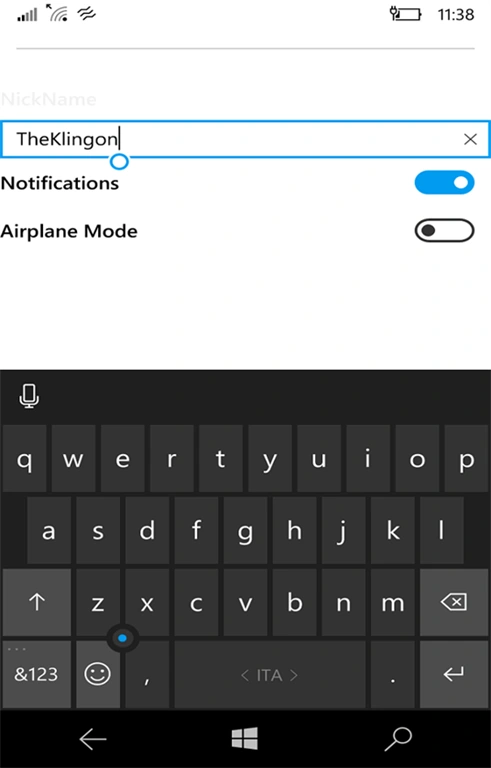
Restart the app. We’ll get the following output.
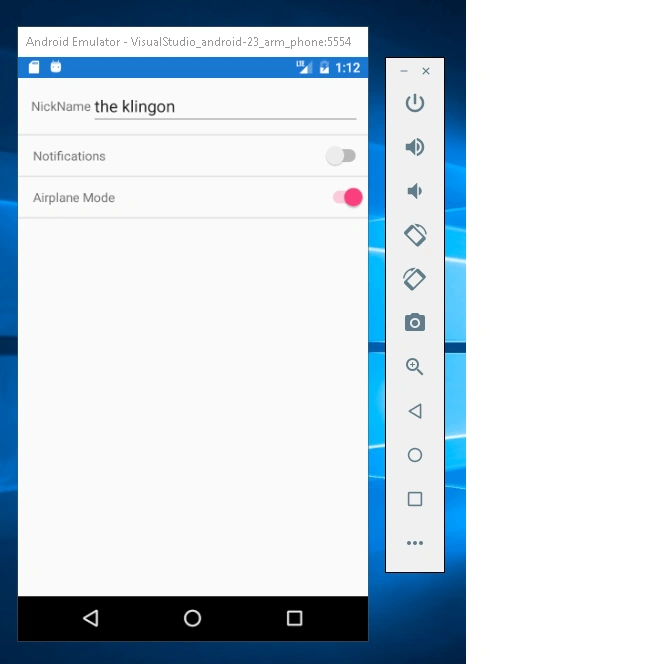
Android
Launch application.
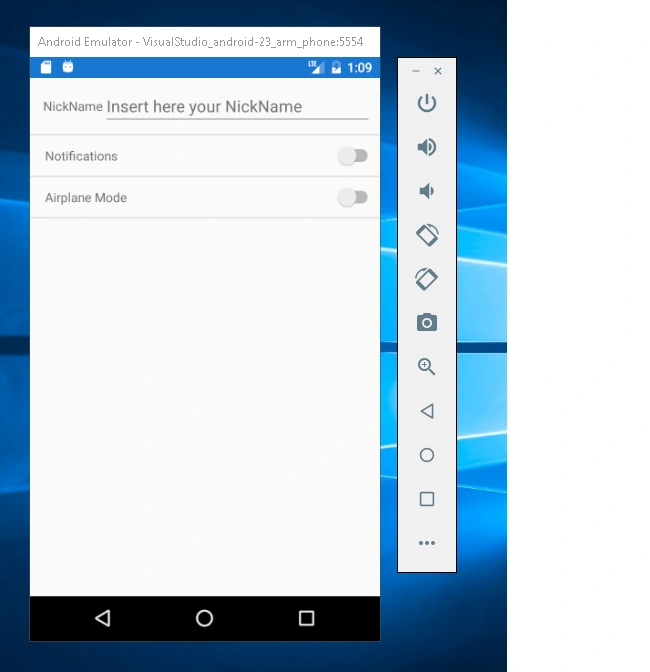
Insert the user’s preferences.
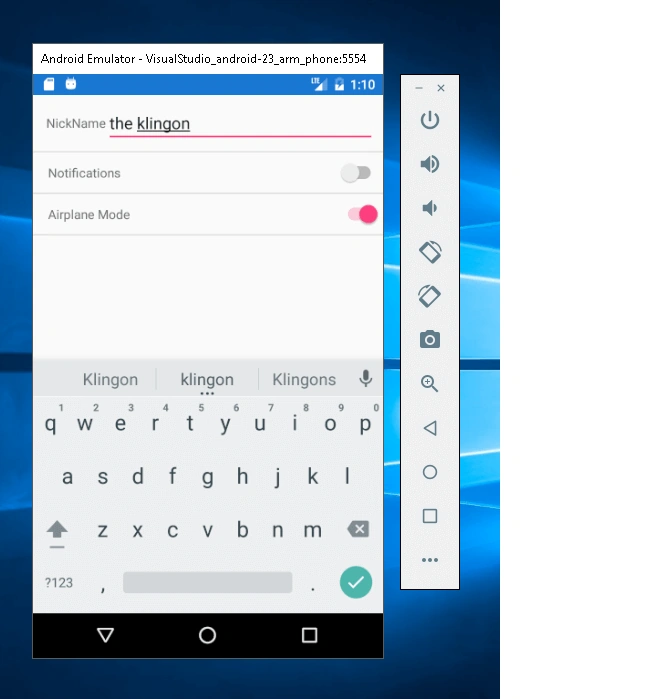
Restart the app. We’ll get the following output.
iOS
Launch application.
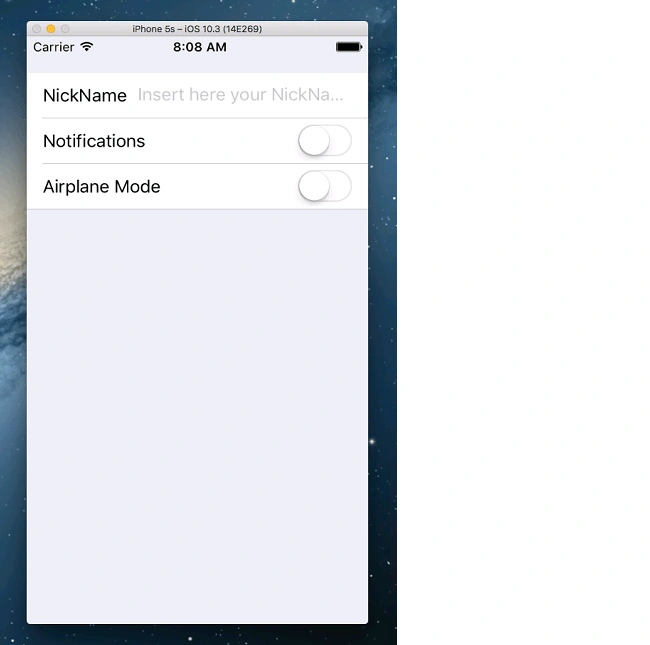
Insert the user’s preferences.
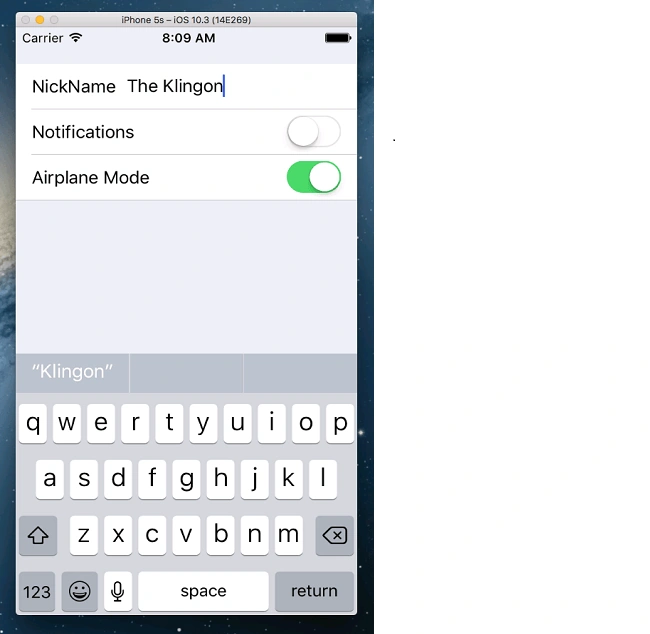
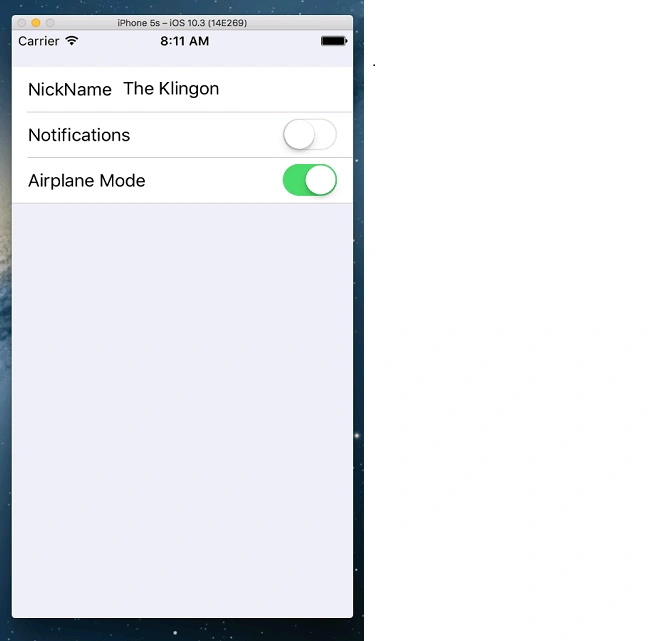
Restart the app. We’ll get the following output.
Conclusion
As we saw before, even if the application has been closed, the preferences are active and reflect the users’ settings when it restarts. This method is great when we need to allow the user to use and store settings preferences about the app.
As I said earlier, the code shown above is essentially the basics, just like the purpose of this tutorial. Of course, you can improve it avoiding the redundant and hard code, but that is out of aim at this time.
In the next tutorial, I’ll show you how to save data in the File System.
Thank you for your attention and interest.
Join the conversation! Your thoughts help the community grow.