

Introduction
Recently, I wanted to rename my Windows 10 laptop. Here are the steps to rename your Windows 10 PC.
Step 1. Go to Windows 10 Settings
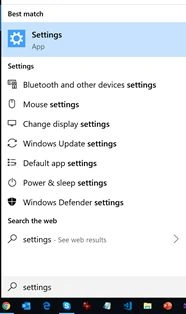
Search settings by typing “Settings” in Windows search. Select the Settings App.
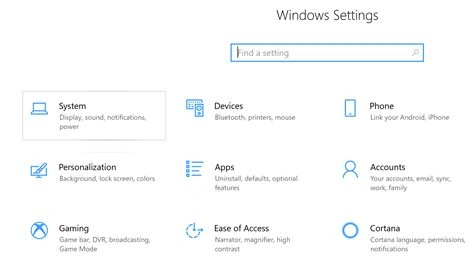
Step 2. On the Windows Settings screen, select System
The System option allows you to get and modify the display, sound, notifications, power, and other system settings.
Step 3. Go to About screen
As you can see on this screen, you can review settings for Power, Battery, Storage, Tablet mode, Multitasking, Projector, Sharing, and Remote Desktop. The last option is the About settings, which is about this computer.
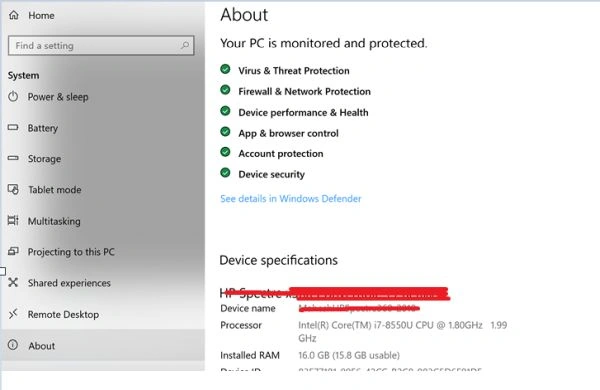
Scroll down to the bottom of the left side System settings links to see the About settings.
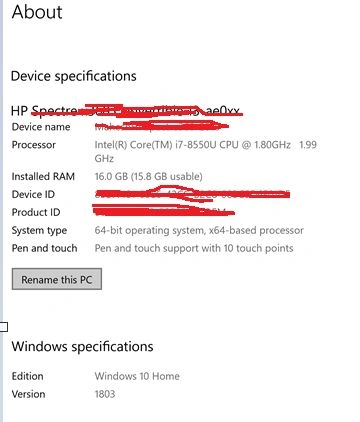
As you can see from the About screen, you will see the various statuses of this PC including security statuses. The Device specifications area is where you can see Device Name, Processor, RAM and so on.
Step 4. Find Rename this PC
Look at and click on the Rename this PC button.
Step 5. Rename your PC
Click on the button will open a popup where you can see your current PC name and also enter the new name of your PC. I enter the new name and hit Next button.

Step 6. Finish
On the next screen, you will see an option that your PC will be renamed when you restart your PC. You can Restart now or later on this screen by selecting one of the options.

If you notice the Device name, it also says the new name of the PC after the restart.
Summary
In this article, we learned how to rename a Windows 10 PC.
Logesh PalaniPosted Jul 21, 2019, 1:22 AM
Good one !