

Getting Started:
- Create a new website in asp.net
- Put website name and browse save location
- Click OK.
Create a new database and make a new table and add some columns.
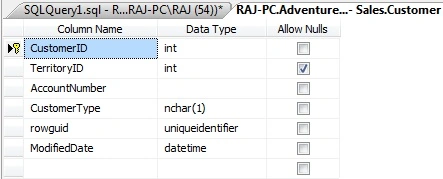
Figure 1.
Insert some data in table.
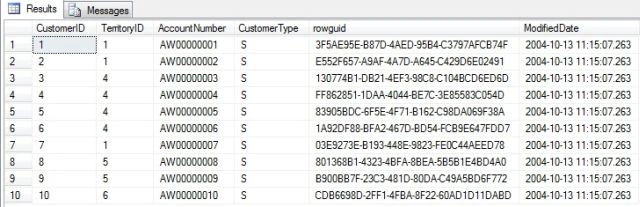
Figure 2.
Create a new stored procedure and select records to show on page.
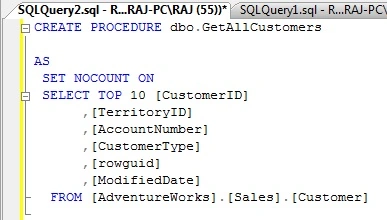
Figure 3.
Add a new Linq to SQL Classes in application.
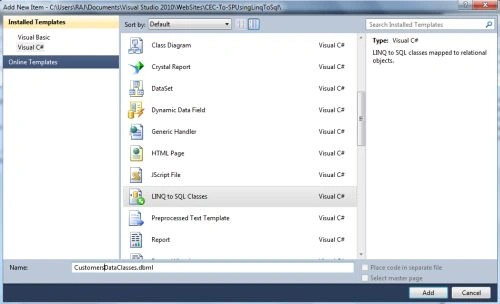
Figure 4.
If a data connection is not added then add a new data connection in the Server Explorer.
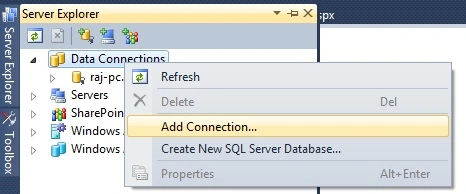
Figure 5.
Configure a data connection with server name, authentication and database.
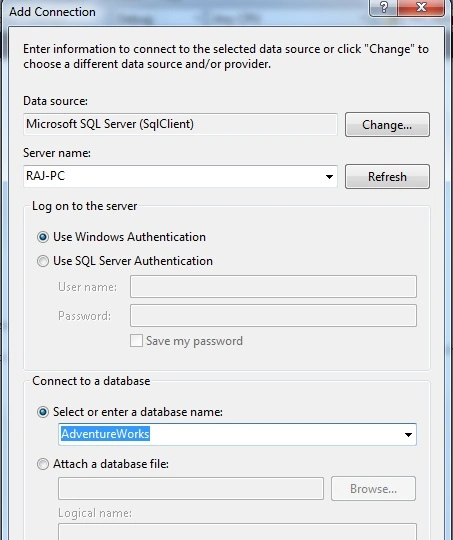
Figure 6.
Now drag and drop a stored procedure onto the LINQ to SQL Classes.
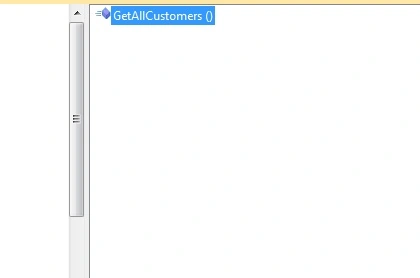
Figure 7.
Now add a new entity class called customers using right-click into LINQ-To-SQL data context.
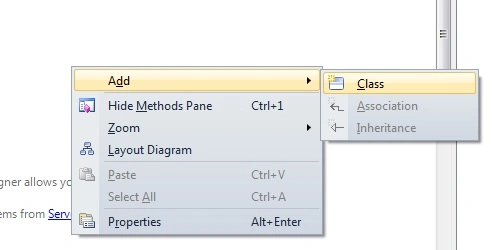
Figure 8.
Add properties using right-click and click Add Properties.
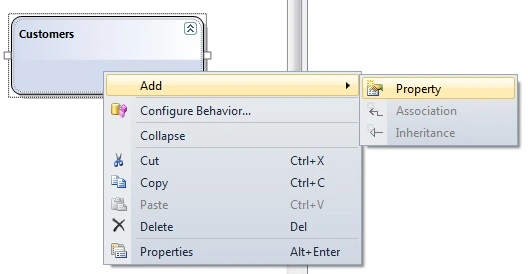
Image 9.
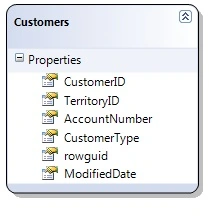
Figure 10.
Now time to bind the stored procedure with the customer class; right-click on the stored procedure and click on properties and select class name in ReturnType.
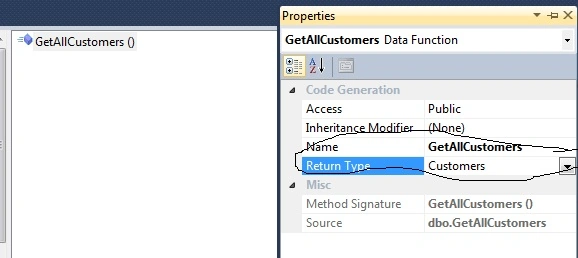
Figure 11.
Now drag and drop GridView control onto the page.
<h2>
Customers</h2>
<p>
<asp:GridViewID="CustomersGridView"runat="server">
</asp:GridView>
</p>
protectedvoidPage_Load(object sender, EventArgs e)
{
if (!Page.IsPostBack)
{
using (CustomersDataClassesDataContext customers = newCustomersDataClassesDataContext())
{
List<CustomersList>CustomersList = customers.GetAllCustomers().ToList<CustomersList>();
CustomersGridView.DataSource = CustomersList;
CustomersGridView.DataBind();
}
}
}
All set; now build and run the website to see the result.
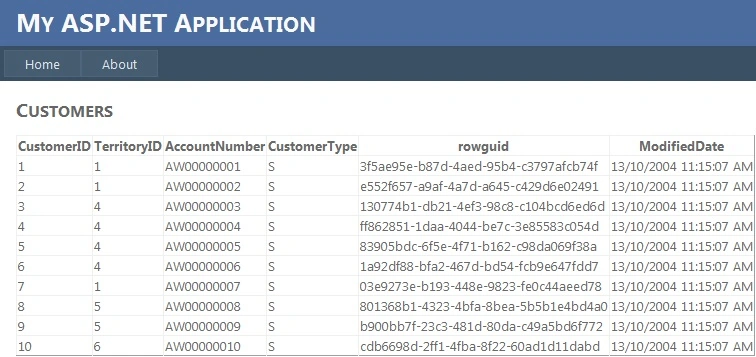
Figure 12.
Join the conversation! Your thoughts help the community grow.