

Introduction
The magnifier tool is a provision to temporarily enlarge a portion of the screen. It is an inbuilt feature in the Windows family. With the help of the magnifying tool, the user can make the screen bigger. This feature is very helpful for those who are suffering from blurred vision and this feature is very helpful to enlarge the particular view before the spectators through the projectors.
This tutorial will show you various ways how to enable and use the magnifier app in Windows 10.
Step 1. Open the Magnifier app by following the below methods.
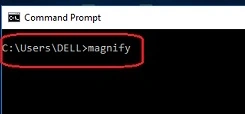
Method 1. Through Command Prompt
Step 1. From the start menu, type "Cmd and click on "Command Prompt" to open it.
Step 2. Type "magnify" and press the enter key to open the "Magnifier" app.
Method 2. Through Windows Powershell
Step 1. Open Windows PowerShell. (Alternatively, you can press the "Windows + X" key and click on "Windows PowerShell" to open it.)
Step 2. Type "magnify" and press enter to open "Magnifier".

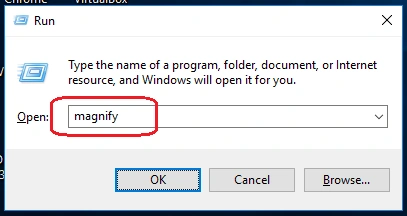
Method 3. Via Run Command
Step 1. From the Start menu, open the Run dialog box or you can Press the "Window + R" key to open the RUN window.
Step 2. Type "magnify" and press enter key to open the "Magnifier".
Method 4. From Search
From the Search, open the "Magnifier" app by typing the Magnifier.

Method 5.Using Shortcut Keys
Step 1. Press the "Windows + Plus sign (+)" key to open the "Magnifier" app easily and by pressing the "Windows + Esc" key, the user can close it.
Step 2. The user can use the Magnifier app in three different views.


Join the conversation! Your thoughts help the community grow.