

This is part 3 of HTML Helpers series.
In the previous two articles of this series we discussed how to render a TextBox, dropdownlist, radio button and a checkbox control using HTML Helpers.
To learn more please refer to the link given below.
1. HTML Helpers in MVC: Part 1
2. HTML Helpers in MVC: Part 2
This article explains how to use the Display and Editor Template HTML Helpers.
Display Template Helpers
There are three Display Template Helpers.
1. @Html.Display(): This template can be used with a view that is not strongly-typed.
2. @Html.DisplayFor(): This template can be used with a strongly-typed view.
3. @Html.DisplayForModel(): This template can be used with a strongly-typed view.
Editor Template Helpers
There are three Editor Template Helpers.
1. @Html.Editor(): This template can be used with a view that is not strongly-typed.
2. @Html.EditorFor(): This template can be used with a strongly-typed view.
3. @Html.EditorForModel(): This template can be used with a strongly-typed view.
In both the templates, the last two templates can be used with strongly-typed views. But is there any difference between the two?
Yes.
@Html.DisplayFor() and @Html.EditorFor() can be used when your model returns a complex object.
Let's look at an example of each of these templates. But before that let's create an MVC application that we will use for the demo.
Step 1
Open Visual Studio and select "File" -> "New" -> "Project...".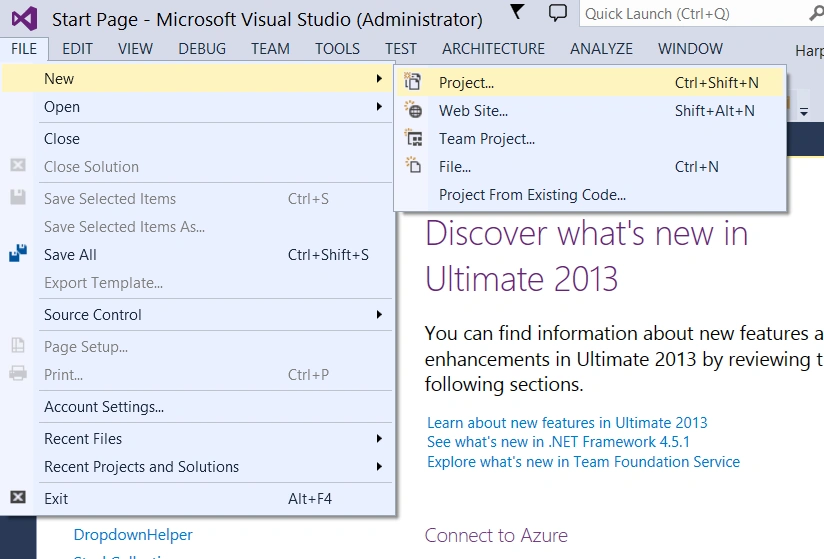
Select MVC 4 as the project.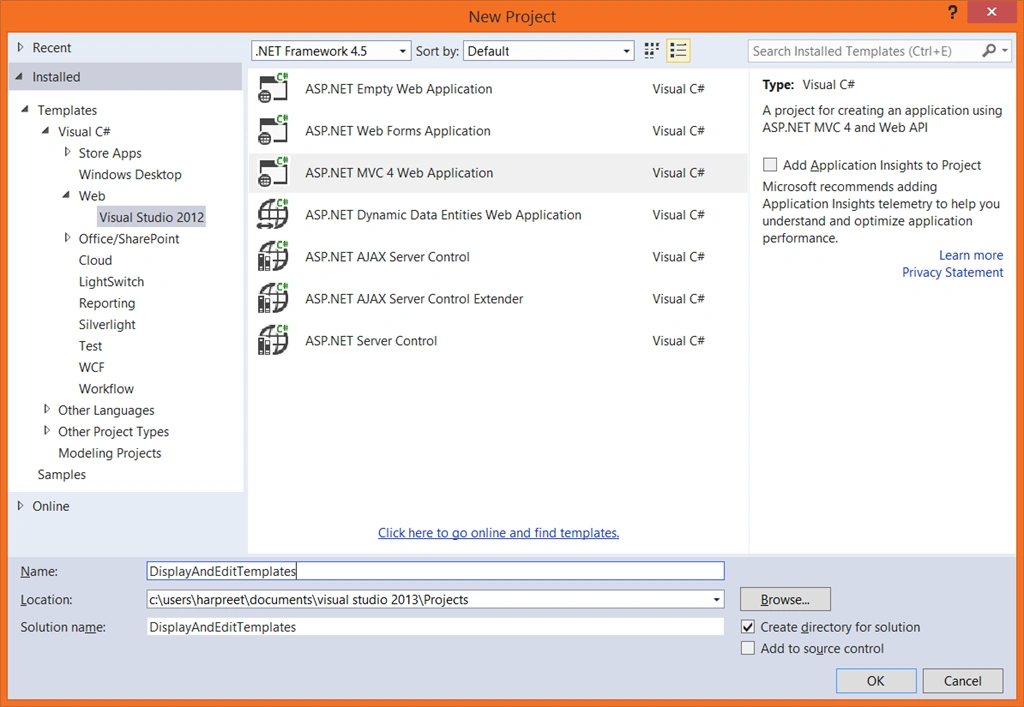
Click OK.
Select the project template as “Empty” and the view engine as “Razor”.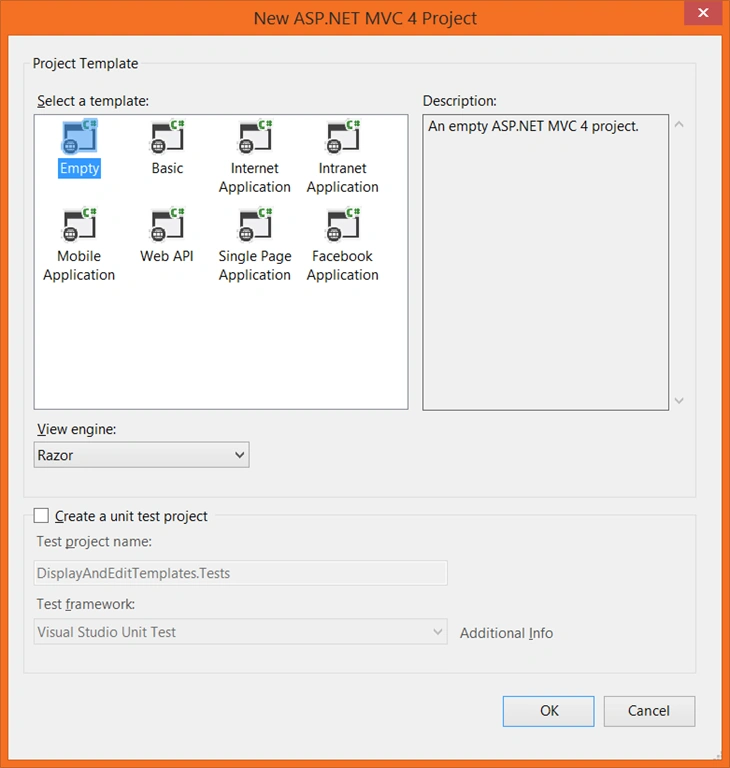
Click OK.
An empty MVC 4 application will be created. The next step is to install the Entity Framework.
Step 2
Go to Tools -> NuGet package manager -> Manage NuGet Packages for Solution.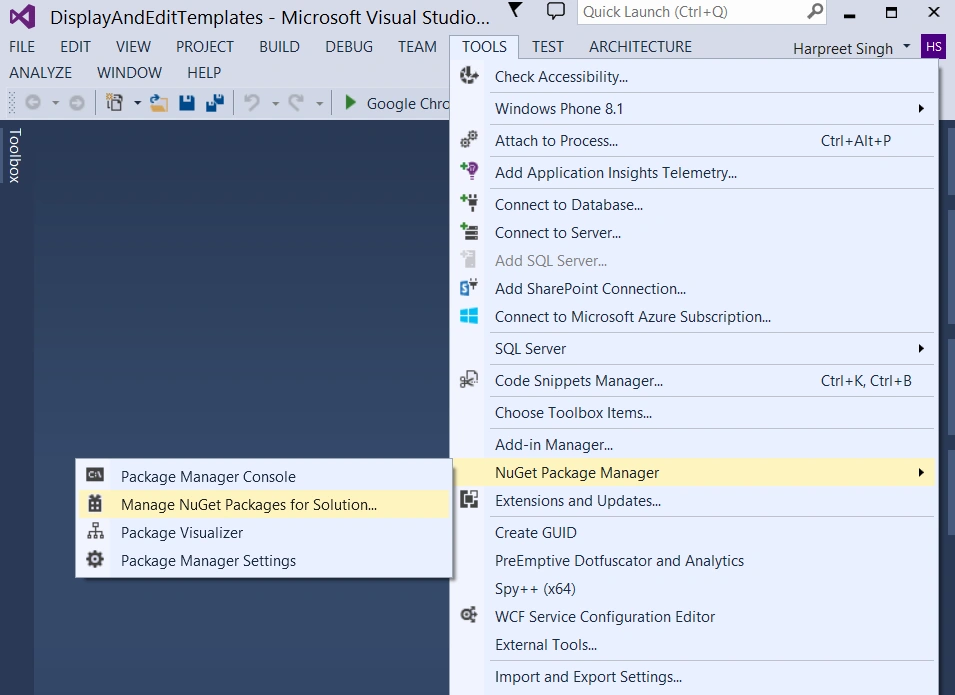
Click on the Install button.

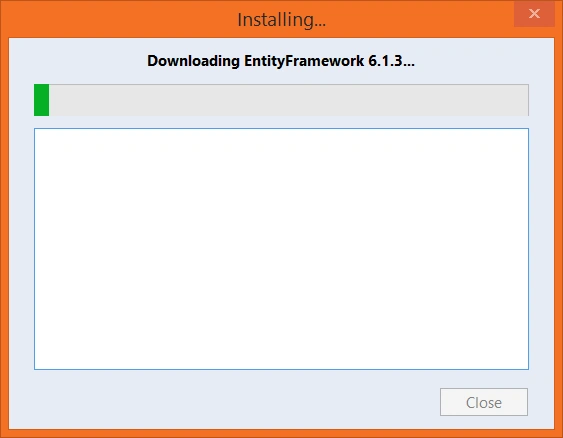
Select your current project.
Click I Accept.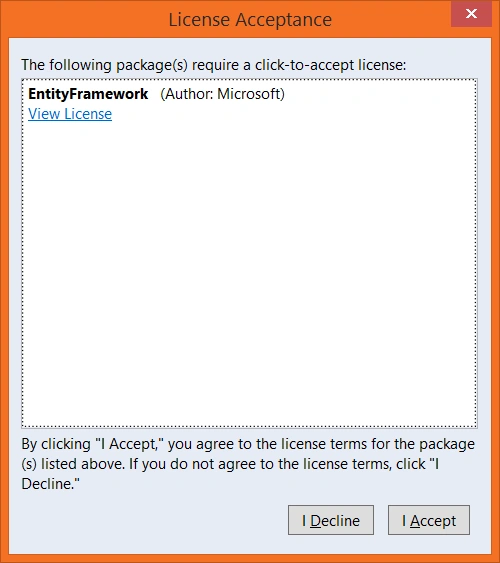

Once it is installed, click the Close button in the Manage NuGet Packages.
For the demo we will be using this database table.
Step 3
The next step is to add two class files to the Models folder.
Create a class “Employee” and add seven auto-implemented properties.
- using System;
- using System.ComponentModel.DataAnnotations.Schema;
- namespace DisplayAndEditTemplates.Models
{ - [Table("tblAttibute")]
- public class Employee
{ - public int Id { get; set; }
- public string EmployeeName { get; set; }
- public string Gender { get; set; }
- public DateTime? HireDate { get; set; }
- public string EmailAddress { get; set; }
- public int Salary { get; set; }
- public string PersonalBlog { get; set; }
- }
- }
The name of the properties must match the column name in the table.
We will be working with the tblAttibute table, so it is important to map our Employee class with the table or else it will create a new table in the database.
Add another class file “EmployeeDB.cs”.
- using System.Data.Entity;
- namespace DisplayAndEditTemplates.Models
{ - public class EmployeeDB : DbContext
{ - public DbSet<Employee> Employees { get; set; }
- }
- }
Add a connection string to the root web.config file.
- <connectionStrings>
- <add name="EmployeeDB" connectionString="server=.; database = db_Attibutes; Integrated Securiry =SSPI" providerName="System.Data.SqlClient"/>
- </connectionStrings>
Step 4
The next step is to add a controller.
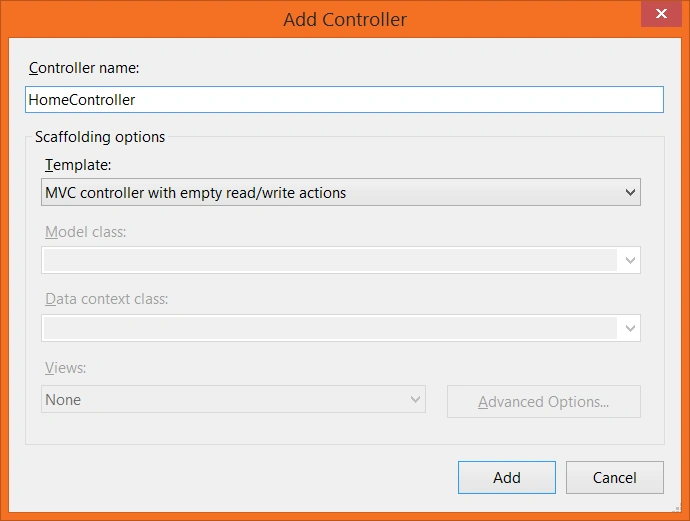
Click Add.
Step 5
The next step is to add a view but before that create a new object of the EmployeeDB class to the Index method.
- using DisplayAndEditTemplates.Models;
- public ActionResult Index()
{ - EmployeeDB empDB = new EmployeeDB();
- List<Employee> employees = empDB.Employees.ToList();
- return View(employees);
- }
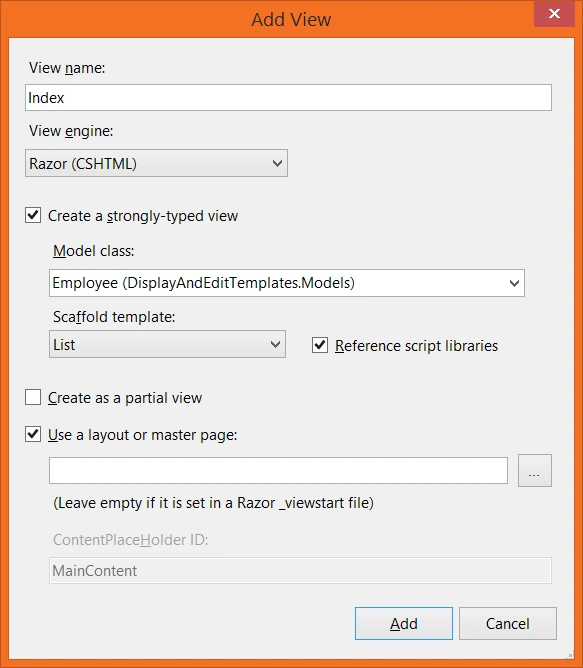
Just like that, create a Details view but before that add the following to the Details action method.
- public ActionResult Details(int id)
{ - EmployeeDB empDB = new EmployeeDB();
- ViewData["Employee"] = empDB.Employees.Single(x => x.Id == id);
- return View();
- }
We created an instance of the EmployeeDB class in the details action method.
This EmployeeDB class has a property “Employees” that returns a collection of employees back, out of which we want the details of a single employee. For that we used a Single extension method. In this method we passed a predicate x=> x.Id == id that retrieves the details of the employee whose Id matches the Id passed in as a parameter in the details action method.
After getting the employee records we stored it in a ViewData object.
Add a details view.
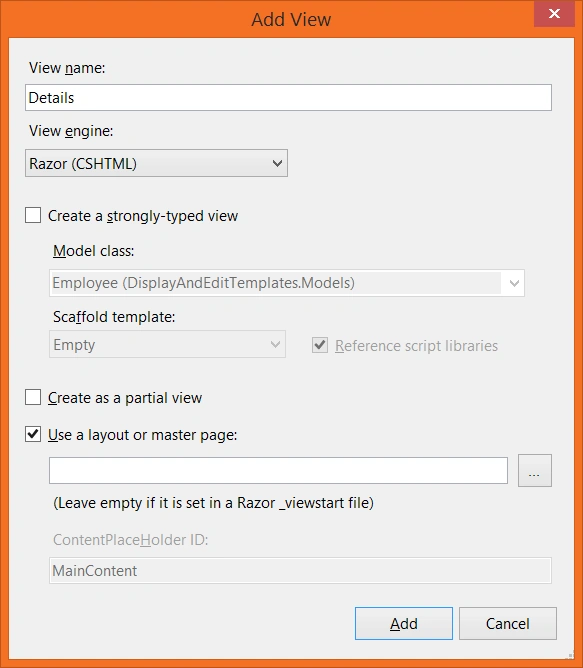
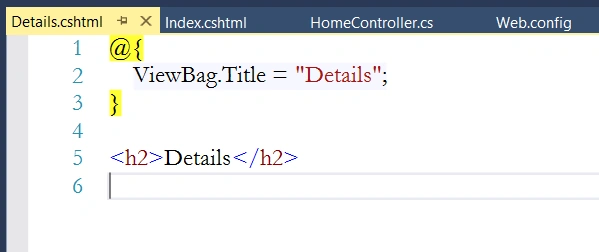
Now let's see how to work with the template HTML Helpers.
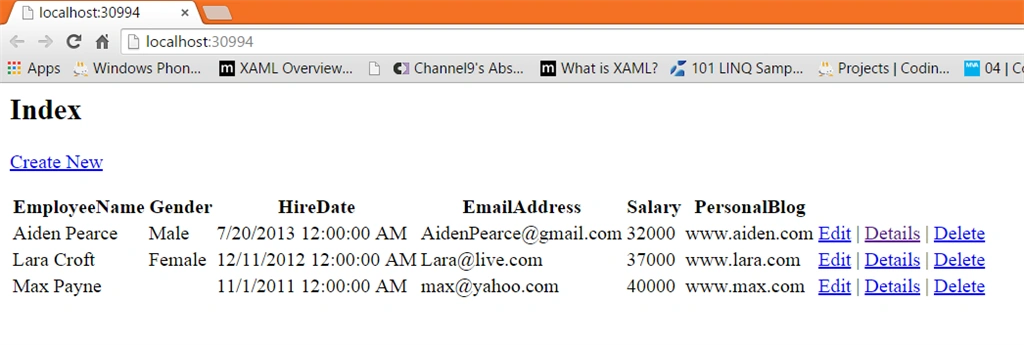
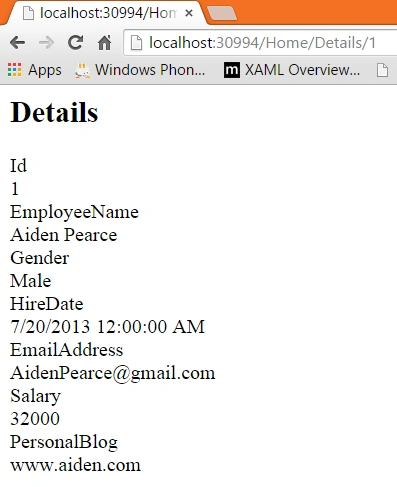
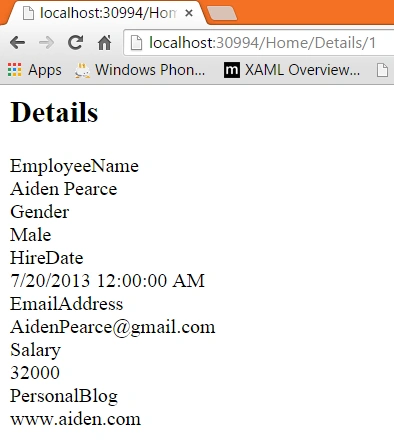
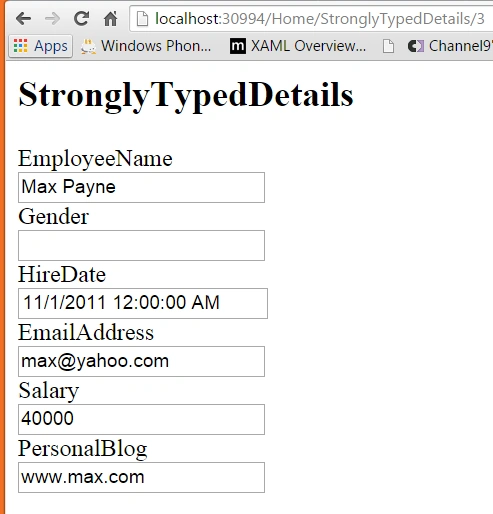
To render and display the details of an employee, all we need to do is to pass the ViewData key as a parameter in the Display HTML Helper.
- @Html.Display()
- @{
- ViewBag.Title = "Details";
- }
- <h2>Details</h2>
- @Html.Display("Employee")

Gowtham RajamanickamPosted Mar 27, 2015, 9:37 AM
good one..
Sourabh SomaniPosted Mar 19, 2015, 1:21 PM
good :)
Tom MohanPosted Mar 19, 2015, 12:33 PM
Great one