

Introduction
In this article, we explain how to install integration services on Hyper-V VMs in Windows 8. Before reading this article, I showed you how to set up a Virtual Machine on Windows 8 using Hyper-V. If we want to enhance the experience and fluidity of the VM, install Integration Services.
Note
Just think of them as Guest Additions in VirtualBox or VMware Tools. It provides a better experience.
Procedure to install integration services on Hyper-V VMs
Step 1
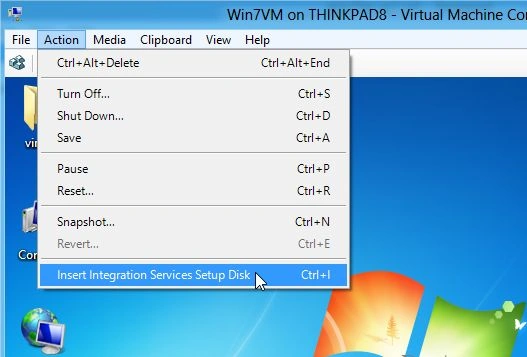
To install the VM in our Windows 8 system, go to the action tab and click the "Insert Integration Services Setup Disk" option.
Step 2
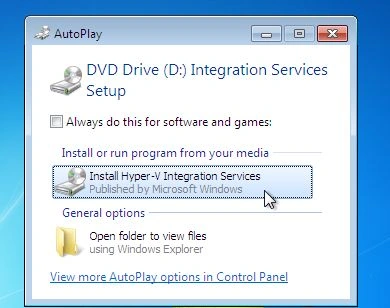
After that autoplay appears up in our client VM, and then select "Install Hyper-V Integration Services".
Step 3
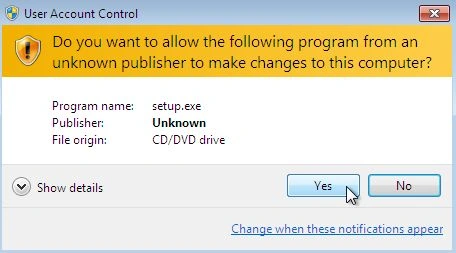
Agree to UAC if it's enabled.
Step 4
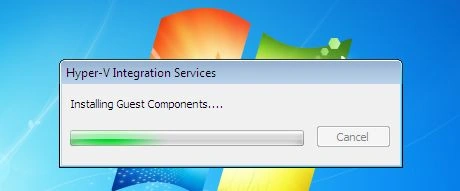
Then the Integration Services are installed.
Step 5
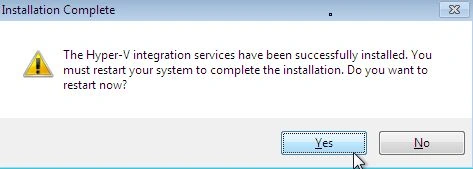
A reboot is required to complete the install.
Summary
In this article, we learned about Install Integration Services on Hyper-V VMs in Windows 8.
Join the conversation! Your thoughts help the community grow.