

Introduction
Visual Studio Express for the web can be easily installed online. Here are the steps to install Visual Studio Express. This article is for beginners who want to start with Visual Studio. I have explained the steps with needed screenshots.
Let us first start with downloading Visual Studio Express for Web,
Step 1: Download Visual Studio Express for Web from the following link:
Step 1: Download Visual Studio Express for Web from the following link:
Microsoft Visual Studio Express 2013 for Web with Update 5
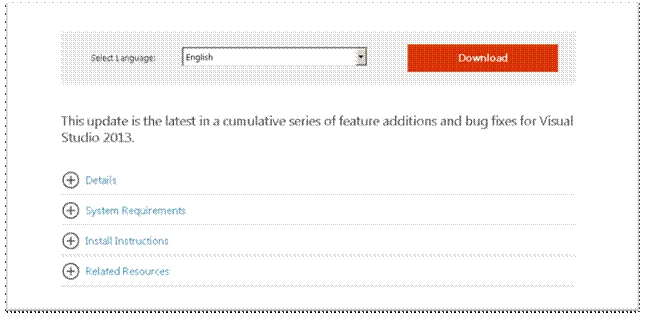
Step 2: Click the download button and choose the “vns_full.exe” for download and click next button.
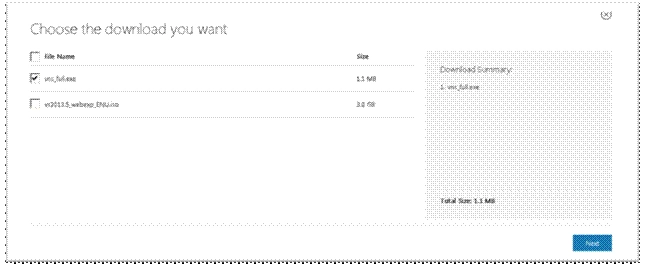
Step 3: After clicking download, save one exe file.
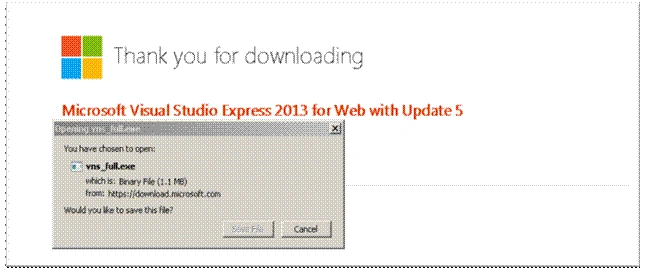
Step 4: Go to particular exe location saved in your system and double click exe. After clicking the exe a security warning window will open.
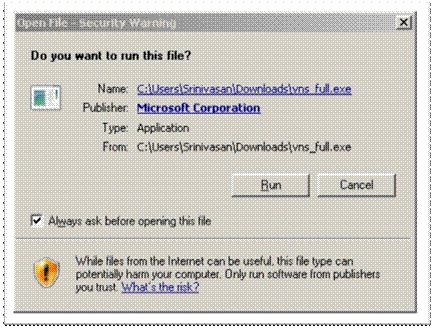
After clicking run button, the confirmation window will open.
Step 5: Now by clicking the Continue button your installation will start,
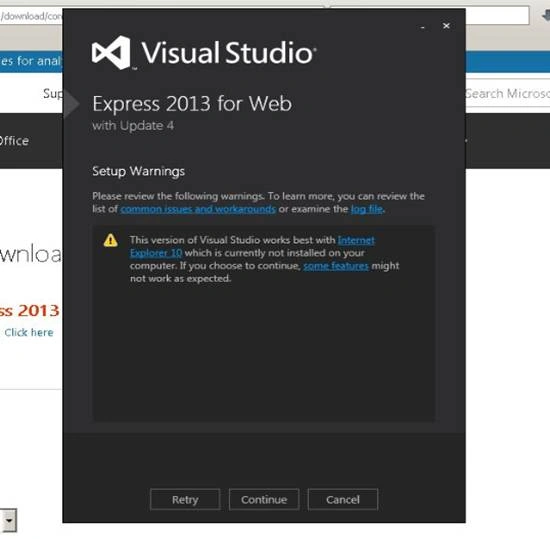
Step 6: Select the I agree to the License Terms and Privacy Policy and click INSTALL.
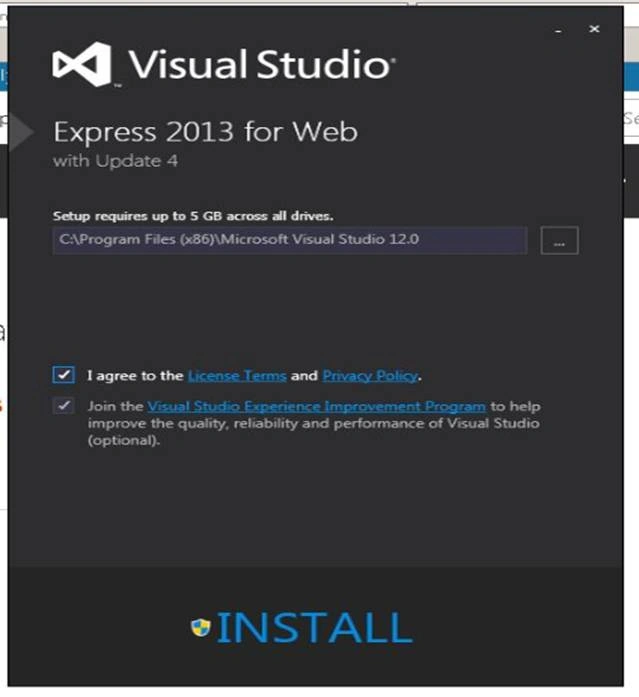
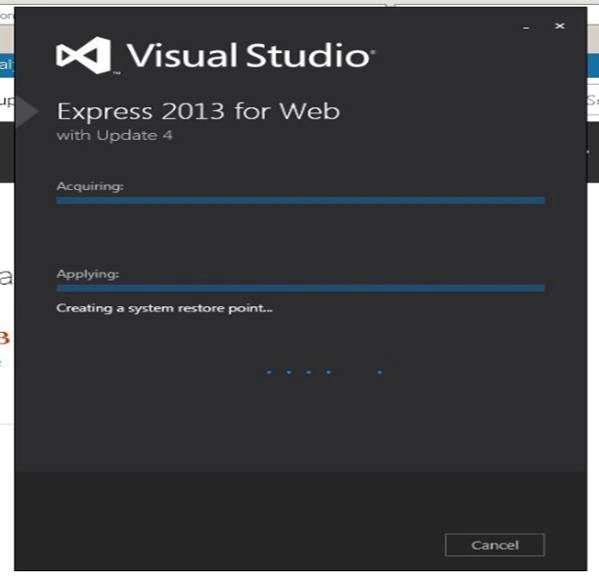
Step 7: After clicking installation, installation process will start as in the following image:
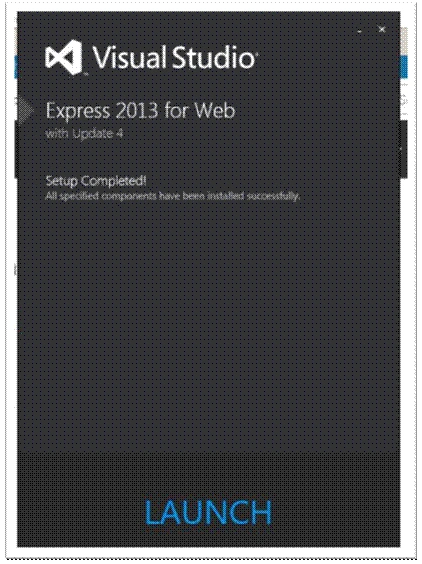
Step 8: After finishing installation process click LAUNCH button like the following image.
Step 9:
Click LAUNCH button. After clicking launch button it will take some time to open.
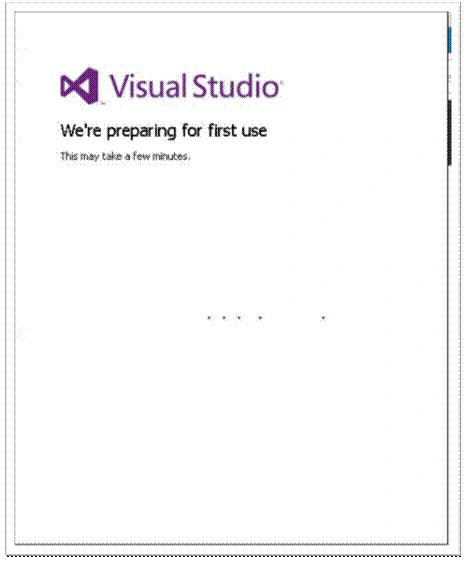
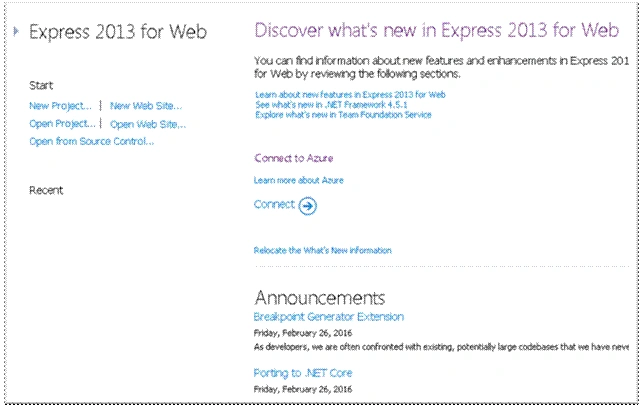
Step 10: Finally, Visual Studio Express for Web is visible like the following image. Click New Project to create a new project.
Conclusion
These step helps those who are .NET beginners. We can install Visual Studio Express for Windows using the same steps.
Step 2: Click the download button and choose the “vns_full.exe” for download and click next button.
Step 3: After clicking download, save one exe file.
Step 4: Go to particular exe location saved in your system and double click exe. After clicking the exe a security warning window will open.
After clicking run button, the confirmation window will open.
Step 5: Now by clicking the Continue button your installation will start,
Step 6: Select the I agree to the License Terms and Privacy Policy and click INSTALL.
Step 7: After clicking installation, installation process will start as in the following image:
Step 8: After finishing installation process click LAUNCH button like the following image.
Step 9:
Click LAUNCH button. After clicking launch button it will take some time to open.
Step 10: Finally, Visual Studio Express for Web is visible like the following image. Click New Project to create a new project.
Conclusion
These step helps those who are .NET beginners. We can install Visual Studio Express for Windows using the same steps.
Read more articles on Visual Studio:
Bhuvanesh MohankumarPosted May 3, 2016, 12:55 PM
Good one..
Sonu ChaudharyPosted Mar 18, 2016, 3:13 PM
good start
Vignesh ManiPosted Mar 11, 2016, 5:29 PM
Thanks Mani
Manimekalai GanesanPosted Mar 10, 2016, 10:59 PM
Nice viki
Kumaresh RajalingamPosted Mar 9, 2016, 8:38 PM
Nice
Vignesh ManiPosted Mar 9, 2016, 12:02 PM
Thanks to all.
Asfend YarPosted Mar 9, 2016, 11:27 AM
nice
Mohammed IbrahimPosted Mar 9, 2016, 9:23 AM
nice
Prashant VermaPosted Mar 9, 2016, 2:00 AM
good one
Saillesh PawarPosted Mar 9, 2016, 1:33 AM
For all freshers
Shailesh UkePosted Mar 9, 2016, 1:02 AM
Nice Article..