

What is nopCommerce
nopCommerce is an .NET framework based open source ecommerce platform that allows developers and website administrators to install and deploy e-commerce solution on their servers. It is fully customizable using Admin backend with settings and reports. nopCommerce is developed using ASP.NET 4.5 (MVC 5) for front-end with MS SQL 2008 (or higher) backend database.
- Fully customizable open source platform
- Product catalog
- Mobile commerce
- Multi-store using a single installaton
- Multi-vendor
- SEO
- Checkout
- Marketing
Payment methods - Shipping features
- Tax features
- Customer service
- Product features include custom product attributes, product comparison, stock management, price management, product download, product reviews and ratings, Rental products, Recurring Products, Product tags, RMA (return management), Supports multiple images per product, Featured products, sale products or new products, Disable buy buttons for specific products, Related product and cross-sells, "Email a friend" feature, Catalog mode (based on customer role), Bundle (e.g. Build your own computer) and grouped products, Conditional product attributes, Product specifications (e.g. processor, memory, graphic card), Security. ACL (access control list) on products, categories, and manufacturers, Products can require that other products are added to the cart (Product X requires Product Y), Real-time currency exchange rates (ECB), Configurable measure weights and dimensions,
Import and export, Bulk editing, and more.
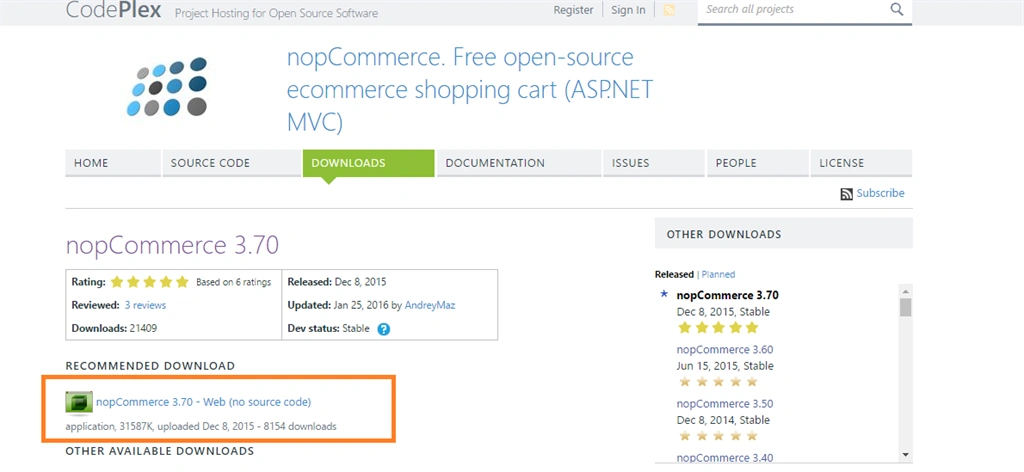
Download the nopCommerce 3.70 source code from https://nopcommerce.codeplex.com/releases/view/615748
- Basic knowledge of nopCommerce
- Basic knowledge of using FileZilla and Godaddy Control Panel.
Creating nopCommerce application in Godaddy plesk panel
Login to your Godaday account. Navigate to your Mange Host control panel, by using the quick link. In my case, I have purchased the economy plan with one MS SQL database. Let's start by creating a database.
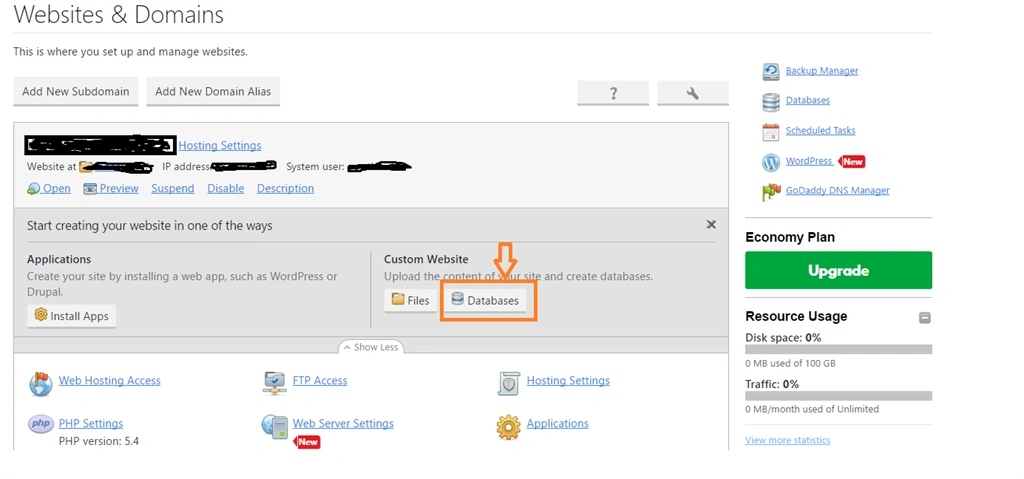 Click on Add New Database.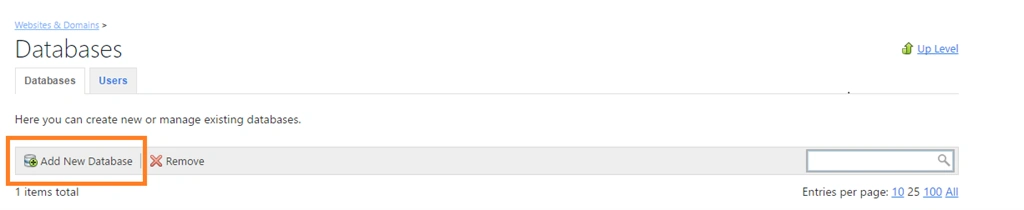
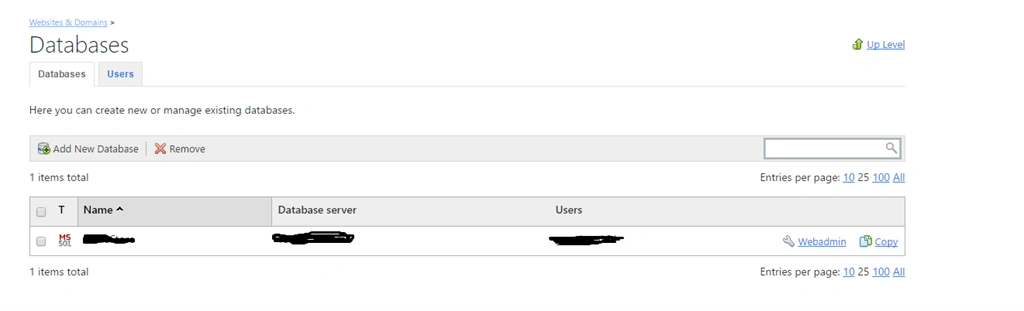 Extract the downloaded nopCommerce 3.70 and transfer the file to the Server, using FileZilla.
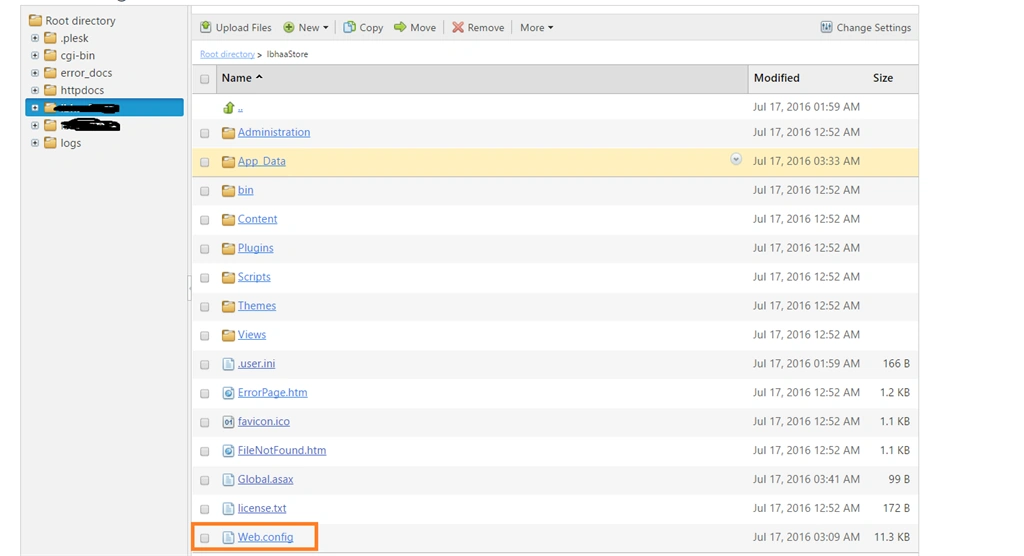
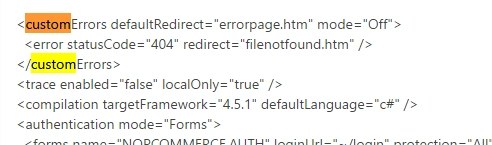
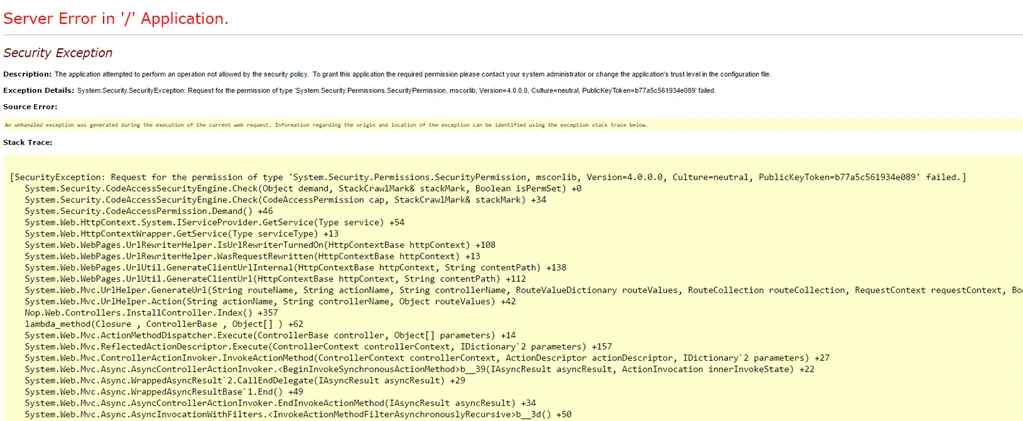
Once the file transfer is completed, go to your web hosting control panel and click on File Manager. If needed, you can rename the folder. Click on the web.config file and change the custom error mode to “off “, so that we can get the details of the exception that occurs while opening the site in browser.
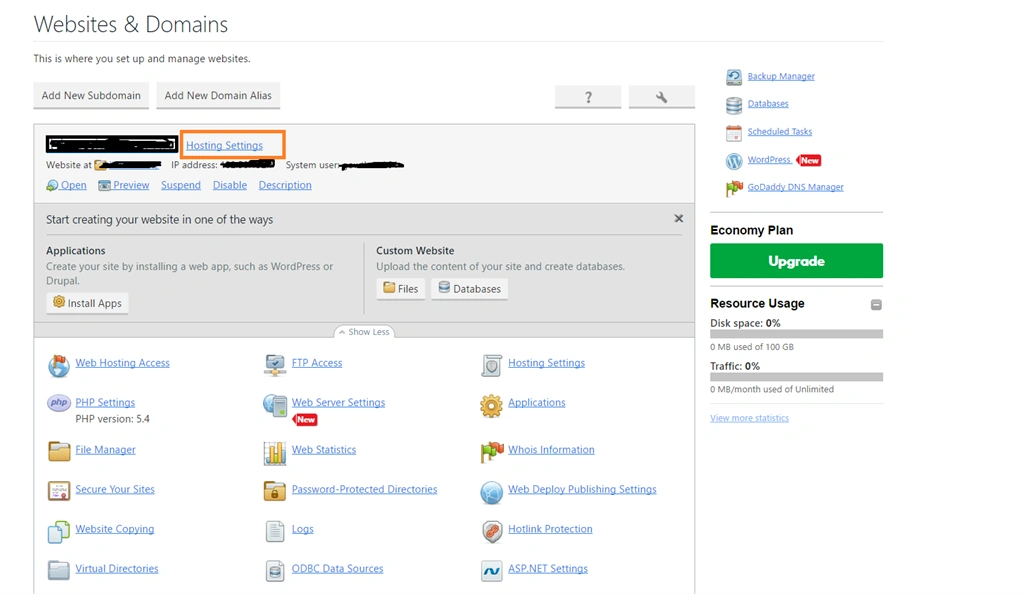
Go back to your control panel and click on Host Setting. A new window will open.
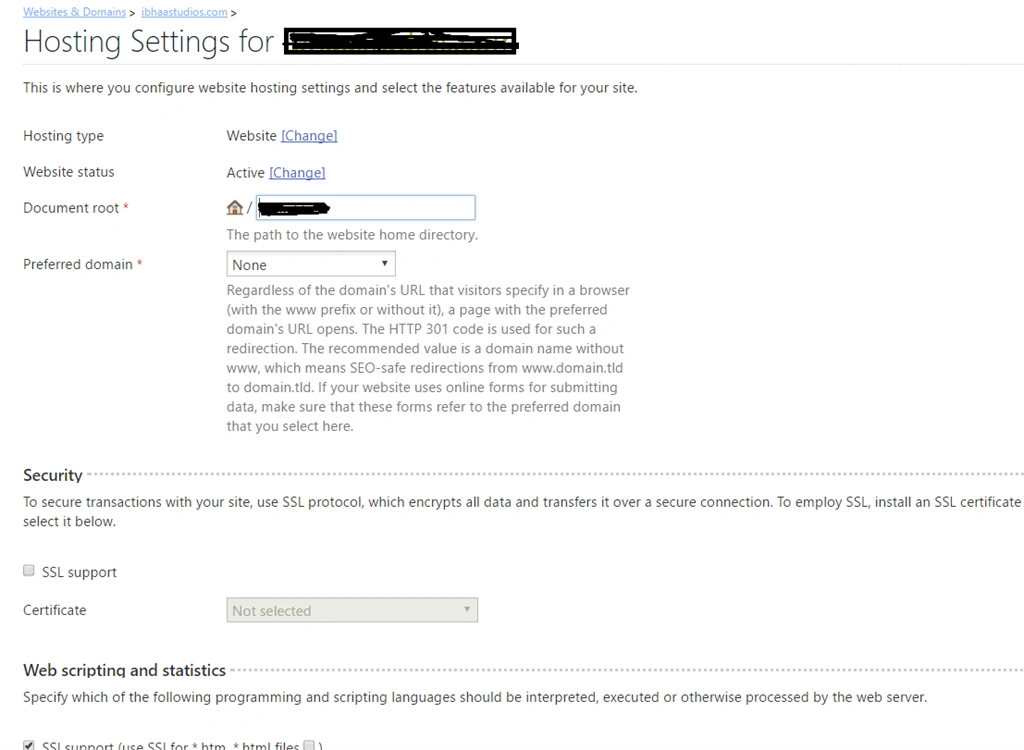
Now, let's start running the website. Click open in control panel, or directly give your domain name that's set for this web hosting.
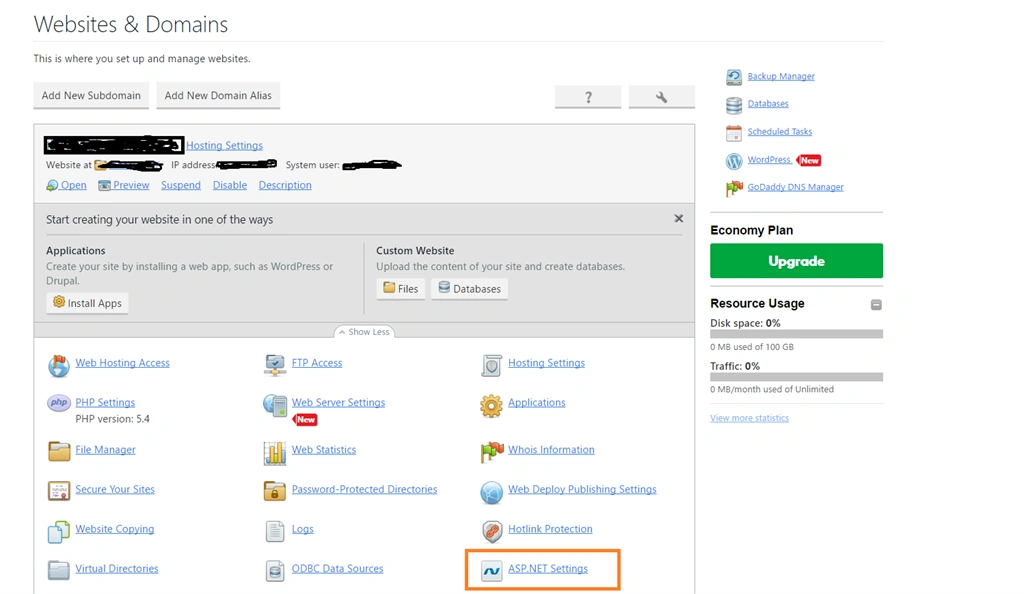
Step 1: Change the ASP.NET Settings.
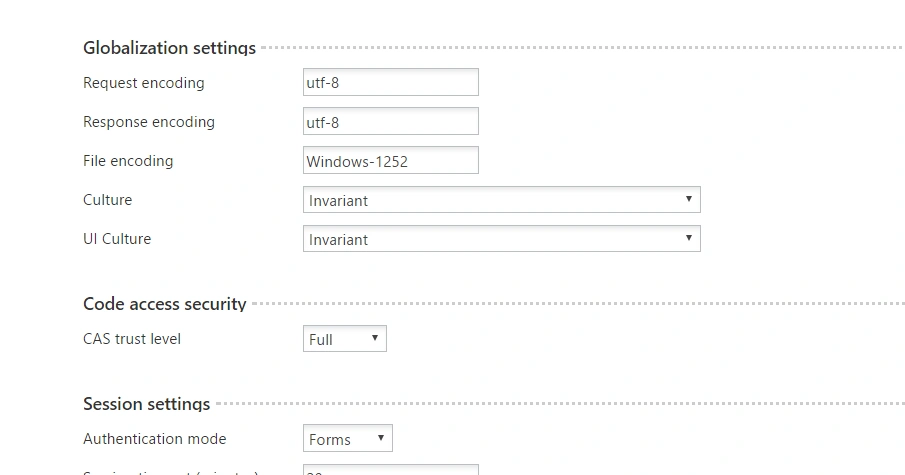
Set the CAS trust level to Full, as shown in the following figures.
Step 2: Update the web.config file.
Open the web.config in the text editor which is provided by GoDaddy. Add the following code in web.config file and save it.
- <system.web>
- <trust level=”Full”/>
- </system.web>
- </configuration>
That’s it. Now, open the site, complete the installation, and enjoy the nopCommerce e-commerce solution application.
Ravi PatelPosted Jul 26, 2016, 12:59 AM
Useful thanks for share
SubashPosted Jul 25, 2016, 10:45 PM
Thanks for your reply Gowtham
Prasanna MuraliPosted Jul 25, 2016, 9:23 PM
Nice share
Asad AliPosted Jul 25, 2016, 9:55 AM
Good one
kalu singh raoPosted Jul 25, 2016, 1:34 AM
Nice share
SubashPosted Jul 25, 2016, 12:36 AM
This can use in magento?
SubashPosted Jul 25, 2016, 12:36 AM
Good article