

In our previous post, we saw the following.
- How to create a component
- How to associate an html file with the component
- How to register the component with the application module
- How to use our component within another component
- How to format data using the built-in pipes
In this post, we’ll try to explore more on Angular 2 pipes & how we can create and use a custom pipe as per our business requirement.
- Angular 2 Series - Part One - Getting Started
- Angular 2 Series Part Two: Exploring The Starter Files
- Creating Our First Angular 2 Component
As we saw in our last post, Pipes help us transform displayed values within a template. It takes in the data with provided optional parameters if any; and transforms the data into the desired output. We also saw that Angular 2 has certain built-in pipes which can be used wherever required in any template. In Angular 1.x, we used to have “filters” for performing the same task. In Angular 2, it’s renamed to “Pipes”. Both the versions share some common filters/pipes. The below table lists the same.
| Filter/Pipe | Angular 1.x | Angular2 |
| date | ü | ü |
| upperCase | ü | ü |
| lowerCase | ü | ü |
| json | ü | ü |
| currency | ü | |
| number | ü | |
| orderby | ü | |
| filter | ü | |
| limitTo | ü | |
| percent | ü | |
| decimal | ü | |
| async | ü |
Angular 2 shares some common pipes along with some new additional pipes.
Chaining Pipes
In Angular 2, we can chain Pipes i.e. applying more than one pipe to a property or an object. The sequence of how the pipes will be executed/applied will depend on the order of pipes specified on to the property. For example, if a property has | date | uppercase pipe applied; then in that case, first date pipe will be executed/applied followed by the uppercase pipe. Syntax for applying multiple pipes is -
{{property | pipe1| pipe2}}
E.g.
{{ hiredate | date | uppercase}}
Custom Pipes
In Angular 2, we can create custom pipes too. It helps us to write our own custom specification as per our business requirement. To help us understand how to create a custom pipe, we’ll try to create a pipe which filters data (on employee name) from our employee’s[] model and displays the searched result on the UI. Since our employee search pipe is going to be used only inside the “emp” module, we’ll create this pipe inside our “emp” folder. The steps to create a pipe are almost similar to that of creating a component. Let’s have a look at it.
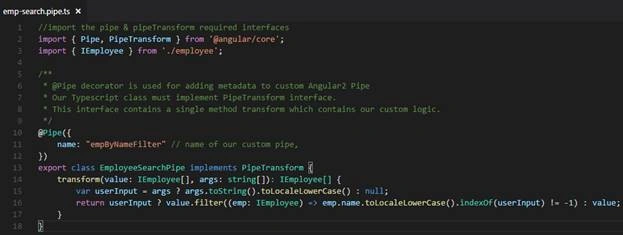
Our EmployeeSearchPipe implements PipeTransform interface and provides implementation for transform method. In transform, we are simply checking whether any parameter was passed or not in the args string[] along with the input value.
- var userInput = args ? args.toString().toLocaleLowerCase() : null;
If there is any input, then we are filtering the value parameter which is of type IEmployee[] to return the filtered result, else to return the full result.
- return userInput ? value.filter((emp: IEmployee) => emp.name.toLocaleLowerCase().indexOf(userInput) != -1) : value;
We’ve decorated the EmployeeSearchPipe class with @Pipe decorator which tells Angular that this is our custom pipe. Also, in the pipe decorator, we provided the name of our custom pipe, which, in our case, is “empByNameFilter”.
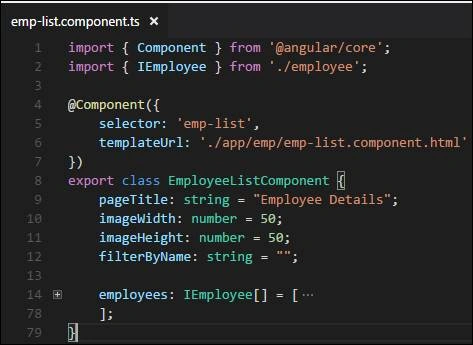
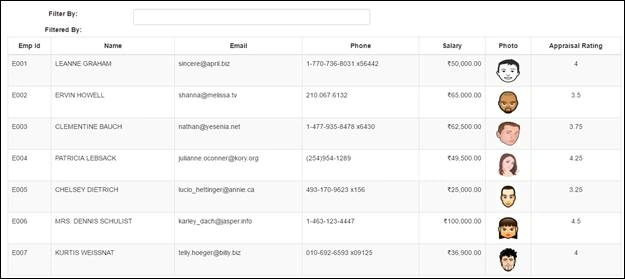
That’s it. We are done with creating our custom Angular 2 pipe. In order to put this pipe to work, we need to modify our app.module.ts file (so that we can register our custom pipe with that of the application module & use it throughout the application). We need to update emp-list.component.html file too (i.e. to provide users with an input text where the user can provide a value on which our custom pipe search would be applied).
Here is the updated code for the app.module.ts file.

Join the conversation! Your thoughts help the community grow.