

In the previous articles, we built a complete JWT authentication flow. Our SecureShop API can now:
Generate JWTs after successful login
Validate incoming JWTs
Protect endpoints using
[Authorize]Implement Role-Based and Policy-Based Authorization
Create Custom Authorization Handlers
However, one important part of our application is still unrealistic.
Our login endpoint still uses hardcoded credentials like this:
if (request.Email != "[email protected]" ||
    request.Password != "Admin@123")
{
    return Unauthorized();
}
This approach is useful for learning, but no real application stores users in source code.
In this article, we'll replace the hardcoded login with Entity Framework Core so that users can authenticate using records stored in a SQL Server database.
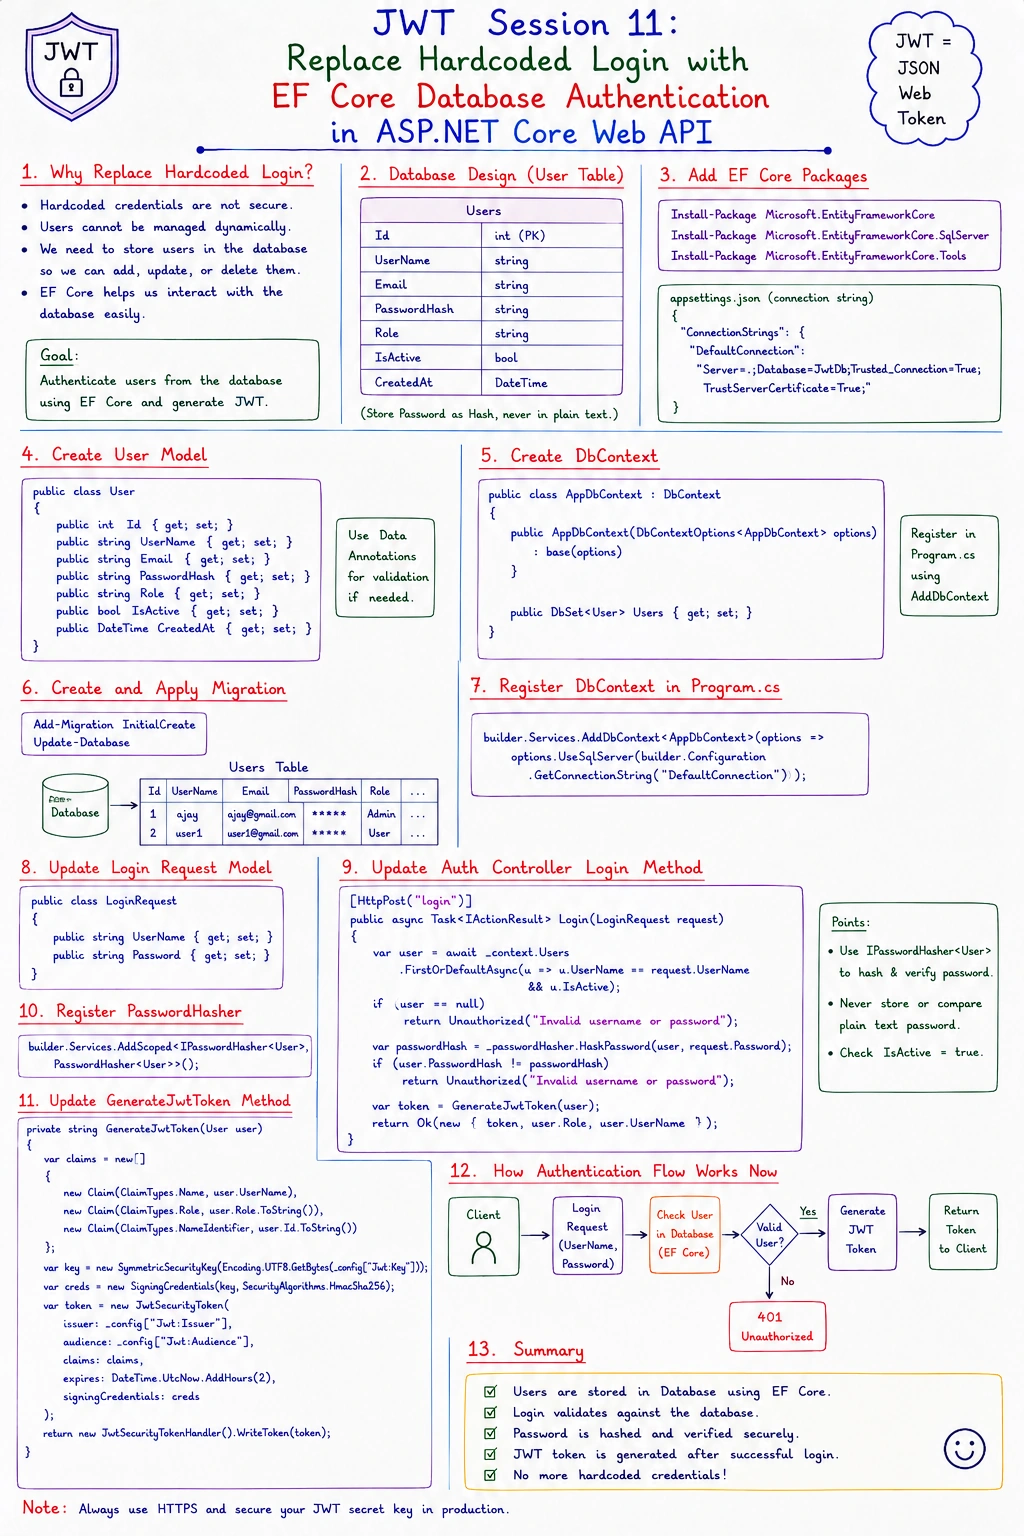
Why Replace Hardcoded Login?
Imagine the SecureShop application has thousands of customers.
Every day:
New users register.
Existing users update their profile.
Administrators manage customer accounts.
If user information is written directly inside the code, every new customer would require modifying the application and redeploying it.
Instead, user information should be stored in a database.
The authentication flow becomes much more practical.
Login Request
      │
      ▼
ASP.NET Core API
      │
      ▼
SQL Server
      │
      ▼
Find User
      │
      ▼
Generate JWT
This allows the application to authenticate any registered user without changing the code.
How Database Authentication Works
The overall login process remains almost the same.
The only difference is where the user information comes from.
Client
   │
   │ Email + Password
   ▼
Login API
   │
   ▼
Entity Framework Core
   │
   ▼
SQL Server
   │
   ▼
User Found?
      │
 Yes  │ No
      │
      ▼
Generate JWT
Notice that JWT generation hasn't changed.
Only the user lookup process is different.
Step 1: Install Entity Framework Core Packages
Install the SQL Server provider.
dotnet add package Microsoft.EntityFrameworkCore.SqlServer
dotnet add package Microsoft.EntityFrameworkCore.Tools
These packages allow Entity Framework Core to communicate with SQL Server and create database migrations.
Step 2: Create the User Entity
Replace our simple model with an Entity Framework entity.
namespace SecureShop.Api.Models;

public class ApplicationUser
{
    public int Id { get; set; }

    public string Name { get; set; } = string.Empty;

    public string Email { get; set; } = string.Empty;

    public string Password { get; set; } = string.Empty;

    public string Role { get; set; } = "Customer";
}
For now, the password is stored as plain text only to simplify the learning process.
Step 3: Create the Database Context
Create ApplicationDbContext.cs
using Microsoft.EntityFrameworkCore;
using SecureShop.Api.Models;

public class ApplicationDbContext : DbContext
{
    public ApplicationDbContext(
        DbContextOptions<ApplicationDbContext> options)
        : base(options)
    {
    }

    public DbSet<ApplicationUser> Users => Set<ApplicationUser>();
}
The DbSet<ApplicationUser> represents the Users table in SQL Server.
Step 4: Configure SQL Server
Add the connection string to appsettings.json.
{
  "ConnectionStrings": {
    "DefaultConnection":
      "Server=.;Database=SecureShopDb;Trusted_Connection=True;TrustServerCertificate=True;"
  }
}
Now register the database context.
builder.Services.AddDbContext<ApplicationDbContext>(options =>
{
    options.UseSqlServer(
        builder.Configuration.GetConnectionString("DefaultConnection"));
});
ASP.NET Core can now create and use the database context through Dependency Injection.
Step 5: Create the Database
Create the first migration.
dotnet ef migrations add InitialCreate
Join the conversation! Your thoughts help the community grow.