
Introduction
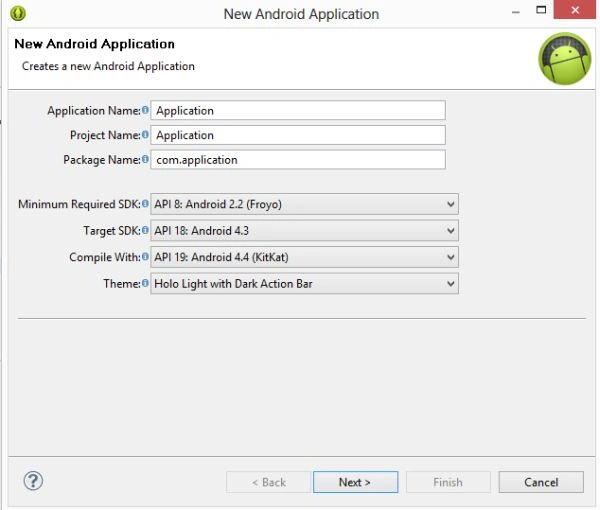
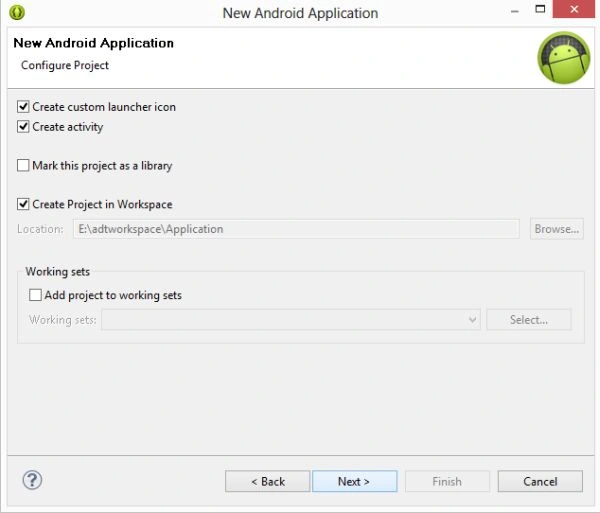
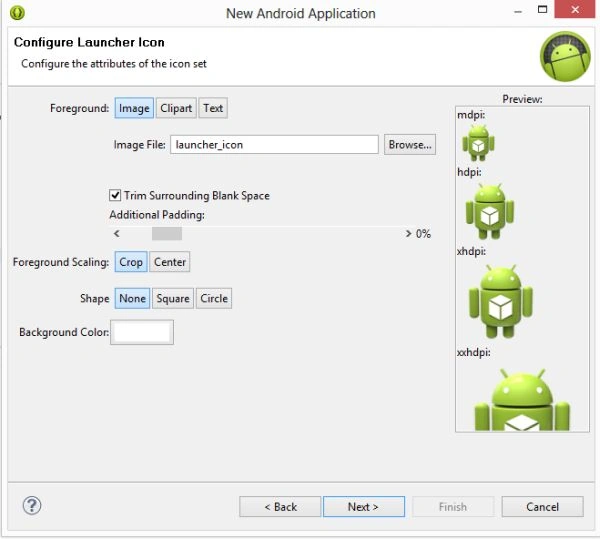
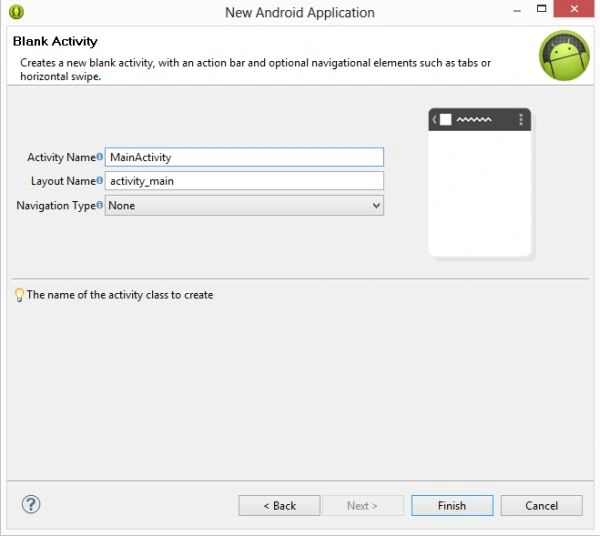
- <RelativeLayout xmlns:android="http://schemas.android.com/apk/res/android"
- xmlns:tools="http://schemas.android.com/tools"
- android:layout_width="match_parent"
- android:layout_height="match_parent"
- android:paddingBottom="@dimen/activity_vertical_margin"
- android:paddingLeft="@dimen/activity_horizontal_margin"
- android:paddingRight="@dimen/activity_horizontal_margin"
- android:paddingTop="@dimen/activity_vertical_margin"
- tools:context=".MainActivity"
- android:background="#12a4fe">
- <Button
- android:layout_width="fill_parent"
- android:layout_height="wrap_content"
- android:id="@+id/button1"
- android:text="Click on Button"/>
- </RelativeLayout>
Step 3
Create an XML file first with the following.
In this XML file I have written a package as an XML element, "<com.optimizecode.Second >". Here "Second" is class that will be inflated during runtime.
- <?xml version="1.0" encoding="utf-8"?>
- <RelativeLayout xmlns:android="http://schemas.android.com/apk/res/android"
- android:layout_width="match_parent"
- android:layout_height="match_parent"
- android:orientation="vertical" >
- <TextView
- android:layout_width="wrap_content"
- android:layout_height="wrap_content"
- android:id="@+id/textView1"
- android:textStyle="bold"/>
- <TextView
- android:layout_width="wrap_content"
- android:layout_height="wrap_content"
- android:id="@+id/textView2"
- android:textStyle="bold"
- android:layout_marginTop="100dp"/>
- <TextView
- android:layout_width="wrap_content"
- android:layout_height="wrap_content"
- android:id="@+id/textView3"
- android:textStyle="bold"
- android:layout_marginTop="200dp"/>
- <com.optimizecode.Second
- android:layout_width="wrap_content"
- android:layout_height="wrap_content"
- android:id="@+id/progressBar"
- android:visibility="gone"></com.optimizecode.Second>
- </RelativeLayout>
Step 4
Create another XML file, "second.xml" with the following.
This XML file will be inflated during runtime when you click on the button. In this file, I have taken the progress bar that will show processing inside the Activity. You can use anything depending on your needs.
- <?xml version="1.0" encoding="utf-8"?>
- <RelativeLayout xmlns:android="http://schemas.android.com/apk/res/android"
- android:layout_width="match_parent"
- android:layout_height="match_parent"
- android:orientation="vertical" >
- <ProgressBar
- android:id="@+id/progressBar1"
- style="?android:attr/progressBarStyleLarge"
- android:layout_width="wrap_content"
- android:layout_height="wrap_content"
- android:layout_centerInParent="true"
- />
- </RelativeLayout>
Step 5
Create another Java file named MainActivity with the following.
In this class, I have created the id of the button and set the button on its clicklistener and when the user clicks on the button the next Activity will be called. In the next Activity, a progress bar will inflate by calling another class.
- package com.optimizecode;
- import android.os.Bundle;
- import android.app.Activity;
- import android.content.Intent;
- import android.view.Menu;
- import android.view.View;
- import android.view.View.OnClickListener;
- import android.widget.Button;
- public class MainActivity extends Activity {
- @Override
- protected void onCreate(Bundle savedInstanceState) {
- super.onCreate(savedInstanceState);
- setContentView(R.layout.activity_main);
- Button button=(Button)findViewById(R.id.button1);
- button.setOnClickListener(new OnClickListener() {
- @Override
- public void onClick(View arg0) {
- // TODO Auto-generated method stub
- Intent intent=new Intent(MainActivity.this,First.class);
- startActivity(intent);
- }
- });
- }
- @Override
- public boolean onCreateOptionsMenu(Menu menu) {
- // Inflate the menu; this adds items to the action bar if it is present.
- getMenuInflater().inflate(R.menu.main, menu);
- return true;
- }
- }
Step 6
Create a Java class file named "First" with the following.
- package com.optimizecode;
- import java.io.BufferedReader;
- import java.io.IOException;
- import java.io.InputStream;
- import java.io.InputStreamReader;
- import org.apache.http.HttpEntity;
- import org.apache.http.HttpResponse;
- import org.apache.http.StatusLine;
- import org.apache.http.client.ClientProtocolException;
- import org.apache.http.client.HttpClient;
- import org.apache.http.client.methods.HttpGet;
- import org.apache.http.impl.client.DefaultHttpClient;
- import org.json.JSONArray;
- import org.json.JSONException;
- import org.json.JSONObject;
- import android.app.Activity;
- import android.content.Context;
- import android.os.AsyncTask;
- import android.os.Bundle;
- import android.os.StrictMode;
- import android.util.AttributeSet;
- import android.util.Log;
- import android.view.Menu;
- import android.view.View;
- import android.widget.TextView;
- public class First extends Activity {
- TextView textView1,textView2,textView3;
- String str1,str2;
- Second progressBar;
- String name1,name2,name3;
- String experiencePoints1,experiencePoints2,experiencePoints3;
- String vehicleColor,vehicleType,fuel;
- private static String url = "http://docs.blackberry.com/sampledata.json";
- public void onCreate(Bundle savedInstanceState)
- {
- super.onCreate(savedInstanceState);
- setContentView(R.layout.first);
- textView1=(TextView)findViewById(R.id.textView1);
- textView2=(TextView)findViewById(R.id.textView2);
- textView3=(TextView)findViewById(R.id.textView3);
- progressBar=(Second)findViewById(R.id.progressBar);
- progressBar.setVisibility(View.VISIBLE);
- }
- }
Step 7
In this class file, we create the layout without extending the Activity class. We extend the RelativeLayout class and create the object of LayoutInflator by calling getSystemServices(). Now we call inflate() that inflates the layout.
- package com.optimizecode;
- import java.text.AttributedCharacterIterator.Attribute;
- import android.content.Context;
- import android.util.AttributeSet;
- import android.view.LayoutInflater;
- import android.view.MotionEvent;
- import android.widget.RelativeLayout;
- public class Second extends RelativeLayout {
- public Second(Context context,AttributeSet attr) {
- super(context,attr);
- // TODO Auto-generated constructor stub
- LayoutInflater inflater=(LayoutInflater)context.getSystemService(context.LAYOUT_INFLATER_SERVICE);
- if(inflater!=null)
- inflater.inflate(R.layout.second,this);
- }
- @Override
- public boolean onTouchEvent(MotionEvent event) {
- // TODO Auto-generated method stub
- return true;
- }
- }
Join the conversation! Your thoughts help the community grow.