

Introduction
This article explains listeners supported by Swing components. The NetBeans IDE is used to create "ComponentListener".
Common Listeners
The following listeners are common to all Swing components.
- KeyListener
fires a key event when a key is pressed by the user.
- ComponentListener
changes the size, visibility or position of components.
- HierarchyBoundsListener
occurs when the hierarchy of a component changes in size or movement.
- mousemotion Listener
shows an alert when the mouse cursor changes its position.
- FocusListener
provides a focus to the components.
- HierarchyListener
occurs when the hierarchy of components change.
- MouseListener
generates an event when the mouse is moved, clicked, released or pressed.
- mousewheel listener
shows an alert when the mouse wheel position changes.
Component Listener in Java
This listener works on components of Swing. A component is an object that has a graphical representation that's shown on the display. Components are like buttons, checkboxes, textfields, etcetera.
The following procedure is required to write a Component Listener as described below:
- First declare a class that implements its.
- Now define the component on which you want to fire this listener. For example: frame, panel, label, checkbox, and so on.
- Now add a component to your defined components. For example:
...
frm.addComponentListener(this);
- Finally, catch the various events of these components by using four methods of Component Listener as shown below:
public void componentShown(ComponentEvent ey)
{
showMessage(ey.getClass().getName() + ">Component Visible");
}
public void componentHidden(ComponentEvent ey)
{
showMessage(ey.getComponent().getClass().getName() + ">Component Hidden");
}
public void componentResized(ComponentEvent ey)
{
showMessage(ey.getComponent().getClass().getName() + ">Component Resized ");
}
public void componentMoved(ComponentEvent ey)
{
showMessage(ey.getComponent().getClass().getName() + ">Component Moved");
}
Let's use an example
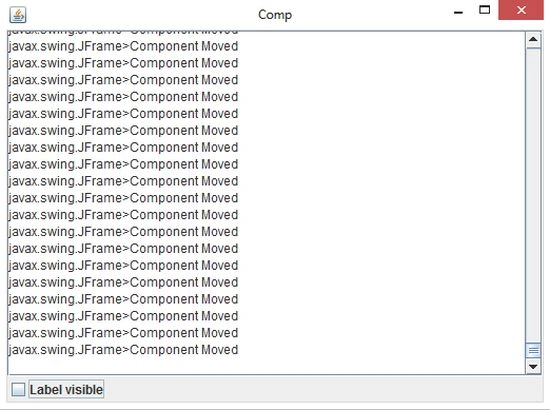
In this example; we show the use of component listener. In this program we create a window that contains a panel that has a label and a check box. The visibility of the label is controlled by a check box. A text area is used to display the message when any component fires an event.
The following procedure is included in this example.
Step 1
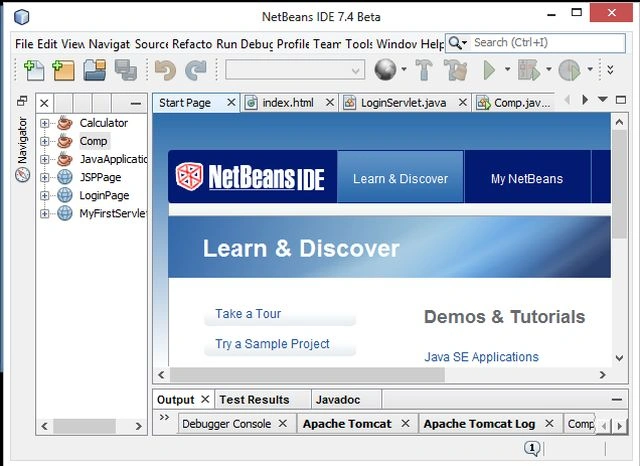
Open the NetBeans IDE.
Step 2
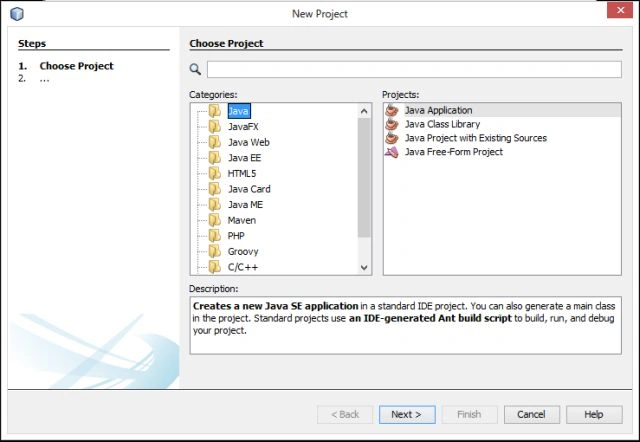
Now go to the File Menu and choose "New Project", a new window appears like this.
Step 3
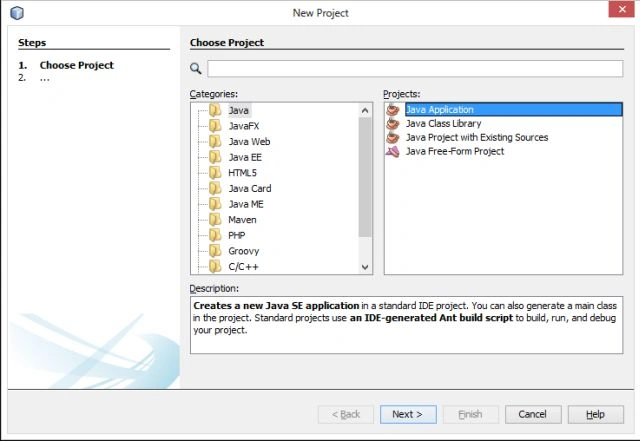
Choose "Java"-> "Java application" as shown below:
Step 4
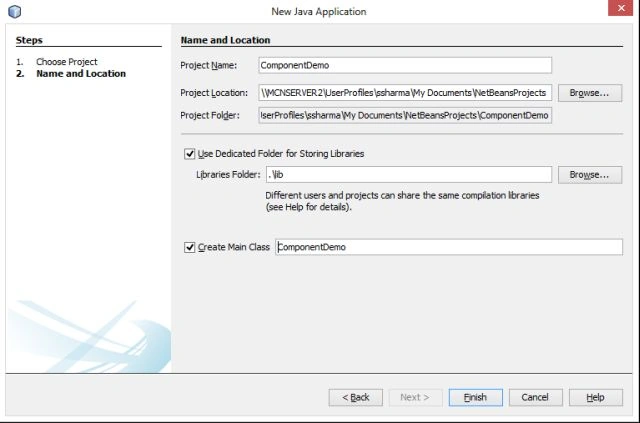
Click on "Next" and then type your project name. I specified "ComponentDemo" as shown below:
Step 5
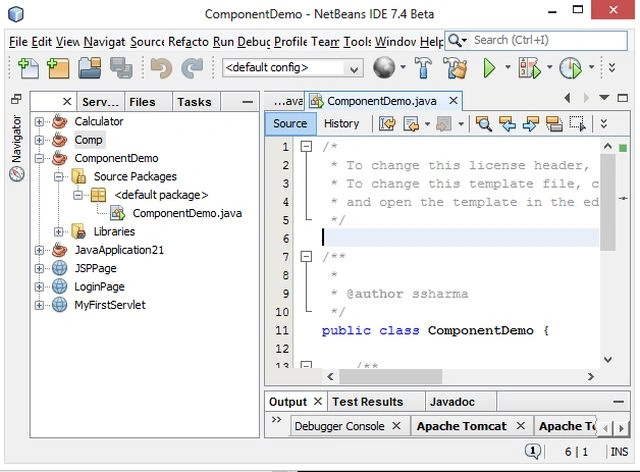
Click on "Finish"; your project is set up with a default Java file "ComponentDemo.java" as shown below.
Step 6
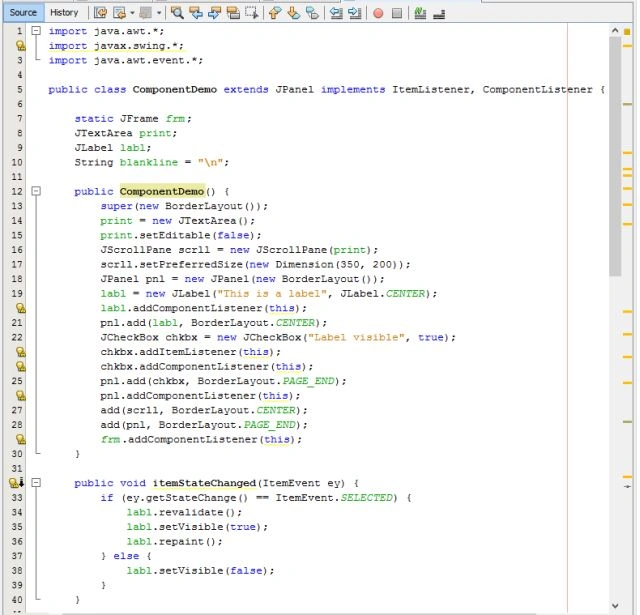
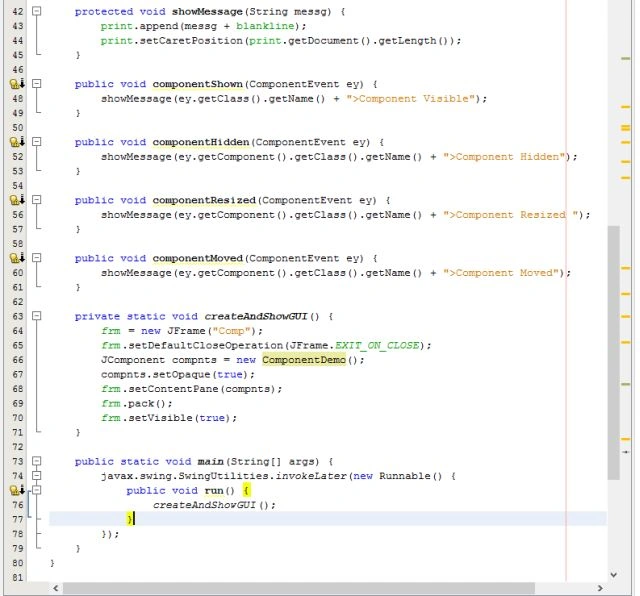
Now change the code and write the following code in the "ComponentDemo.java" file.
ComponentDemo.java
import java.awt.*;
import javax.swing.*;
import java.awt.event.*;
public class ComponentDemo extends JPanel implements ItemListener,ComponentListener {
static JFrame frm;
JTextArea print;
JLabel labl;
String blankline = "\n";
public ComponentDemo() {
super(new BorderLayout());
print = new JTextArea();
print.setEditable(false);
JScrollPane scrll = new JScrollPane(print);
scrll.setPreferredSize(new Dimension(350, 200));
JPanel pnl = new JPanel(new BorderLayout());
labl = new JLabel("This is a label", JLabel.CENTER);
labl.addComponentListener(this);
pnl.add(labl, BorderLayout.CENTER);
JCheckBox chkbx = new JCheckBox("Label visible", true);
chkbx.addItemListener(this);
chkbx.addComponentListener(this);
pnl.add(chkbx, BorderLayout.PAGE_END);
pnl.addComponentListener(this);
add(scrll, BorderLayout.CENTER);
add(pnl, BorderLayout.PAGE_END);
frm.addComponentListener(this);
}
public void itemStateChanged(ItemEvent ey)
{
if (ey.getStateChange() == ItemEvent.SELECTED)
{
labl.revalidate();
labl.setVisible(true);
labl.repaint();
}
else
{
labl.setVisible(false);
}
}
protected void showMessage(String messg)
{
print.append(messg + blankline);
print.setCaretPosition(print.getDocument().getLength());
}
public void componentShown(ComponentEvent ey)
{
showMessage(ey.getClass().getName() + ">Component Visible");
}
public void componentHidden(ComponentEvent ey)
{
showMessage(ey.getComponent().getClass().getName() + ">Component Hidden");
}
public void componentResized(ComponentEvent ey)
{
showMessage(ey.getComponent().getClass().getName() + ">Component Resized ");
}
public void componentMoved(ComponentEvent ey)
{
showMessage(ey.getComponent().getClass().getName() + ">Component Moved");
}
private static void createAndShowGUI()
{
frm = new JFrame("Comp");
frm.setDefaultCloseOperation(JFrame.EXIT_ON_CLOSE);
JComponent compnts = new ComponentDemo();
compnts.setOpaque(true);
frm.setContentPane(compnts);
frm.pack();
frm.setVisible(true);
}
public static void main(String[] args)
{
javax.swing.SwingUtilities.invokeLater(new Runnable()
{
public void run()
{
createAndShowGUI();
}
});
}
}
Step 7
Now our file is ready to run.
Right-click on the project then select "Run", as shown below.

Step 8
Now you get the same output as shown below.
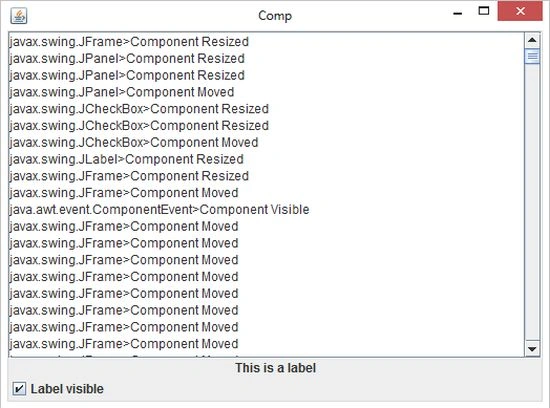
Now click on the checkbox to hide the label.
Thanks for reading.
Comments
Join the conversation! Your thoughts help the community grow.