

Introduction
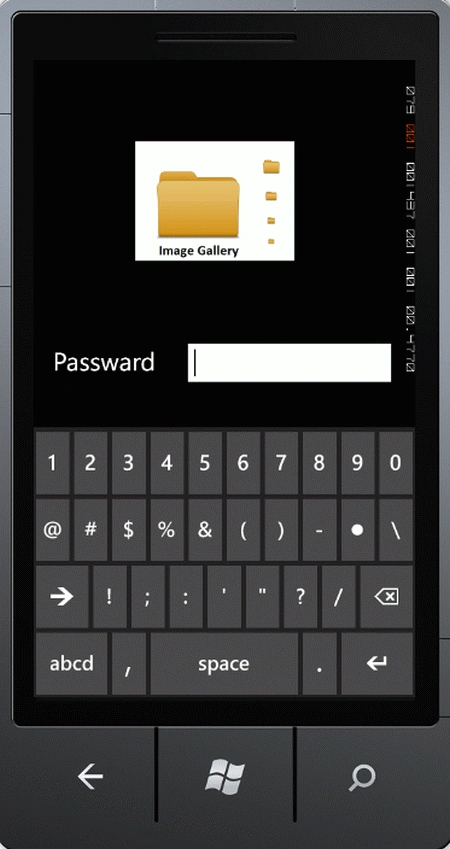
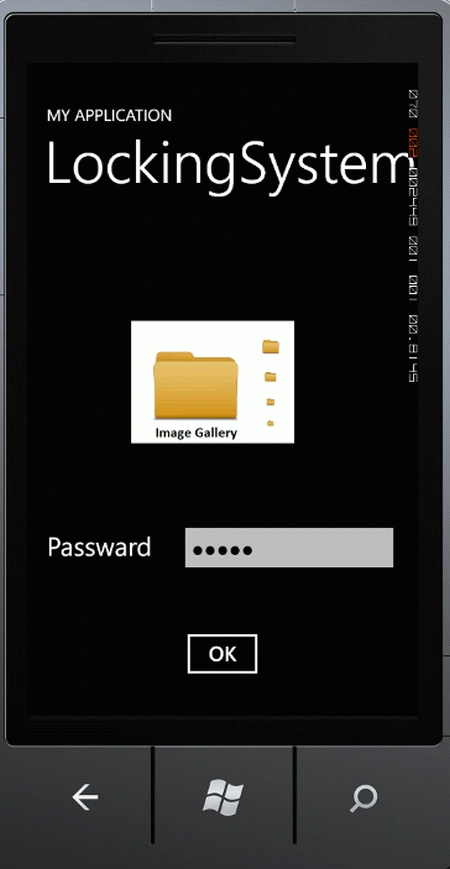
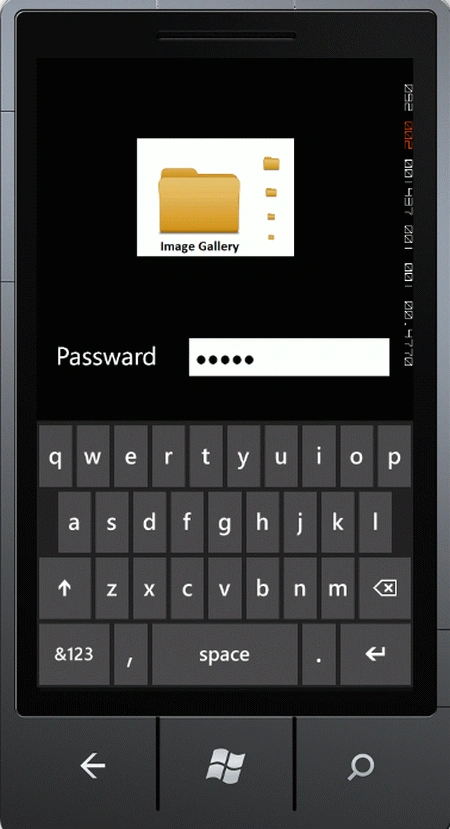
In this article we will implement a locking system for Windows Phone 7 applications. To implement this application we will use the isolated storage system of Windows Phone to store the word of the locking application, so we will use a text file to write and retrieve the word. Here we will use an image gallery locked by a user word, so open the image gallery folder; first the user enters his word; if the word is valid then the user is navigated to the image gallery page otherwise the user is not able to open the image gallery. So on MainPage.xaml we will take an image, a word box and a button control; on the click event of the button control we will check whether the word is valid or not; if valid then the control of flow es to the gallery page.
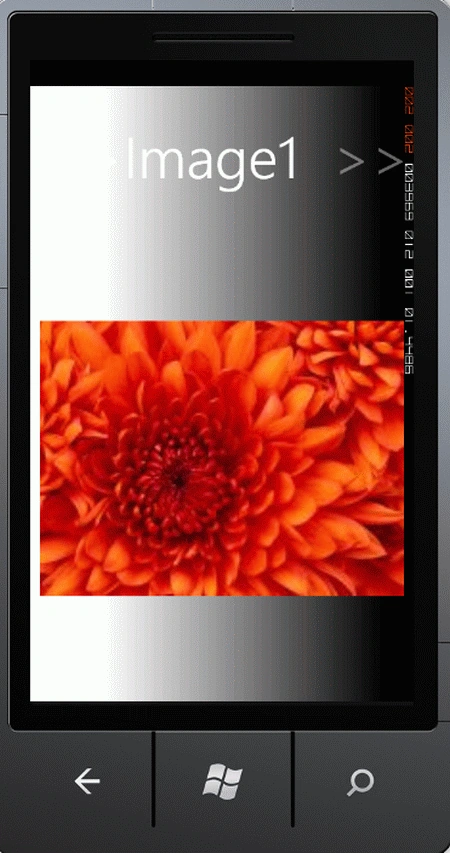
To implement an image gallery, we will add a pivot page on our project and take a number of image controls; on it according to our need (number of images as you want to add in the image gallery).
Step 1 : Open Visual Studio.
- Select new -> project
- Select your preferred language
- Select Silverlight for Windows Phone application
- Name the project
- Now name the project "WindowsPhoneApplication"


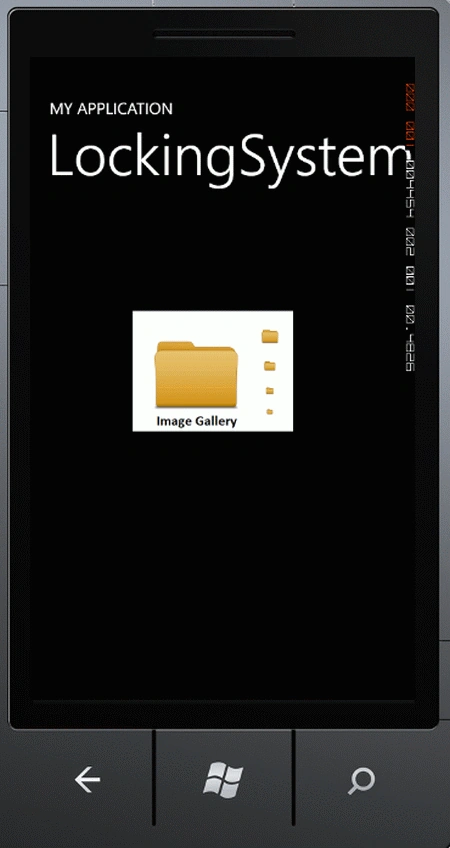
Step 2 : In the design page we will use an image control, a word box and a button control to customize the control as shown below.
Code
<StackPanel x:Name="TitlePanel" Grid.Row="0" Margin="12,17,0,28">
<TextBlock x:Name="ApplicationTitle" Text="MY APPLICATION" Style="{StaticResource PhoneTextNormalStyle}"/>
<TextBlock x:Name="PageTitle" Text="LockingSystem" Margin="9,-7,0,0" Style="{StaticResource PhoneTextTitle1Style}"/>
</StackPanel>
<!--ContentPanel - place additional content here-->
<Grid x:Name="ContentPanel" Grid.Row="1" Margin="12,0,12,0">
<Image Height="150" HorizontalAlignment="Left" Margin="116,123,0,0" Name="image1" Stretch="Fill" VerticalAlignment="Top" Width="200" Source="/PhoneApp8;component/Images/folder-png-i6.png" MouseLeftButtonDown="mouse_Click" />
<wordBox Height="72" HorizontalAlignment="Left" Margin="170,365,0,0" Name="wordBox1" VerticalAlignment="Top" Width="280" Visibility="Collapsed" />
<TextBlock Height="49" HorizontalAlignment="Left" Margin="12,376,0,0" Name="textBlock1" Text="ward" VerticalAlignment="Top" Width="140" FontSize="32" Visibility="Collapsed" />
<Button Content="OK" Height="72" HorizontalAlignment="Left" Margin="173,495,0,0" Name="button1" VerticalAlignment="Top" Width="110" Click="Button_Click" Visibility="Collapsed" />
</Grid>
Step 3 : The whole code of the MainPage.xaml page is:
Code
<phone:PhoneApplicationPage
x:Class="PhoneApp8.MainPage"
xmlns="http://schemas.microsoft.com/winfx/2006/xaml/presentation"
xmlns:x="http://schemas.microsoft.com/winfx/2006/xaml"
xmlns:phone="clr-namespace:Microsoft.Phone.Controls;assembly=Microsoft.Phone"
xmlns:shell="clr-namespace:Microsoft.Phone.Shell;assembly=Microsoft.Phone"
xmlns:d="http://schemas.microsoft.com/expression/blend/2008"
xmlns:mc="http://schemas.openxmlformats.org/markup-compatibility/2006"
mc:Ignorable="d" d:DesignWidth="480" d:DesignHeight="768"
FontFamily="{StaticResource PhoneFontFamilyNormal}"
FontSize="{StaticResource PhoneFontSizeNormal}"
Foreground="{StaticResource PhoneForegroundBrush}"
SupportedOrientations="Portrait" Orientation="Portrait"
shell:SystemTray.IsVisible="True" Loaded="PhoneApplicationPage_Loaded">
<!--LayoutRoot is the root grid where all page content is placed-->
<Grid x:Name="LayoutRoot" Background="Transparent">
<Grid.RowDefinitions>
<RowDefinition Height="Auto"/>
<RowDefinition Height="*"/>
</Grid.RowDefinitions>
<!--TitlePanel contains the name of the application and page title-->
<StackPanel x:Name="TitlePanel" Grid.Row="0" Margin="12,17,0,28">
<TextBlock x:Name="ApplicationTitle" Text="MY APPLICATION" Style="{StaticResource PhoneTextNormalStyle}"/>
<TextBlock x:Name="PageTitle" Text="LockingSystem" Margin="9,-7,0,0" Style="{StaticResource PhoneTextTitle1Style}"/>
</StackPanel>
<!--ContentPanel - place additional content here-->
<Grid x:Name="ContentPanel" Grid.Row="1" Margin="12,0,12,0">
<Image Height="150" HorizontalAlignment="Left" Margin="116,123,0,0" Name="image1" Stretch="Fill" VerticalAlignment="Top" Width="200" Source="/PhoneApp8;component/Images/folder-png-i6.png"
MouseLeftButtonDown="mouse_Click" />
<wordBox Height="72" HorizontalAlignment="Left" Margin="170,365,0,0" Name="wordBox1" VerticalAlignment="Top" Width="280" Visibility="Collapsed" />
<TextBlock Height="49" HorizontalAlignment="Left" Margin="12,376,0,0" Name="textBlock1" Text="ward" VerticalAlignment="Top" Width="140" FontSize="32" Visibility="Collapsed" />
<Button Content="OK" Height="72" HorizontalAlignment="Left" Margin="173,495,0,0" Name="button1" VerticalAlignment="Top" Width="110" Click="Button_Click" Visibility="Collapsed" />
</Grid>
</Grid>
</phone:PhoneApplicationPage>
Step 4 : Now we will add a pivot page on our project to implement image gallery, the customize code of this page is given below.
Code
<phone:PhoneApplicationPage
x:Class="PhoneApp8.PivotPage1"
xmlns="http://schemas.microsoft.com/winfx/2006/xaml/presentation"
xmlns:x="http://schemas.microsoft.com/winfx/2006/xaml"
xmlns:phone="clr-namespace:Microsoft.Phone.Controls;assembly=Microsoft.Phone"
xmlns:shell="clr-namespace:Microsoft.Phone.Shell;assembly=Microsoft.Phone"
xmlns:controls="clr-namespace:Microsoft.Phone.Controls;assembly=Microsoft.Phone.Controls"
xmlns:d="http://schemas.microsoft.com/expression/blend/2008"
xmlns:mc="http://schemas.openxmlformats.org/markup-compatibility/2006"
mc:Ignorable="d" d:DesignWidth="480" d:DesignHeight="768"
FontFamily="{StaticResource PhoneFontFamilyNormal}"
FontSize="{StaticResource PhoneFontSizeNormal}"
Foreground="{StaticResource PhoneForegroundBrush}"
SupportedOrientations="Portrait" Orientation="Portrait"
shell:SystemTray.IsVisible="True">
duddy septiadiPosted Aug 6, 2012, 11:08 PM
thanks you very much. from indonesia