

This configuration will allow the admins to configure the servers with required services. Managing Servers on a single View is the easiest approach to configure the farm account.
How to configure?
Let’s open Central Admin of SharePoint on your machine. On your Windows desktop screen, click Start >> Administrative Tools >> SharePoint 2013 Central Administration.
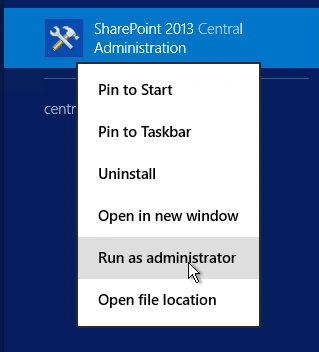
- Run it as an administrator to have elevated privileges.
- You will see the screenshot given below.
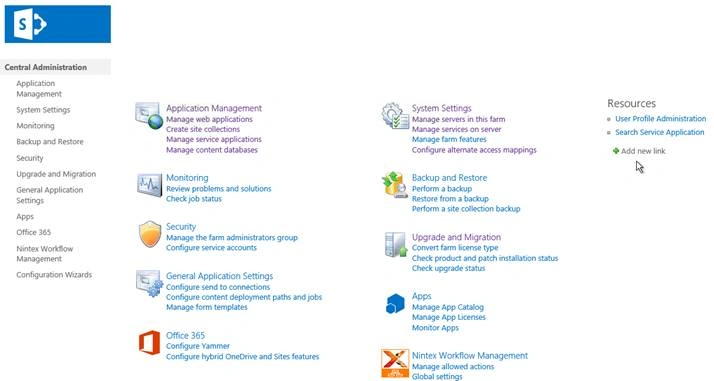
- Central Admin is configured under the categories given below.
- Click on "System Settings".
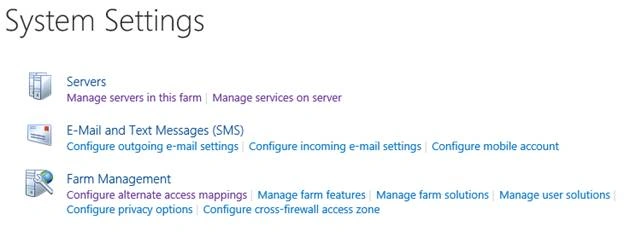
- Go to "Servers".

- Click on “Manage servers in this farm”.
- You will see the screen below.
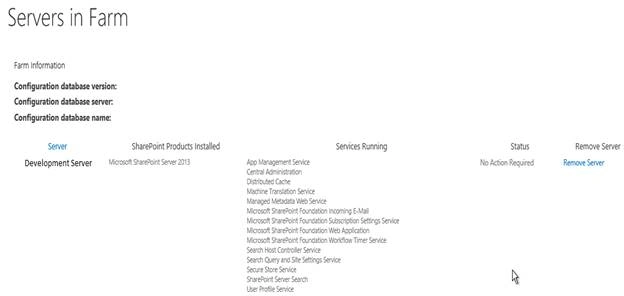
Once you click, it will provide you the farm information as below.
- Configuration of database version
- Configuration of database server
- Configuration of database name
It provides you the information such as,
- Server Name
- SharePoint Products Installed
- Services running
The services when you start them under the Server reflects here. - Status of warning
- Remove Server by just clicking on it from the farm.
If you want to add more services on the Server in the farm, just click on the Server name. It will open the screen below.
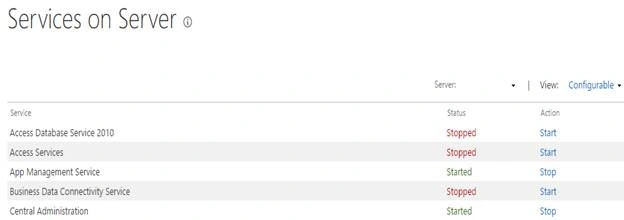
Configure
This configuration allows you to add the services on the Server in the farm. As per your configuration, all the services will be controlled in these services on Server. Thereby, you can control all the services at one stop, which applies to selected Server in the farm.
Once you configure, click on OK. The Servers in the farm will have all the services attached.
Summary
Join the conversation! Your thoughts help the community grow.