

Here are the six steps to achieve the managed navigation on site.
What is Managed Navigation?
- The managed navigation feature in SharePoint Server 2013 enables you to build navigation for a publishing site that is derived from a SharePoint managed metadata taxonomy.
- Managed navigation also lets you create friendly URLs without changing the structure of your site.
- Using managed navigation you can create the Multilevel Navigation.
- Before you map the managed navigation make sure to activate the publishing feature in your team site, community site, etc.
Steps:
Here are the steps to map the managed navigation on site,
Step 1: Go to your SharePoint site.
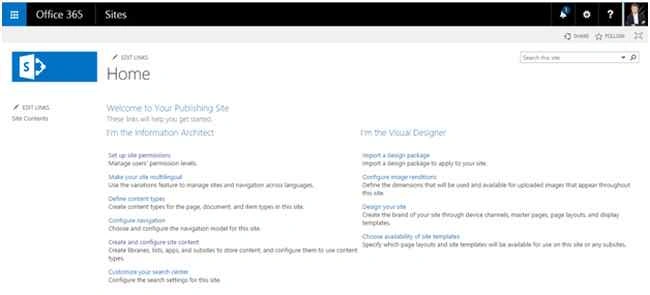
Step 2: Then select “Site settings” from your gear menu.

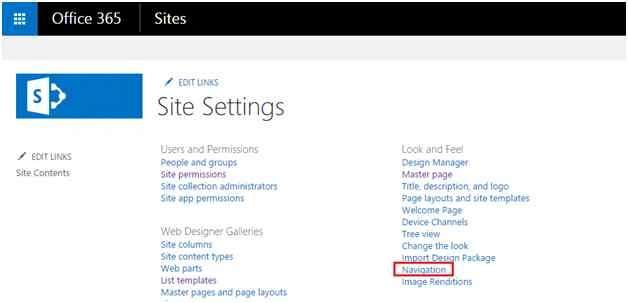
Step 3: On the Site Settings page, select the “Navigation” from "Look and Feel" section as in the following screenshot:
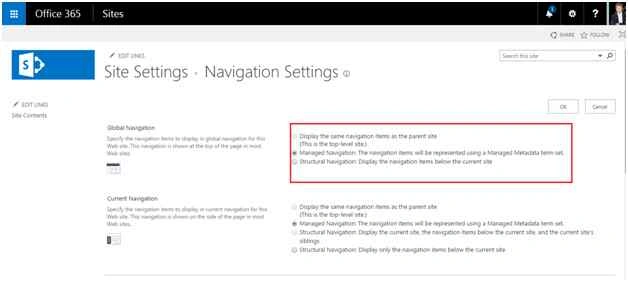
Step 4: Select the Managed Navigation from “Global Navigation” in Navigation Settings page.
Step 5: Select the term set which you want to map from “Managed Navigation: Term set“

Step 6: Finally click “Ok” to save the navigation settings.
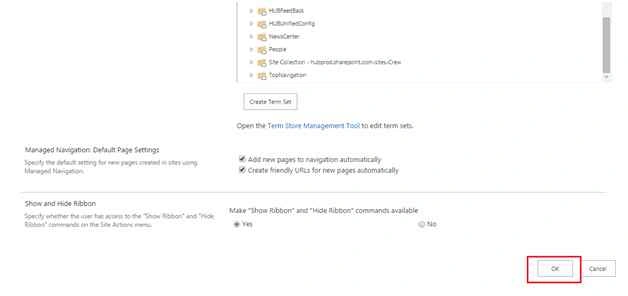
Successful term sets will be mapped to your site collection.
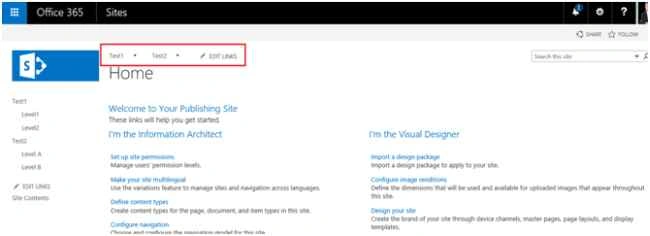
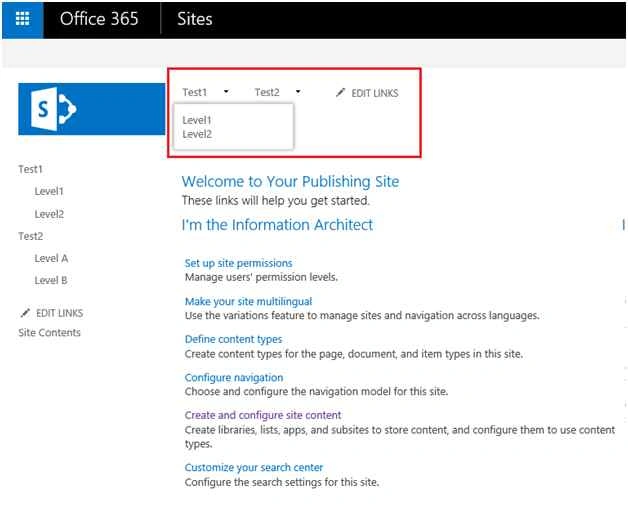
And also you can create multilevel navigation using term set.
Limitation
- You need to create termsets for each site Collection.
Summary
In this article we explored how to use the managed navigation in SharePoint online sites.
Santhakumar MunuswamyPosted Sep 17, 2015, 10:36 AM
Thanks for nice article:)
Vinodh NarayananPosted Sep 15, 2015, 5:08 AM
thank u sibeesh
Sibeesh VenuPosted Sep 15, 2015, 4:46 AM
Nice Share
Karthikeyan KPosted Sep 14, 2015, 11:25 PM
good one:)
Pankaj Kumar ChoudharyPosted Sep 14, 2015, 9:40 PM
Nice Explain Sir..........
Mohammed IbrahimPosted Sep 14, 2015, 1:06 PM
nice information
Vinodh NarayananPosted Sep 14, 2015, 12:18 PM
good one
Rajeesh MenothPosted Sep 14, 2015, 11:51 AM
Thanks for sharing...
Kaviya BalasubramanianPosted Sep 14, 2015, 10:43 AM
Thanks Vaikesh
Vaikesh K PPosted Sep 14, 2015, 9:40 AM
Good One