

Introduction
In the below article, I have explained how to create and configure metadata navigation and filtering in SharePoint lists and libraries.
What Is Metadata Navigation and Filtering?
- Metadata filtering helps filtering the item / documents in large SharePoint lists and document libraries.
- Filtered SharePoint list and library items based on metadata are available in the SharePoint list and also filtered based on columns in the list.
Steps to configure Managed Metadata Navigation and Filtering
- I have created a sample SharePoint list named “Products” already.
- I have created some common metadata to put into it.
| Column Name | Datatype |
| ProductName | Single lines of text |
| ProductDescription | Multi-line text |
| Make/Model | Choices Field – dropdown |
| Quantity | Number |
| Price | Choices Field - dropdown |
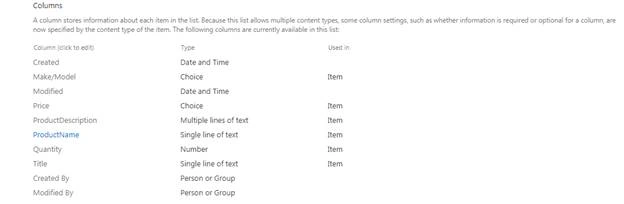
Let’s go and implement the feature.
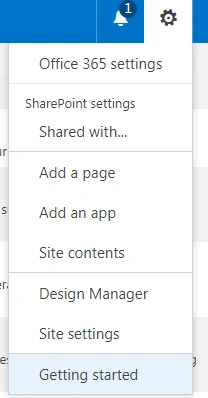
Navigate to Site Settings -> Manage Site Features. Click "Activate" to activate Metadata Navigation and Filtering.

Let’s go back to our product list and add some products with metadata we created.
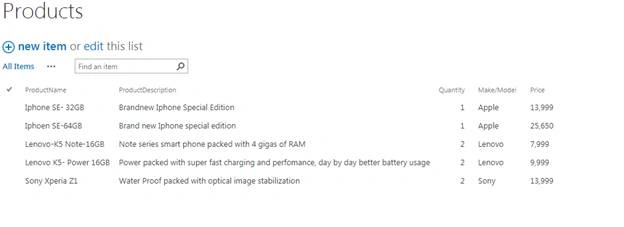
Now, let’s enable metadata navigation and filtering for the list.
Go to List -> List Settings ->General Settings ->Click Metadata Navigation Settings.
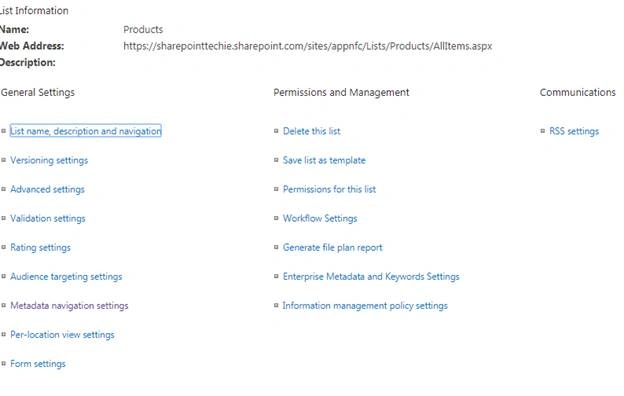
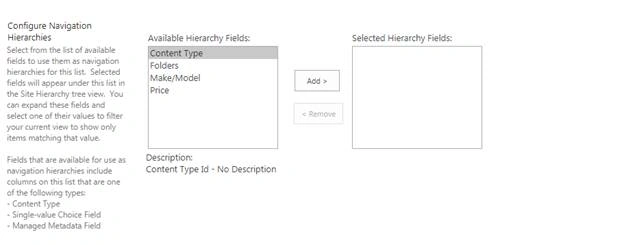
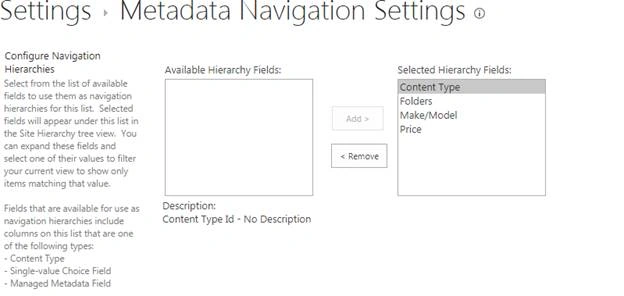
Configure Navigation Hierarchy
- Here, the added fields will appear in the Tree View for filtering items in the SharePoint list and libraries.
- Some of the fields are only available in navigation hierarchies like Content Type, Managed Metadata Field, Choice Field. The rest of the other fields are not supported for navigation hierarchy.
Content Type –> May be the Item or Folder.
Folder -> It will help display the folders in the Tree View for filtering the items somewhere in the particular folder Content Type.
Make/Model -> Choice field. If you don't need to filter values based on these criteria, don’t add this. In this scenario, I used this piece of metadata.
Price-> Same as Make/Model scenario.
Configure Key Filters
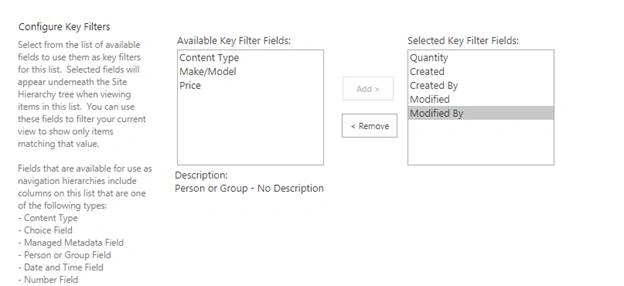
- It will help you display only the matching values in the list and libraries you give in the box.
This Type will support
- Person or group field (Created By, Modified By)
- Number (Quantity) for my metadata, these field may vary from your requirement
- Managed Metadata Field
- Date/Time Field (Created, Modified)
- Content Type (Item and Folder)
In this scenario, I used some of the fields for my reference.
Configure automatic column indexing for this list
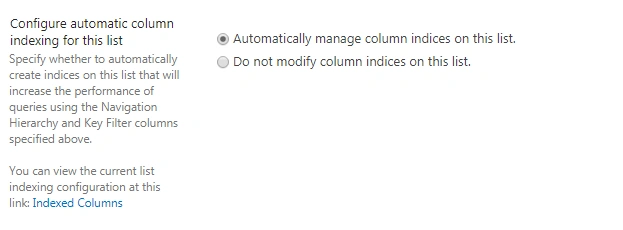
It will come as default by automatically indexing the metadata we created in the SharePoint list and libraries. This is one of the best ways for handling metadata and the preferred way.
You can also see another option “Do not automatically indices column from this list”; you will be indexing the list column manually.
I am going with the Default “Automatically manage column indices in this list”.
You are also able to see the indexed columns by clicking on the link.
Click OK and complete the setup. Let’s see the cool OOTB feature how it works.
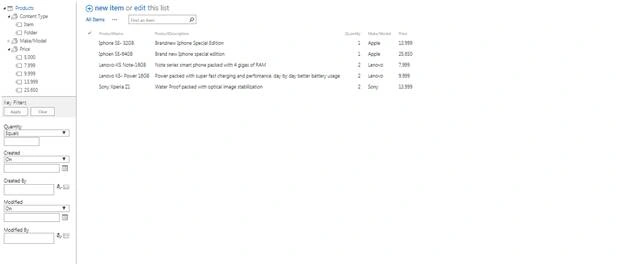
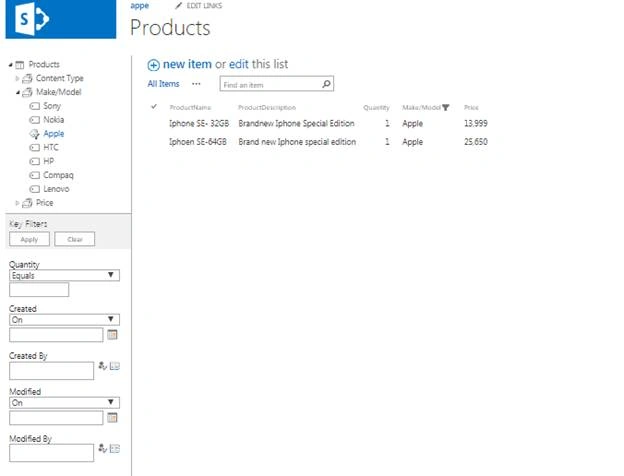
Now, I am going to filter with product “Apple”.
Oops the filter applied
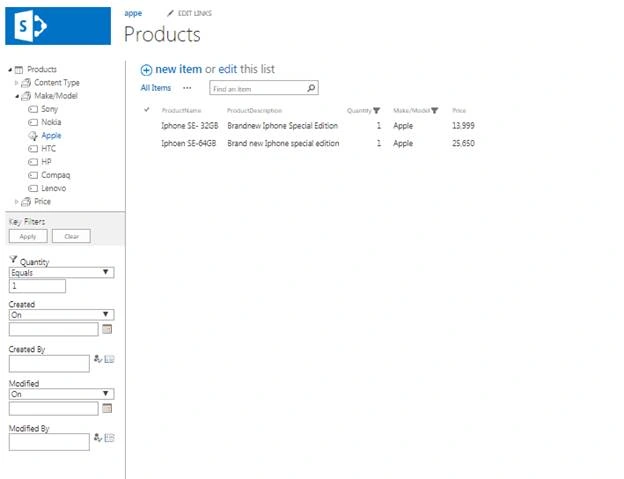
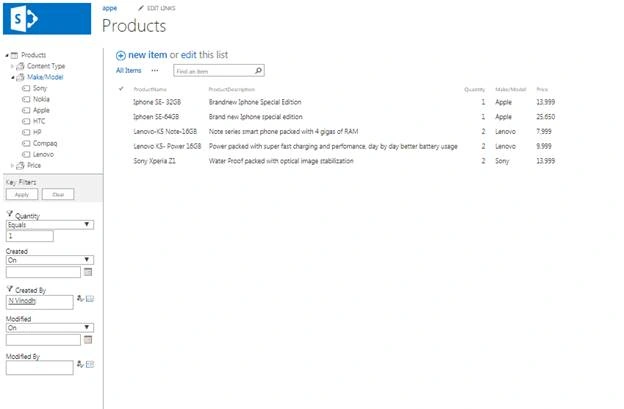
Let’s see the key filter. Just put Quantity equals “1”.
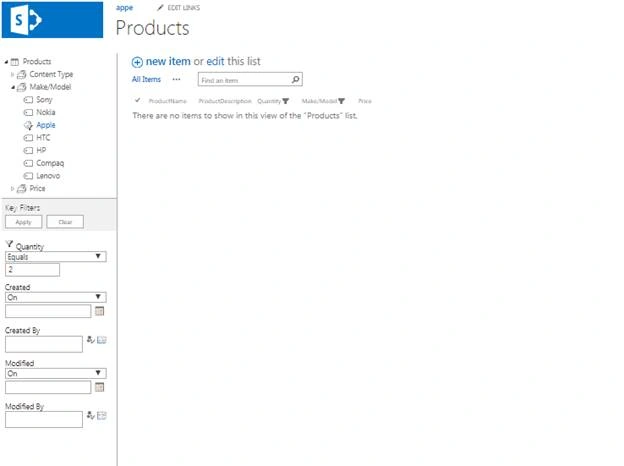
Now, let me check Quantity equals “2”.
So, no items found.
Also, you can apply Key filter based on “Person or Group Field” value.
Conclusion
This awesome and cool OOTB feature will help you satisfy our client and customer needs without writing code and it achieves this within a couple of minutes. This feature is used by beginner SharePoint developers.
KRUTHI RAOPosted Aug 8, 2019, 4:12 AM
After adding the available filter fields to selected filter fields and clicking 'OK'. I receive 'Object reference not found error'. Please help me with this issue.
Sajith G HPosted Jun 14, 2018, 7:25 AM
Is there any option to add single line of text, for example Product Name as search filter