

Visual Studio LightSwitch is a Microsoft tool used to build business applications. In this article I'm going to explain working with a modal window in an Editable Grid Screen. I have already discussed Editable Grid Screens in the last article.
A modal window is a small window which represents data in the modern look.
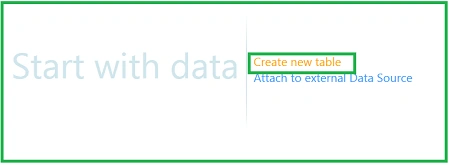
Step 1 : First of all open Visual Studio LightSwitch->Click on create new table.
Step 2 : Create a new table such as Student.

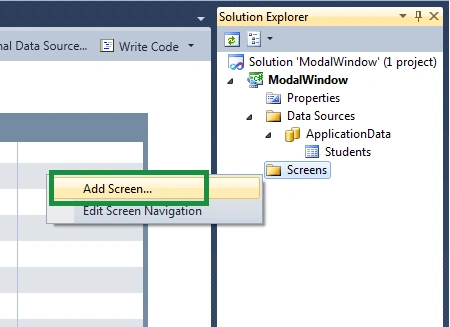
Step 3 : Now we will add a screen. Right-click on screens->Add screen.
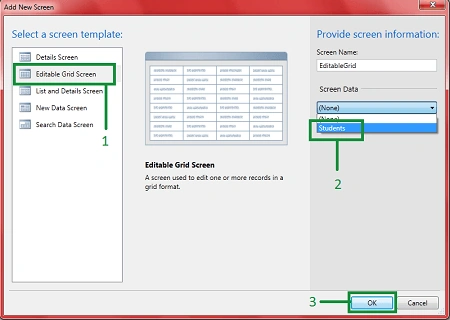
Step 4 : Select Editable Grid Screen->Select screen data (Students)->Ok.
Step 5 : Run application (Press F5). Click on + sign to fill data. When you click on + sign then you will see a small window open in which you can fill the data then ok. In this small window there are two buttons i.e. Ok and Cancel. When you click the ok button then the data will saved; if you click the Cancel button then the window will close without saving data..

Step 6 : If you want to omit the Ok and Cancel buttons in a modal window, then that is possible. Now I'm going to explain how to remove Ok and Cancel buttons from a modal window.
Rows layout->Add->New group.
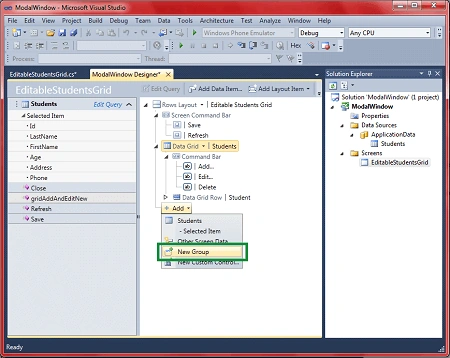
Step 7 : Expand rows layout->Select modal window.

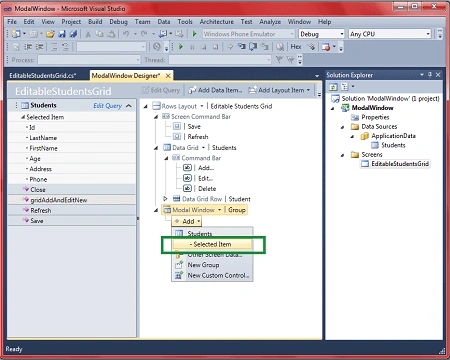
Step 8 : Modal window->Add->Selected item.
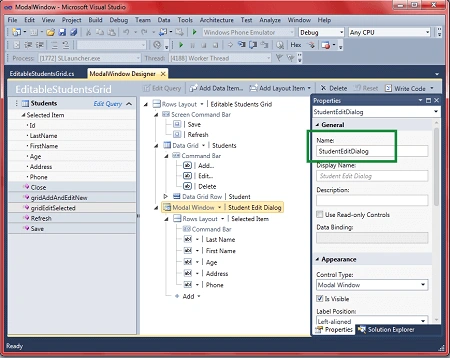
Step 9 : Now go to properties of group and change the name i.e. StudentEditDialog.

Join the conversation! Your thoughts help the community grow.