

Today, I will explain how to install MongoDB on Windows. You can read my previous MongoDB introduction article here:
Now, I will explain how to install MongoDB via a simple procedure.
Step 1
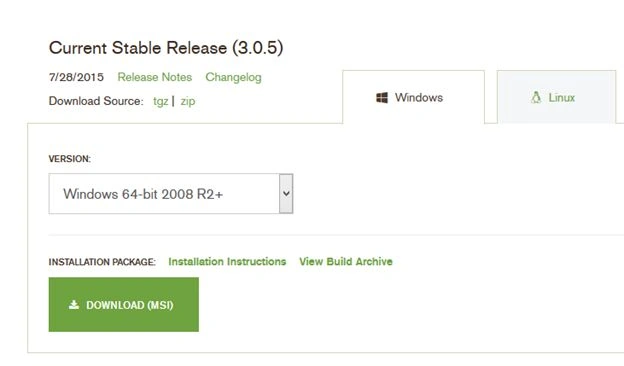
First, go to the MongoDB website and download an appropriate version of MongoDB for your system.
Step 2
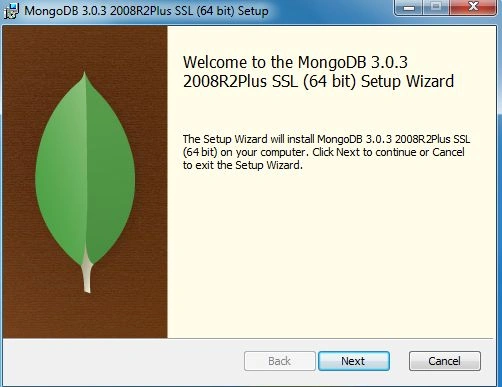
After downloading the MongoDB installation package, run the MSI file.
Step 3
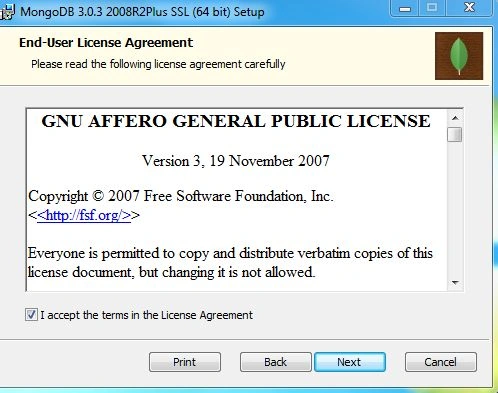
Accept the license.
Step 4
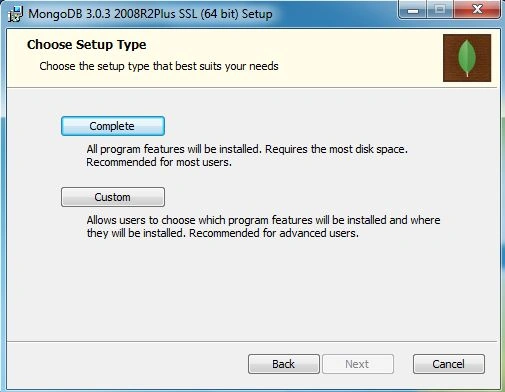
Choose the Setup Type.
Step 5
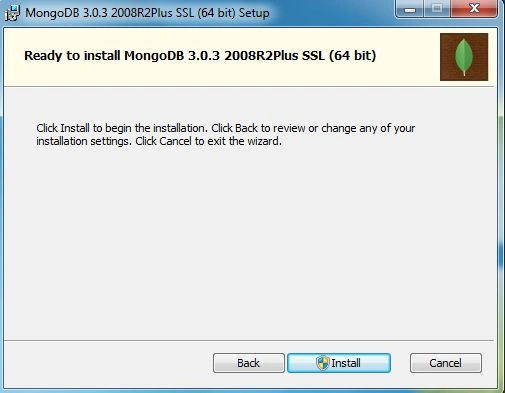
Install MongoDB.
Step 6
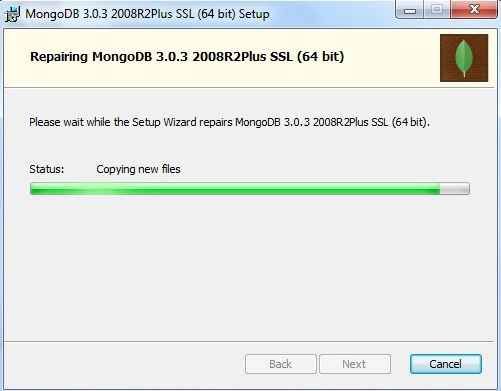
The following shows the installation process.
Step 7
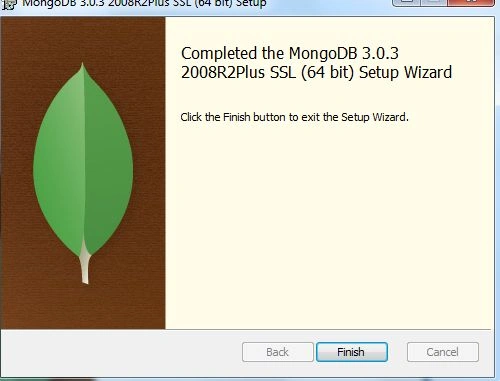
The installation is complete.
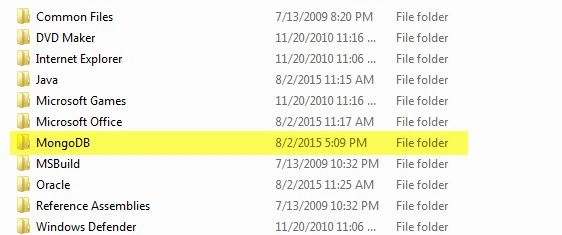
After the successful installation of MongoDB, you will find that a folder named MongoDB has been created in your directory. You can find this folder here: C:\Program Files.
Step 8
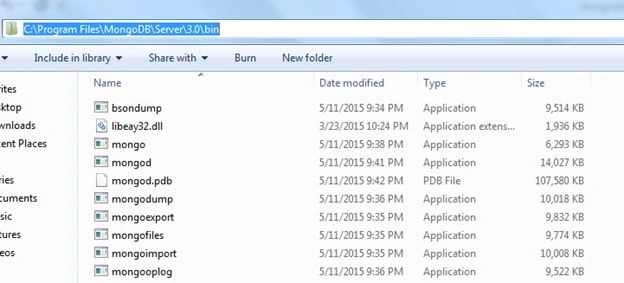
After installation, now we set the path for MongoDB. For this, select the following path from your directory:
C:\Program Files\MondoDB\Server\3.0\bin.
Step 9
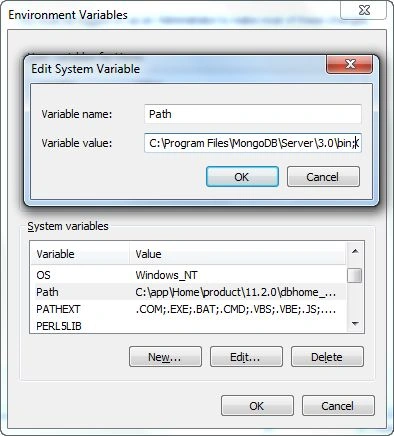
Now go to System Properties and press the Environment Variables button.

Step 10
Select the Path variable from the System variables.

Now paste this path here.
Step 11
Then, we create a default directory where MongoDB will save all its data. For this, open a command prompt and execute the following command.

Now you will find that the folder named data has been created in your C: directory, this folder contains another folder whose name is db. So far, the db folder is empty. In the future, all the data and the database will be stored here.
After all the preceding tasks we run the MongoDB server and client. First, close the opened Command Prompt and open it again.
First, run the “mongod” command. When you run this command the system will show many messages.
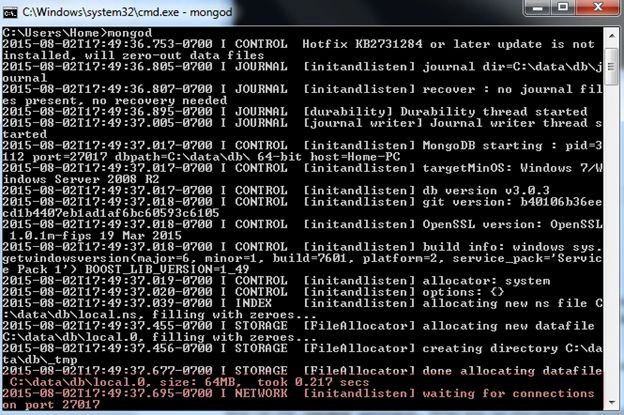
The MongoDB command is used to run a server at a specific port number. By default, this port number is 27017.
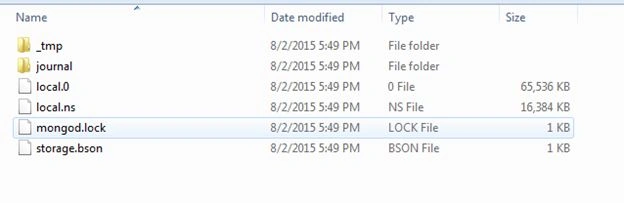
Now again go to the C:\data\db directory. You will find that some files and folders have been created automatically. All these files are generated by Mongod. Each file and folder has a specific task and use.
Open another command prompt window and run the mongo command.
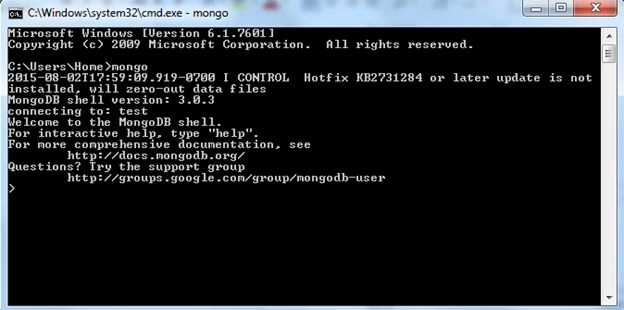
The Mongo command is used to start a client. If you watch the previous command prompt (in which we ran the MongoDB command) you will find the following message:
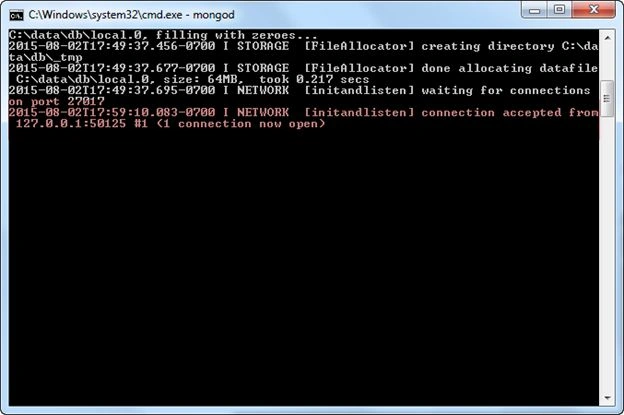
This message shows that the number of active clients is one. If you open another command prompt and run the mongo command then you will find that the number of opened connections is two.
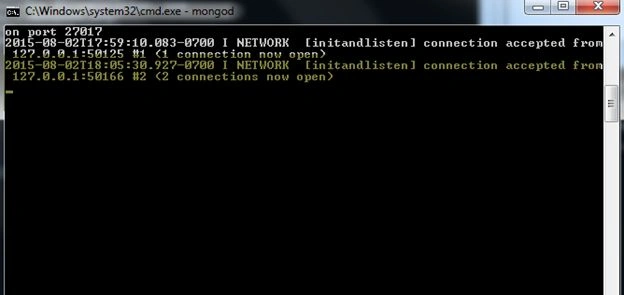
The installation and configuration has been completed.
Today we learned how to install MongoDB in Windows. In the next articles, we will start working on MongoDB. Until then, keep coding.
Step 9
Now go to System Properties and press the Environment Variables button.
Step 10
Select the Path variable from the System variables.
Now paste this path here.
Step 11
Then, we create a default directory where MongoDB will save all its data. For this, open a command prompt and execute the following command.
Now you will find that the folder named data has been created in your C: directory, this folder contains another folder whose name is db. So far, the db folder is empty. In the future, all the data and the database will be stored here.
After all the preceding tasks we run the MongoDB server and client. First, close the opened Command Prompt and open it again.
First, run the “mongod” command. When you run this command the system will show many messages.
The MongoDB command is used to run a server at a specific port number. By default, this port number is 27017.
Now again go to the C:\data\db directory. You will find that some files and folders have been created automatically. All these files are generated by Mongod. Each file and folder has a specific task and use.
Open another command prompt window and run the mongo command.
The Mongo command is used to start a client. If you watch the previous command prompt (in which we ran the MongoDB command) you will find the following message:
This message shows that the number of active clients is one. If you open another command prompt and run the mongo command then you will find that the number of opened connections is two.
The installation and configuration has been completed.
Today we learned how to install MongoDB in Windows. In the next articles, we will start working on MongoDB. Until then, keep coding.
Next article >> Day 3 - MongoDB Database Basics
Sr KarthigaPosted Feb 14, 2016, 7:38 AM
Good one sir
Sr KarthigaPosted Feb 14, 2016, 7:36 AM
Good one sir
yesodhara BommidiPosted Oct 5, 2015, 7:03 AM
Hi panakaj, why did you change the path here.
yesodhara BommidiPosted Oct 5, 2015, 7:02 AM
Hi pankaj,
Pankaj Kumar ChoudharyPosted Sep 25, 2015, 6:34 AM
Thanks Nilesh Sir.........
Pankaj Kumar ChoudharyPosted Sep 25, 2015, 6:33 AM
Thanks Chervine Sir.......
Nilesh JadavPosted Aug 4, 2015, 12:24 AM
This is great Pankaj Kumar Choudhary
Chervine BhiwooPosted Aug 3, 2015, 11:26 PM
Great series on Mongo. Thanks!
Pankaj Kumar ChoudharyPosted Aug 3, 2015, 3:00 PM
Thanks Santhakumar Munuswamy Sir..........
Santhakumar MunuswamyPosted Aug 3, 2015, 2:42 PM
Nice article. Thanks for sharing
Pankaj Kumar ChoudharyPosted Aug 3, 2015, 11:16 AM
Thanks Gopi Chand Sir.......
Pankaj Kumar ChoudharyPosted Aug 3, 2015, 11:15 AM
Thanks Rakesh Chavda Sir.......
Gopi ChandPosted Aug 3, 2015, 10:55 AM
Great
RakeshPosted Aug 3, 2015, 10:53 AM
Good one
Pankaj Kumar ChoudharyPosted Aug 3, 2015, 7:50 AM
Thanka Neeraj Kumar .......
Pankaj Kumar ChoudharyPosted Aug 3, 2015, 7:49 AM
Thanks Sibeesh Venu Sir..................
Pankaj Kumar ChoudharyPosted Aug 3, 2015, 7:49 AM
Thanks Rajeesh Menoth Sir...........
Pankaj Kumar ChoudharyPosted Aug 3, 2015, 7:48 AM
Thanks Rahul Prajapat......
Neeraj KumarPosted Aug 3, 2015, 7:10 AM
Good
Rajeesh MenothPosted Aug 3, 2015, 5:30 AM
Nice One
Sibeesh VenuPosted Aug 3, 2015, 4:28 AM
Nice Share
Rahul PrajapatPosted Aug 3, 2015, 2:32 AM
Nice information, thanks for sharing...