

Here we will see how to create a Multiline TextBox in a LightSwitch Application (Visual C#) in Visual Studio 2012.
The following is the procedure for creating a multiline TextBox.
Step 1
Open the Solution Explorer.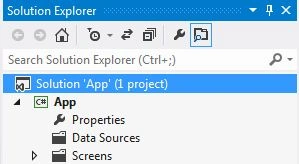
Step 2
In the Solution Explorer, right-click on the Screens and choose "Add Screen".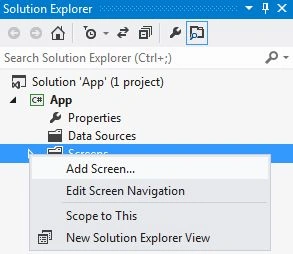
Step 3
The Add New Screen dialog box appears. Select the "New Data Screen" from the Screen Template then under the screen information, choose "None" under the screen data and provide a name to the Screen and click the "OK" button.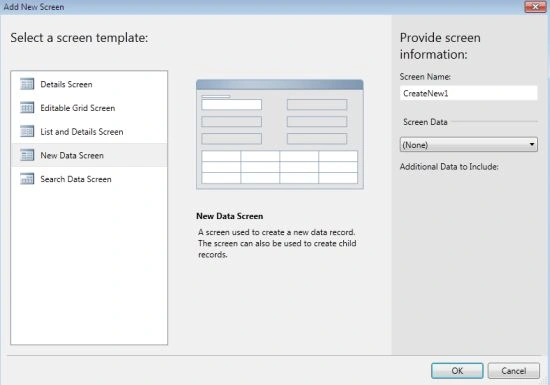
Step 4
The Application Designer appears.
Step 5
Under Application Designer, go to the menu bar and select "Add Data Item".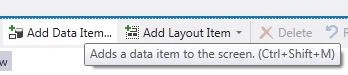
Step 6
The Add Data Item dialog box appears on the screen. Select the Local Property radio button and select the "String from Type" drop down, enter the name as "Multiple Line Note" and click "Ok".
We will see that the Data Item is added to the left hand side of the Screen.
Step 7
Now drag the Data Item onto the Screen.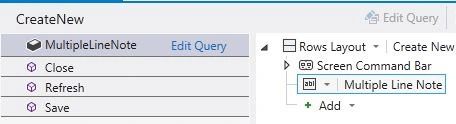
Click on the Data Item (TextBox) and go to the property Window and click on the "Lines" radio button and enter the number of lines.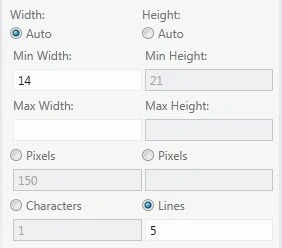
Step 8
Press F5 to run the application. 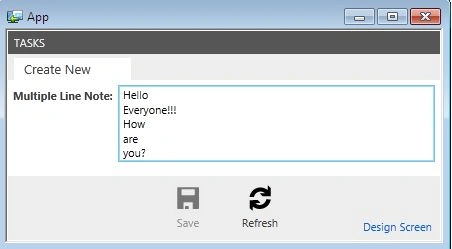
Join the conversation! Your thoughts help the community grow.