

1. Introduction:
In a previous article we learned how to navigate to another Silverlight page without using Navigation Framework, which is a new feature in Silverlight 3.
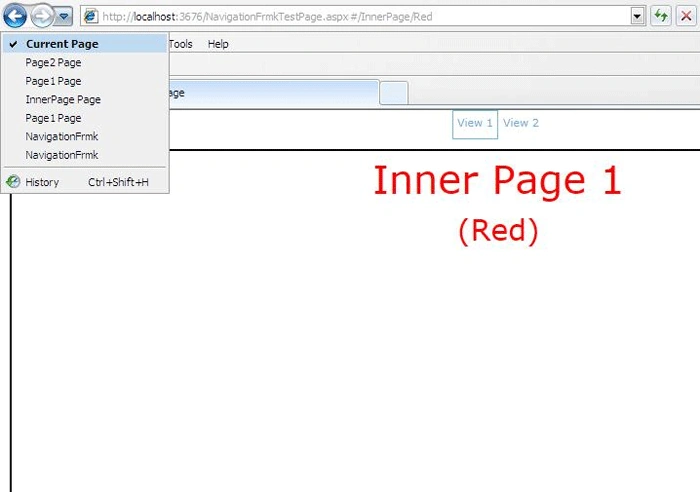
So in this article we will learn how to create a navigation experience similar to browsing through pages of a web site. Navigation Framework also allows us to create a history that can integrate with the browser, enabling users to navigate forward and backward through the history using the browser's back and forward buttons. So before we dive deep into programming with Navigation Framework, we need to get to know two main objects that are contained in the Navigation Framework, Page and Frame. The Frame object is very similar to a ContentPlaceHolder in ASP.NET master pages and is the place holder for the different views to be loaded onto the page.
2. Creating a Silverlight Navigation Application.
Step 1: Start Visual Studio 2008 and select File --> New --> Project from the main menu.
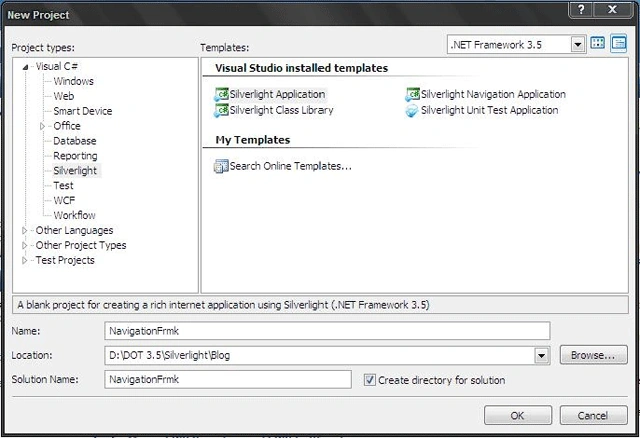
Step 2: When the New Silverlight Application dialog appears, select the default to host the Silverlight application in a new ASP.NET web application named NavigationFrmk.Web. Press OK to continue.
Step 3: By default the MainPage.xaml file will be created and opened for editing. We will start by editing that file. In the Grid definition, add ShowGridLines="True" so we can see how our cells are laid out. We can turn this property off later so our application is cleaner
Step 4: Next we want to define the Grid cells. We will simply have two rows, one for the links and one for the navigated content.
<Grid ShowGridLines="True" x:Name="LaWetRoot" Background="White">
<Grid.RowDefinitions>
<RowDefinition Height="30" />
<RowDefinition></RowDefinition>
</Grid.RowDefinitions>
</Grid>
Step 5: Now that we have the two rows, we want to add our HyperlinkButtons that will be used to navigate to the different views. We will do this in a horizontal StackPanel. For the Click property, create an event handler called LinkClick.
<Grid ShowGridLines="True" x:Name="LayoutRoot" Background="White">
<Grid.RowDefinitions>
<RowDefinition Height="30" />
<RowDefinition></RowDefinition>
</Grid.RowDefinitions>
</Grid>
<StackPanel Orientation="Horizontal" HorizontalAlignment="Center">
<HyperlinkButton
Content="View 1"
Click="HyperlinkButton_Click"
Padding="5"
Tag="/Page1">
</HyperlinkButton>
<HyperlinkButton
Content="View 2"
Click="HyperlinkButton_Click"
Padding="5"
Tag="/Page2">
</HyperlinkButton>
</StackPanel>
</Grid>
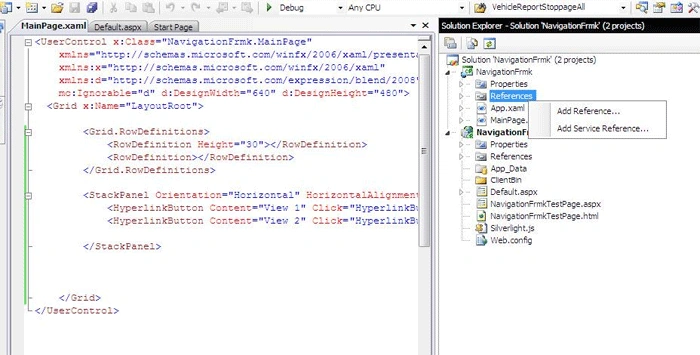
Step 6: The next step will be to add support for the Navigation Framework in our project. The first step is to add a reference to System.Windows.Controls.Navigation.dll by right clicking on the References folder in our Silverlight project and choosing Add Reference as shown below ;
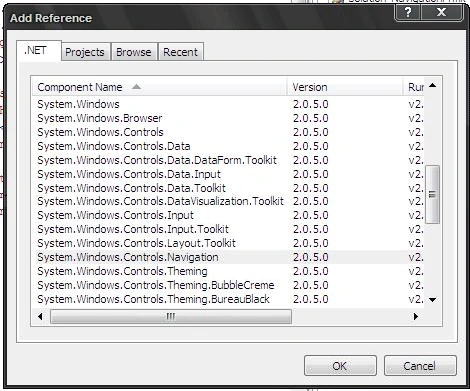
Step 7: When the Add Reference dialog appears, be sure that the .NET tab is selected and then browse through the list until we find System.Windows.Controls.Navigation, as shown below. Select the entry and press OK to add the reference to the project.
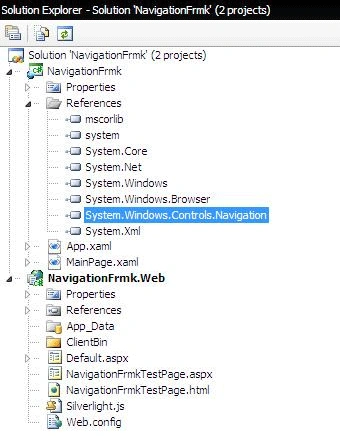
Step 8: When the assembly is added we will see it appear under References in the Solution Explorer, as shown below
Step 9: Now that you have added the reference to the Navigation Framework, we need to add the navigation objects to your application. You will start by adding the XML namespace for System.Windows.Controls.Navigation to the UserControl definition.

Step 10: we can now add a Frame to the bottom row of the root grid named ContentFrame. You will also set the HorizontalContentAlignment and VerticalContentAlignment to Stretch so the Frame will consume the entire Grid Cell. We will also give the Frame a 10 pixel Margin and a BorderThickness to 2 pixels.
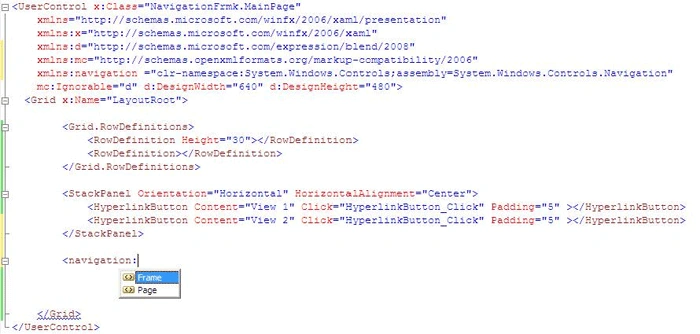
<navigation:Frame x:Name="ContentFrame"
HorizontalContentAlignment="Stretch"
VerticalContentAlignment="Stretch"
Margin="10"
Grid.Row="1"
BorderThickness="2"
BorderBrush="Black" />
Step 11: Next, you will add the different views to the project. Right-click on the Silverlight project and select Add New Item.
Step 12. On the Add New Item dialog, select the Silverlight Page template, name the page View1.xaml and click on the Add button.
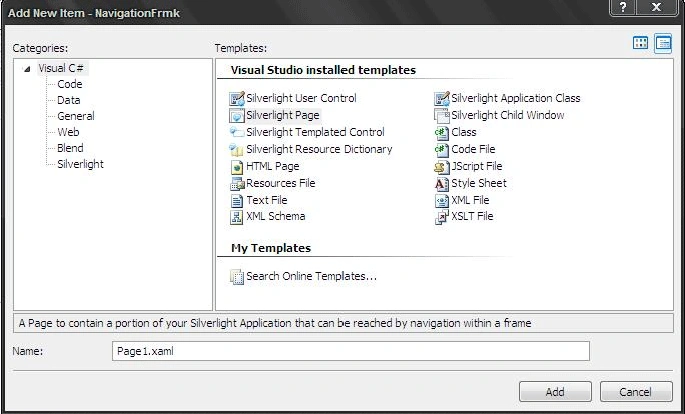
Step 13: Once Page1.xaml has been added, we will repeat steps to add another Silverlight Page named Page2.xaml.
Step 14: Open Page1.xaml up in design mode and add the following XAML to the root Grid.
<Grid x:Name="LayoutRoot">
<TextBlock Text="Page 1"
FontSize="60"
Foreground="Green"
HorizontalAlignment="Center"
VerticalAlignment="Center" />
</Grid>
Step 15: Open Page2.xaml up in design mode and add the following XAML to the root Grid.
<Grid x:Name="LayoutRoot">
<TextBlock Text="Page 2"
FontSize="60"
Foreground="Red"
HorizontalAlignment="Center"
VerticalAlignment="Center" />
</Grid>
Step 16: We now have the main page containing the Frame and the two pages that you will load into the Frame. Next, we need to actually load the pages into the Frame. We will do this on the click event of the two HyperlinkButtons. While we can easily do this with two click event handlers, we will actually do it with one. We can set the Tag property of the HyperlinkButton to be the page view source file. Then the click event handler will be able to retrieve the source file from the Tag.
<StackPanel Orientation="Horizontal" HorizontalAlignment="Center">
<HyperlinkButton
Content="View 1"
Click="HyperlinkButton_Click"
Padding="5"
Tag="/Page1.xaml">
</HyperlinkButton>
<HyperlinkButton
Content="View 2"
Click="HyperlinkButton_Click"
Padding="5"
Tag="/Page2.xaml">
</HyperlinkButton>
</StackPanel>
Step 17: Within the event we will add the following code to retrieve the view's source file.
private void HyperlinkButton_Click(object sender, RoutedEventArgs e)
{
HyperlinkButton button = (HyperlinkButton)sender;
string viewSource = button.Tag.ToString();
}
Step 18: Now that we have the view's source file, you can use the Frame's Navigate method to navigate to the proper view.
private void HyperlinkButton_Click(object sender, RoutedEventArgs e)
{
HyperlinkButton button = (HyperlinkButton)sender;
string viewSource = button.Tag.ToString();
ContentFrame.Navigate(new Uri(viewSource, UriKind.Relative));
}
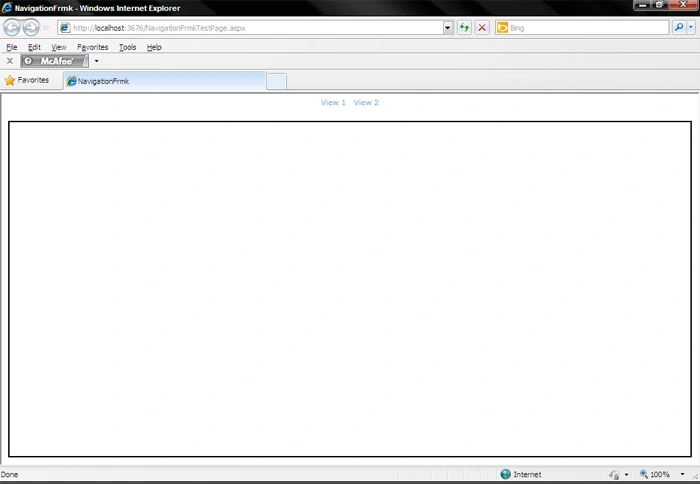
Step 19: We are now ready to run the solution. Select Debug --> Start Debugging or press F5 to run the application. Internet Explorer will open and the application will be displayed, as shown below,
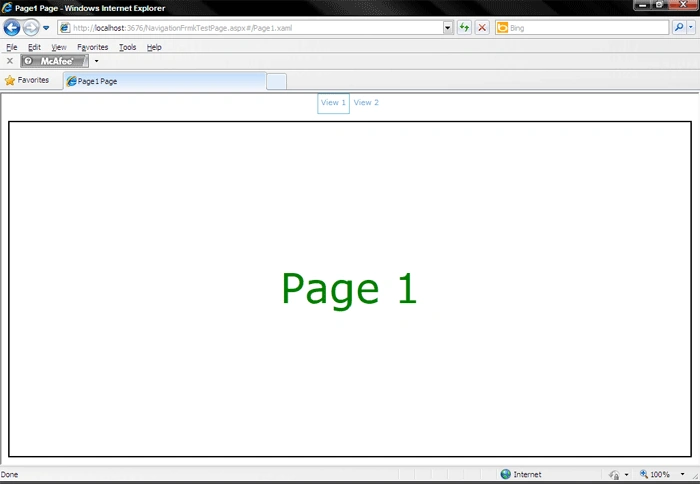
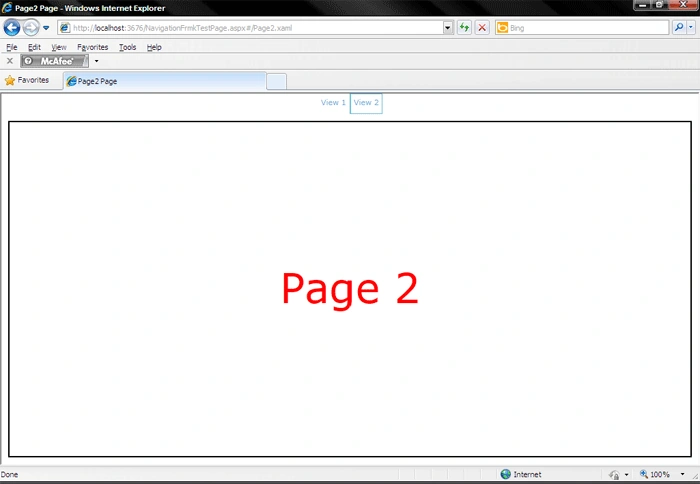
Step 20: Press the View 1 HyperlinkButton at the top of the screen. The content frame will navigate to the Page1.xaml content, as shown below,
3. How to Navigate from One Page to another Silverlight Page.
To accomplish this we will use NavigationService Object, an object that allows a view to access its hosting frame.
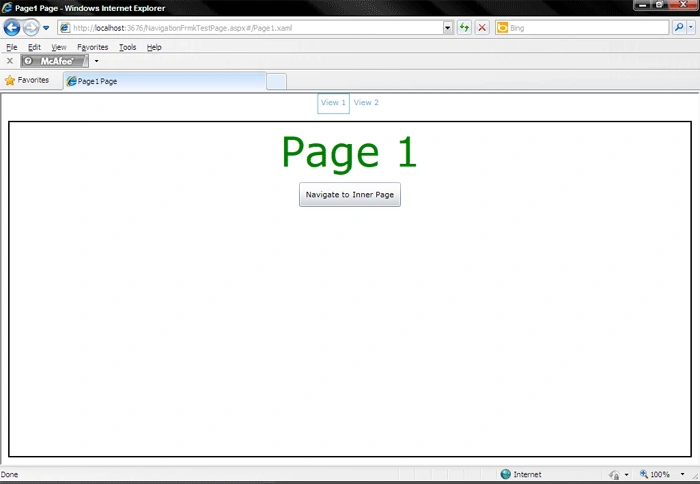
Step 1: Let's Open the XAML for Page.xaml and modify the source to include a button under the TextBlock, as below
<Grid x:Name="LayoutRoot">
<StackPanel>
<TextBlock Text="Page 1"
FontSize="60"
Foreground="Green"
HorizontalAlignment="Center"
VerticalAlignment="Center" />
<Button Click="Button_Click"
Padding="10"
Content="Navigate to Inner Page"
HorizontalAlignment="Center" />
</StackPanel>
</Grid>
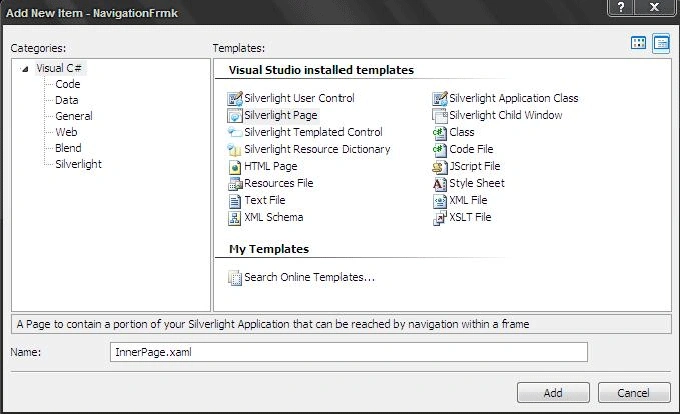
Step 2: You need to add the new Page that we will navigate to use the NavigationService. Right click on the Silverlight project and choose Add --> New Item. Select Silverlight Page as the template and name the file InnerPage1.xaml.
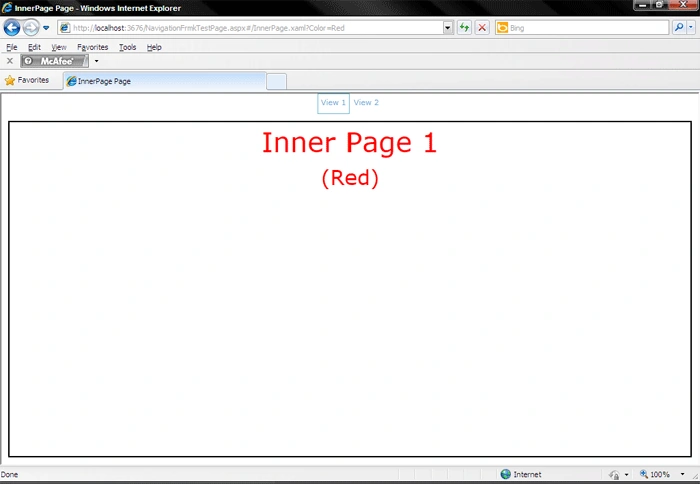
Step 3: In the XAML for InnerView1.xaml, add a simple TextBlock.
<Grid x:Name="LayoutRoot">
<TextBlock Text="Inner Page 1"
FontSize="40"
Foreground="Blue"
HorizontalAlignment="Center"

Maamathi partheebanPosted Mar 17, 2015, 6:49 PM
Very helpful article and this is what I was looking for..Thank you for your post.
Subhajit GiriPosted Aug 20, 2014, 12:50 AM
good article