

Introduction
As you know, Visual Studio 2013 Preview helps you to develop applications for Office 2013. In this article I am introducing how to create a mail app for Outlook using the Visual Studio 2013 Preview. As I described in my previous article, the Visual Studio Office developer tools helps to create Office 2013 and Office 2010 applications. You can also create applications for Excel and Word; for that you can view my previous article.
In this article, you will learn how to develop and test a mail app for Outlook using the Visual Studio 2013 Preview. In that context, I am describing it in multiple parts for a better understanding. Please follow the information given below:
- Prerequisites
- Project Creation
- Mail app Description
- Mail app Development
- View Information
- View Mail app
Prerequisites
The following are the prerequisites for creating the mail app:
- Visual Studio 2013 Preview
- Outlook 2013
Note: You can also use Visual Studio 2012 and Office Developer Tools for Visual Studio 2012 for creating your mail app.
Project Creation
Let's start to create a mail app project using the following procedure:
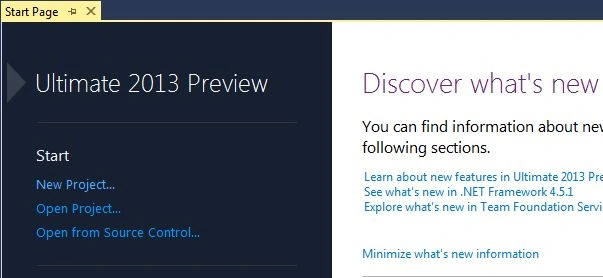
Step 1: Open Visual Studio 2013 Preview and click "New Project" in the Start Page as in the following:
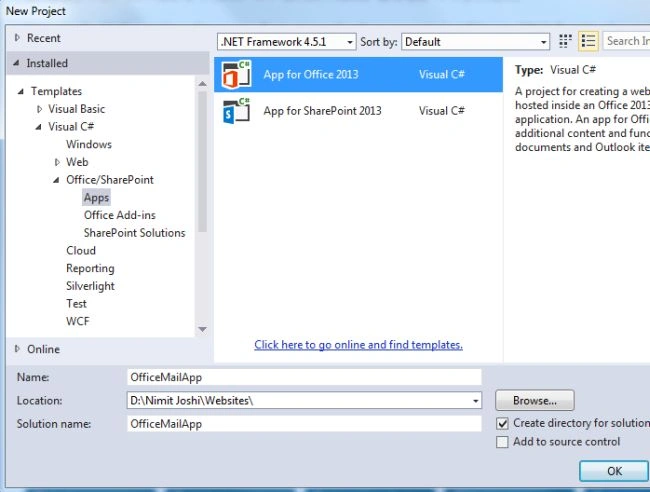
Step 2: In the next wizard, expand the Office/SharePoint option and select "Apps". Select "App for Office 2013" and provide a name for your project and click "OK".
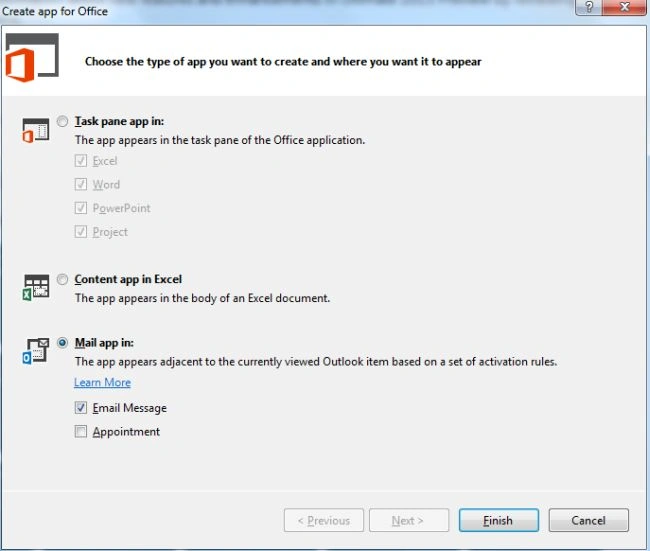
Step 3: Select "Mail app in" type of app in the next wizard. Please clear the Appointment check box and click "Finish".
Step 4: Debug your application. If a dialog box appears then that means that, while your application is being debugged, you need to use your Office Developer Site userid and password. If you do not have an account then make an account through here. Please enter your entire User Id (like [email protected]) in place of Email address in that dialog box.
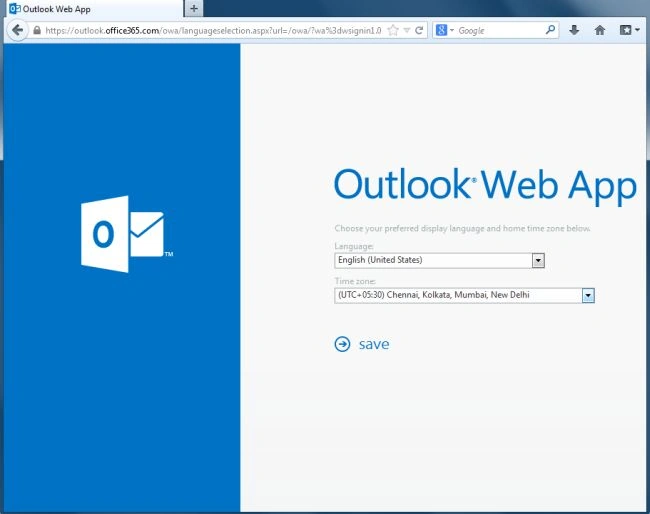
Select Time Zone and click "Save".
Mail app Description
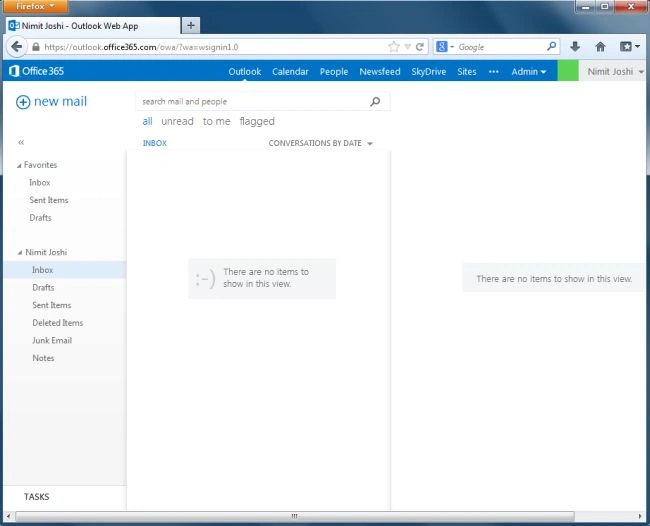
You will now see, as in the previous image, that a new mail app has been created. You can specify a name on the app button. You can view the app button in the app name when your mail app is activated by Outlook. The description helps users to understand the app. If you want to modify it then you can do that in the Manifest folder in the Solution Explorer.
Let's provide a name and description:
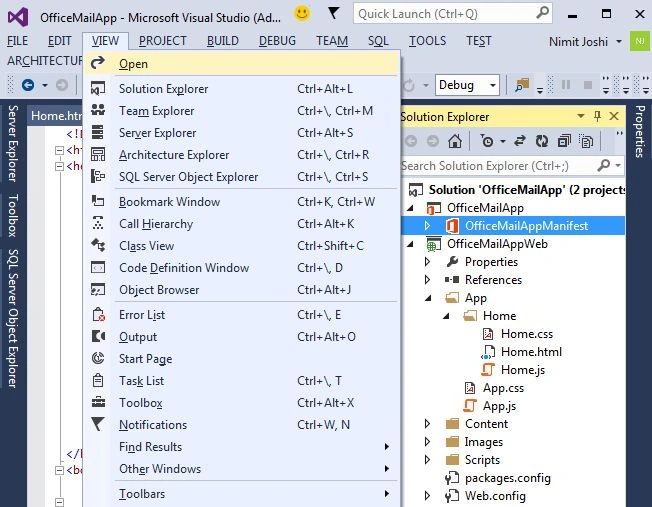
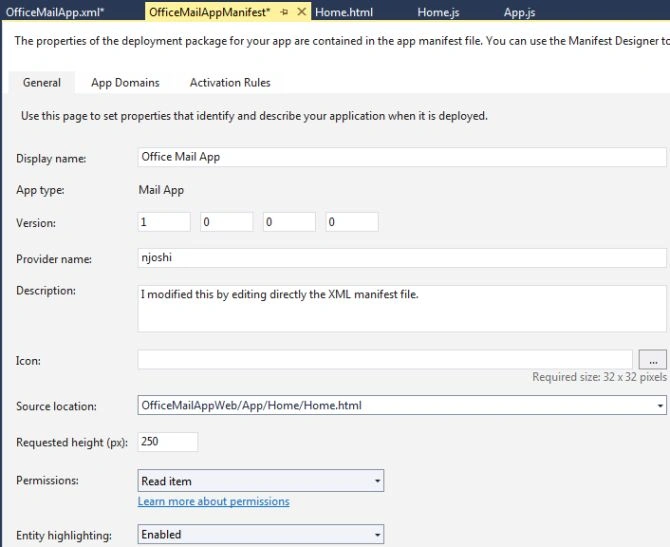
Step 1: Select the "OfficeMailAppManifest" folder and go to "View" and click on "Open".
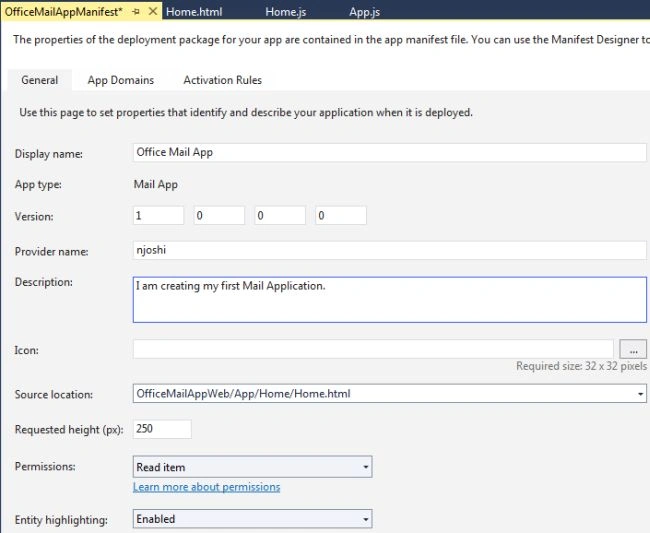
Step 2: Enter your mail app name in the Display Name box.
Step 3: In Solution Explorer, expand the "OfficeMailAppManifest" folder and select the "OfficeMailApp.xml" file.
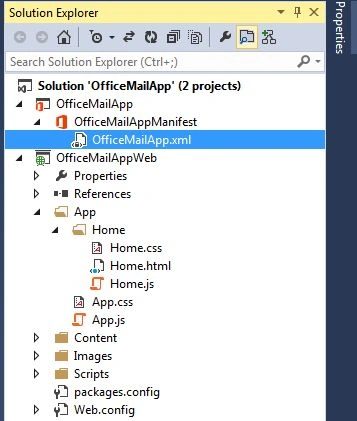
Step 4: You can view your DisplayName DefaultValue and change your Description DefaultValue as in the image.
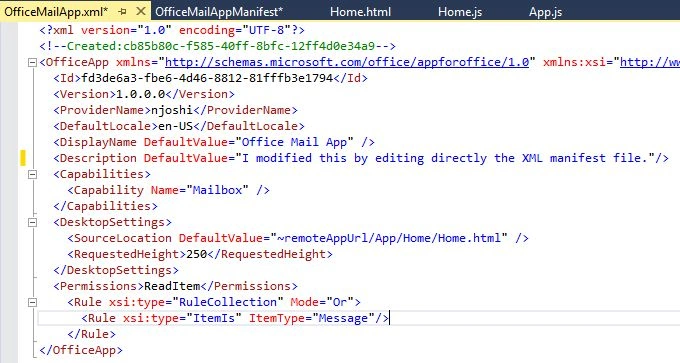
Step 5: Select "OfficeMailAppManifest" folder and go to "View" and click on "Open" to show the changes.
Mail app Development
Let's develop the mail app.
Step 1: In Solution Explorer, select and open the "Home.html" file.
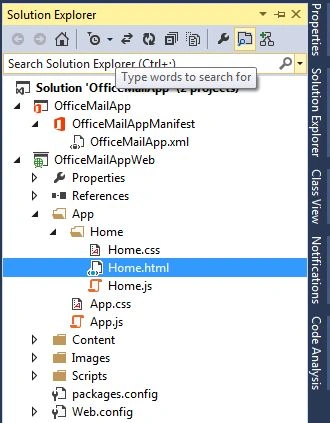
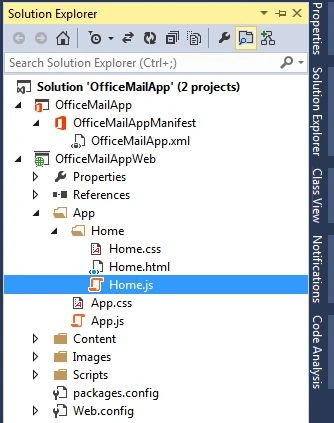
Step 2: Replace the HTML code in the <body> tag with the following code:
<h3>Email Description</h3>
<table>
<tr><td> </td><td>Sender</td><td>Recipient</td></tr>
<tr><td>Name</td><td id="senderDisplayName" /><td id="recipientDisplayName" /></tr>
Join the conversation! Your thoughts help the community grow.