

Introduction
- Community site is a new site template that provides a forum experience in SharePoint Online. We can use communities to categorize and cultivate discussions among a broad group of people across organizations in a company.
- You can also activate community site features on existing sites without creating community site templates, to access the features like Badges, Discussions, Community Members, Categories.
Let’s see how to create a community site in SharePoint Online.
- Open http://portal.office365.com
- Log in with your valid tenant username and password.
- Navigate to Admin Center -> SharePoint.
- Click New -> Private site collection.
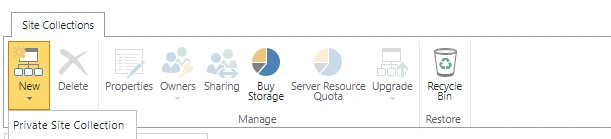
Provide the site title and web site address.
Pick a site template -> community site.
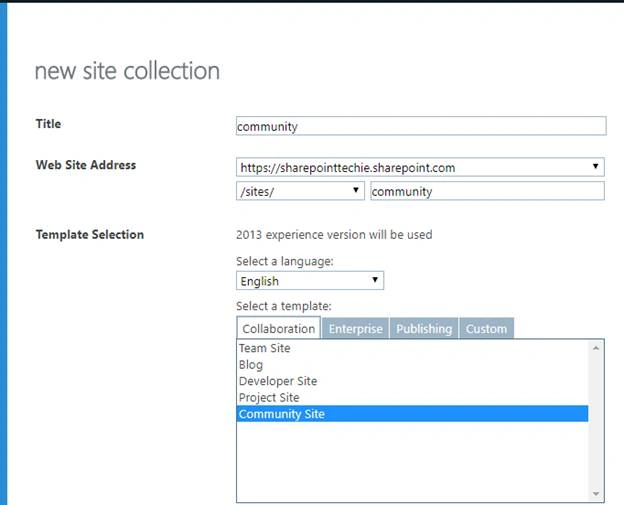
Click OK.
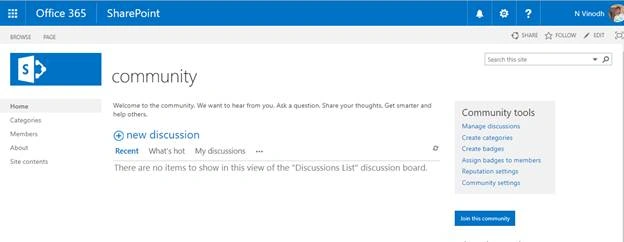
The community site has been successfully created with awesome community experience features.
Lists
Categories, Community members, Discussion List, Site Pages.
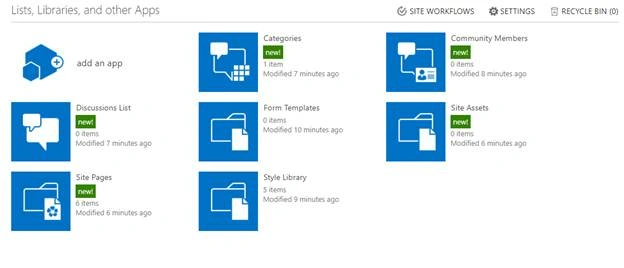
Categories
Using this category list, we can define the categories for discussion, for example - Products, Clothing, Electronics like this kind of key terms.
Discussion List
Using Discussion list, it holds the posts posted by the community members and likes, ratings and replies from other members inside the community,
Community Members
This list may work as a database for holding all the community members information inside the community forum
Site Pages
In this site template site pages were pretty different It holds the different pages by default here the list of pages Community home, About, Topic, Categories, Category, Members
- Community Home
It’s a default home page it holds all the discussions, Top members widget, Community tools it helps to create badges, assign badges, set reputation and more… I will discuss after with detailed information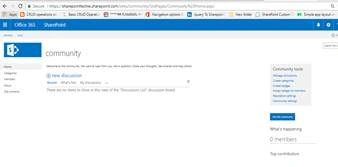
- About
This page provides the rules and regulations about the community and the rest of other components are the same as the Home page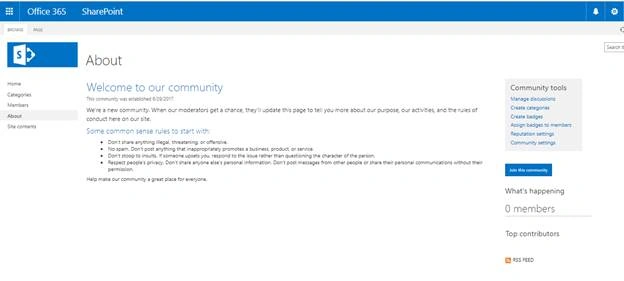
- Topic
This page is a separate page for discussion-related information.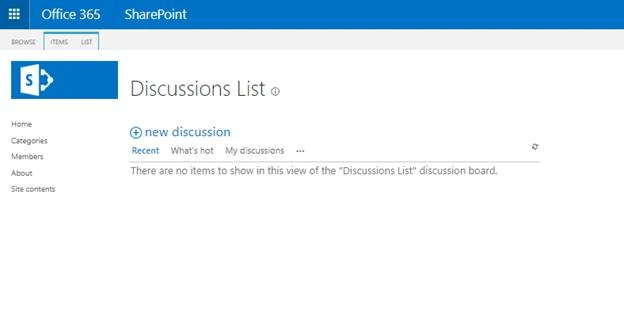
- Categories
Using this page, we can create and manage categories for discussions.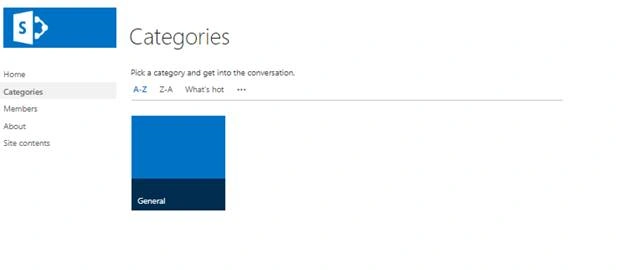
- Members
It holds the members' and top members' information inside the community.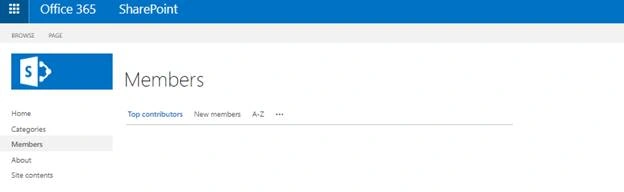
Let’s explain all the components:
Discussions inside the community based on categories:
Navigate to homepage -> Community tools -> Click create categories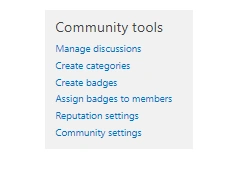
Click Create categories
On the page Click New-> provide Category Name, Description and Image source
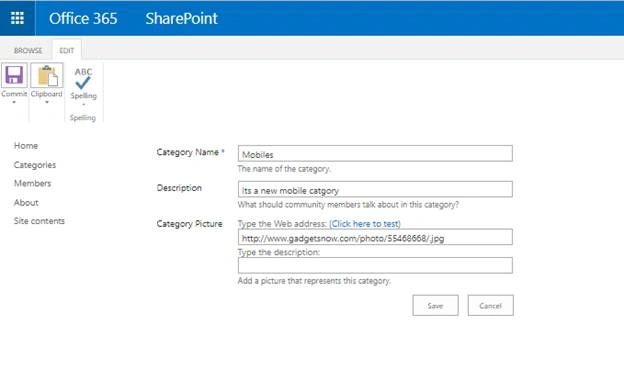
Am created “Electronics, mobiles, Clothes”
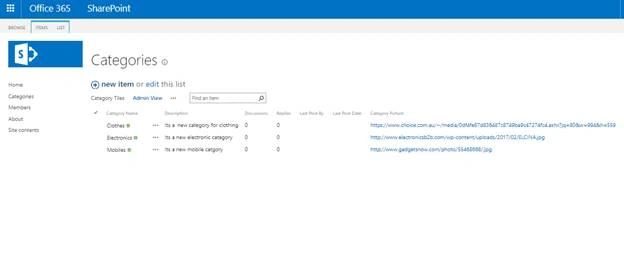
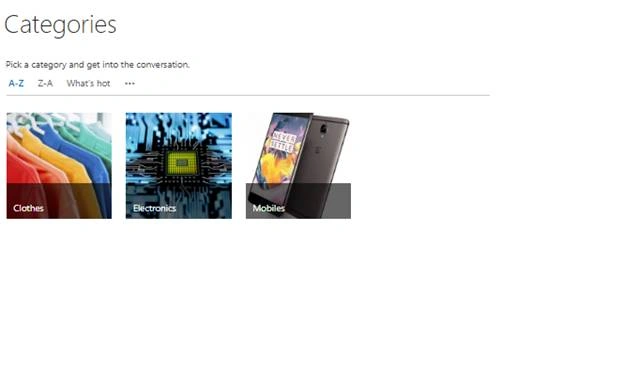
Now create discussion based on categories
Navigate to homepage -> click New Discussion
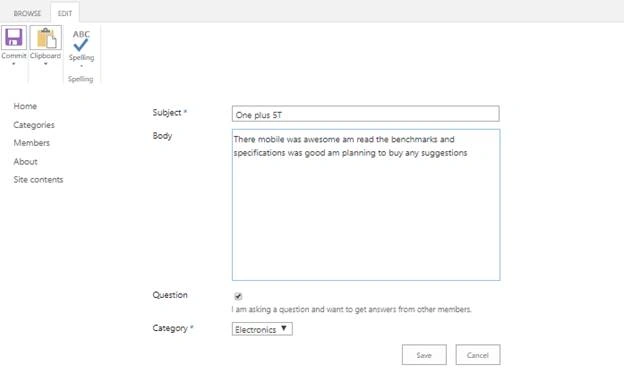
Click save
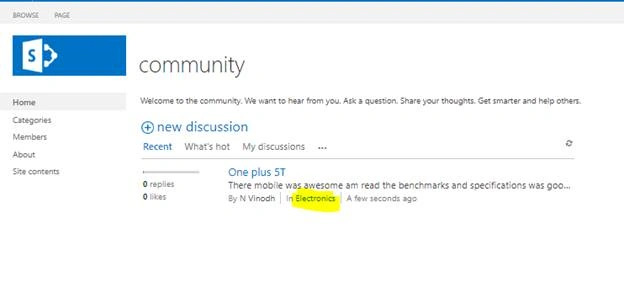
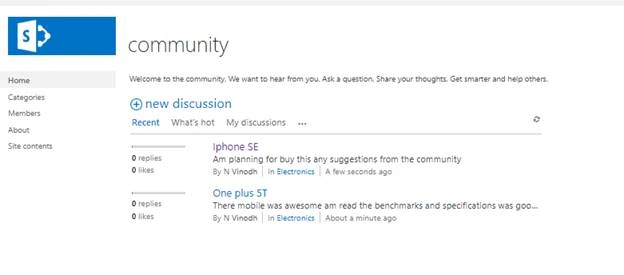
Now you can see this discussion was under category “Electronics
Also, you guys can provide likes and reply to comments with your suggestion about the discussion
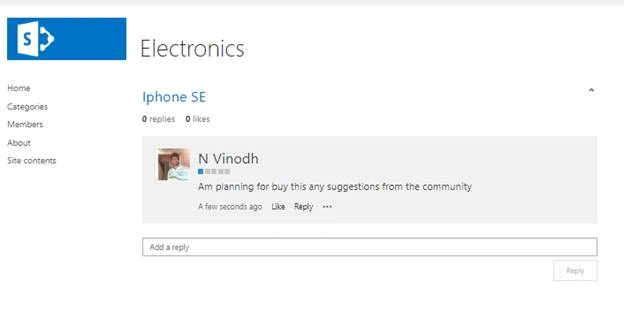
Now you are able to see the member of community sites and his posts
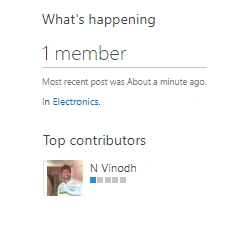
Now let’s assign a badge for a community members
In community tools -> click Create badges
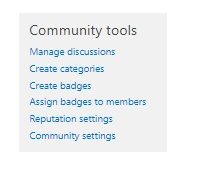
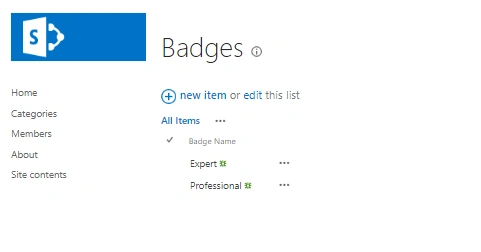
By default, you get Expert, Professional
Am going to Add “Member”
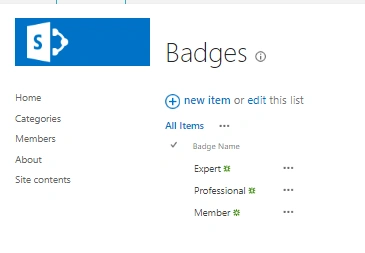
Let’s Assign a Badge to member
Click Assign badge to members
Click on -> moderation -> Give Badge
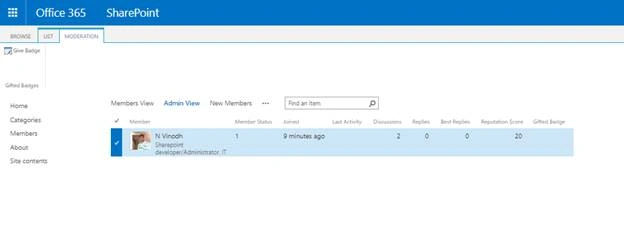
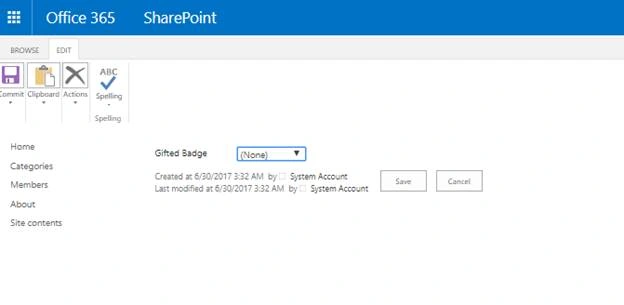
Assign Badge as “Professional”
Let’s see here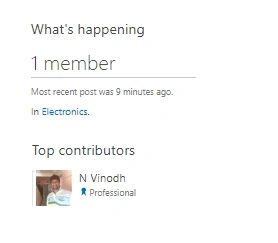
Badge has been assigned to the community member
Open community tools -> Click Reputation settings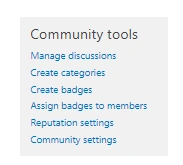
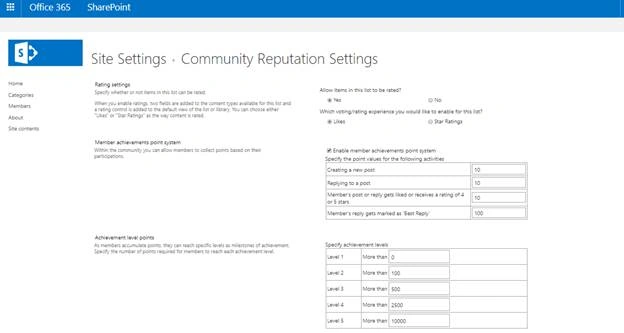
Here you can assign reputation points for creating and replying posts for likes and best replies
You can also achievement levels as points and images

Click ok to complete the setup
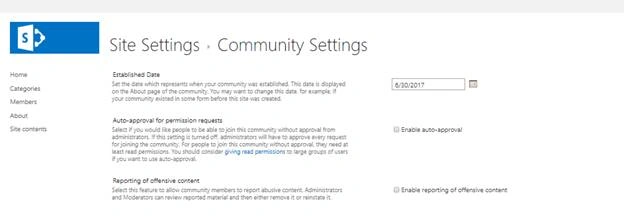
Now open community tools -> Click Community settings
Enable auto approval for permission requests and reporting of offensive contents.
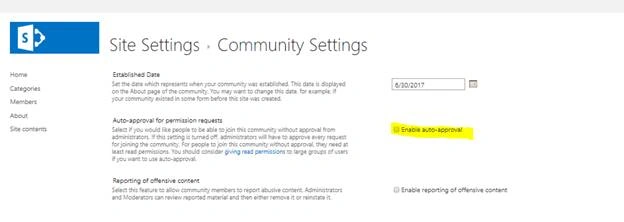
I just checked "Enable auto approval" and clicked OK.
So now, you guys know about community sites, its default components, and working cycle.
Happy SharePointing!...
Rajat SPosted Jun 12, 2020, 8:24 AM
I have a question, is it possible to edit the view in Categories? We have A-Z, Z-A and what's hot? is it possible to hide A-Z and Z-A and display only what's hot?
Bala RPosted Dec 7, 2018, 5:24 AM
How to calculate weekly top contributor based on the reputation settings?