

Today we will learn how to create a Secondary Tile in a Metro Style Application. Secondary tiles are associated with a single parent app and allows the user to directly access a specific location inside an app. This means it enables a user to pin specific content or experiences from an app to the Start screen, to have direct access to that content or experience.
When the user clicks on the secondary tile, it immediately launches the parent app. Generally we can create a secondary tile which is most often in the UI as the Pin to Start option. To pin content means to create a secondary tile for it.
It may be noted here that only users can pin a secondary tile and apps do not have the ability to create and pin secondary tiles programmatically without user approval. Although users also have explicit control over secondary tiles such as removal and search, from the Start screen.
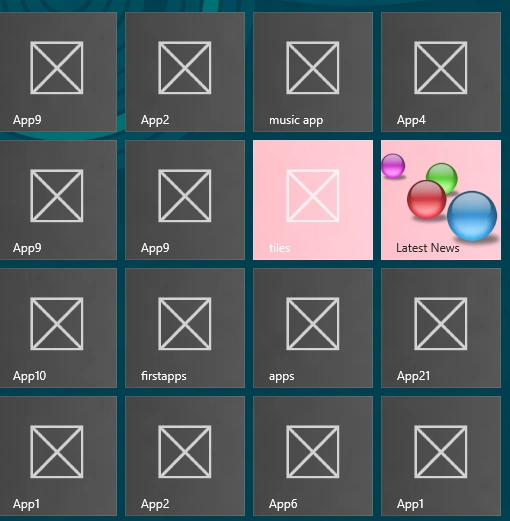
This article walks you through the steps of how to create a secondary tile for an app in a Metro Style Application using C# and pin it to the Start screen.
Step 1: First, we create some UI layout for the application. Use a button that enables you to create a secondary tile, as in:
<Page
x:Class="tiles.MainPage"
IsTabStop="false"
xmlns="http://schemas.microsoft.com/winfx/2006/xaml/presentation"
xmlns:x="http://schemas.microsoft.com/winfx/2006/xaml"
xmlns:local="using:tiles"
xmlns:d="http://schemas.microsoft.com/expression/blend/2008"
xmlns:mc="http://schemas.openxmlformats.org/markup-compatibility/2006"
mc:Ignorable="d">
<Grid Background="#FFE63939" >
<StackPanel>
<Button x:Name="PinButton" Content="Pin a Secondary Tile to Start" Margin="100,50" Click="PinButton_Click"/>
<TextBlock x:Name="Status" FontSize="40" Foreground="red"></TextBlock>
</StackPanel>
</Grid>
</Page>
Step 2: To create a Secondary tile we use the SecondaryTile class with its constructor. But before creating it and calling the constructor we must set some properties, as in the following code:
public static int counter = 1;
static string logoSecondaryTileId;
public static string dynamicTileId = "SecondaryTile.LiveTile";
public static string appbarTileId = "SecondaryTile.AppBar";
Uri logo = new Uri("ms-appx:///Assets/s.png");
Uri smallLogo = new Uri("ms-appx:///Assets/smallTile-sdk.png");
// During creation of secondary tile, an application may set additional arguments on the tile that will be passed in during activation.
// These arguments should be meaningful to the application. In this sample, we'll pass in the date and time the secondary tile was pinned.
string tileActivationArguments = MainPage.logoSecondaryTileId + " WasPinnedAt=" + DateTime.Now.ToLocalTime().ToString();
logoSecondaryTileId = "SecondaryTile.Logo" + counter.ToString();
s.DisplayName = "mytiel";
Step 3: After setting the properties now we create an object of the SecondaryTile Class and call its constructor.
Code:
SecondaryTile s = new SecondaryTile(MainPage.logoSecondaryTileId,
"Title text shown on the tile", "Name of the tile the user sees when searching for the tile",
tileActivationArguments, TileOptions.ShowNameOnLogo,logo);
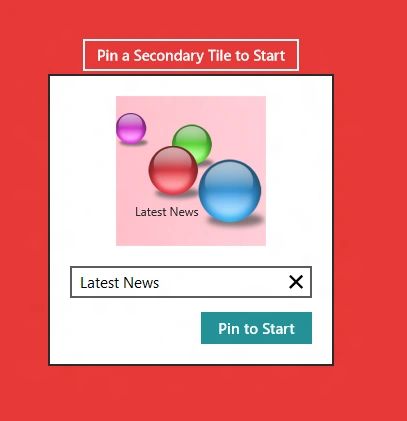
Step 4: Now, we call a method of the SecondaryTile class that enables you to pin a Secondary Tile to the Start Screen. This method pins the tile to the start screen after user confirmation and retuns a staus as a boolean value.
Code:
bool isPinned = await s.RequestCreateForSelectionAsync(MainPage.GetElementRect((FrameworkElement)sender), Windows.UI.Popups.Placement.Below);
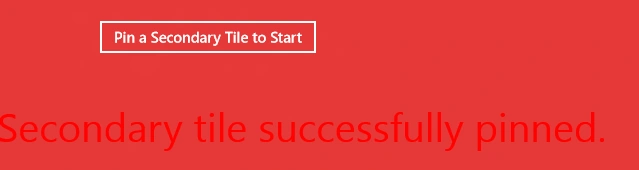
Step 5: Now, we check the boolean result returned by the RequestCreateForSelectionAsync method and show a status message to the user.
Code:
if (isPinned)
{
Status.Text = "Secondary tile successfully pinned.";
}
else
{
Status.Text = "Secondary tile is not pinned.";
}
Here is the complete code of the MainPage.XAML.cs file:
using System;
using System.Collections.Generic;
using System.IO;
using System.Linq;
using Windows.Foundation;
using Windows.Foundation.Collections;
using Windows.UI.StartScreen;
using Windows.UI.Xaml;
using Windows.UI.Xaml.Controls;
Join the conversation! Your thoughts help the community grow.