

Introduction
Here are the steps to plug in your device:
Step 1: Start by adding your SD card on the SD card slot in the Raspberry Pi device.
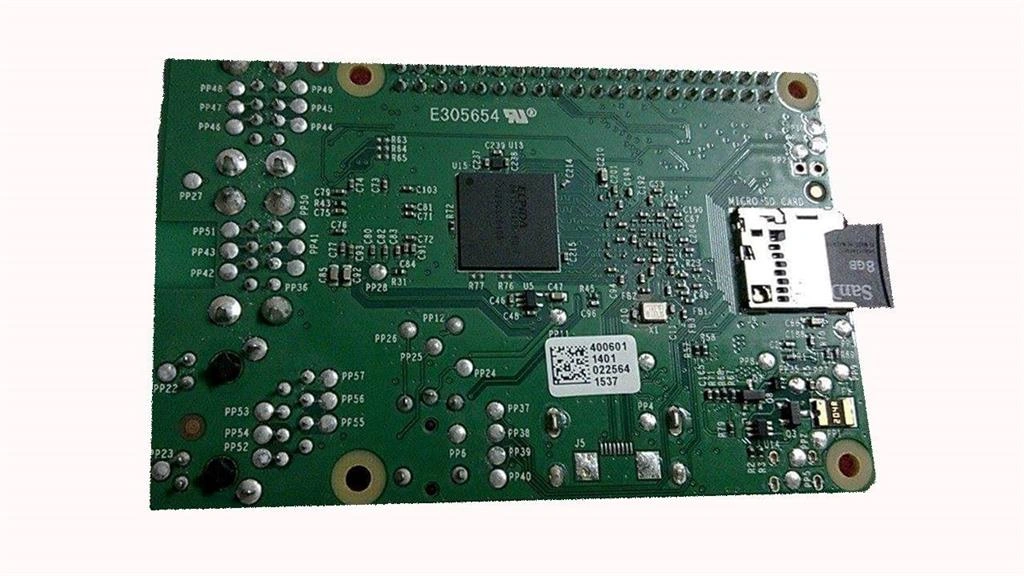
Step 2: Now plug in with your USB mouse and Keyboard for the Raspberry Pi device with help of the USB slots available.
Step 3: Plug in your HDMI cable from your Raspberry Pi device towards your monitor or TV, if you don’t have HDMI option on your TV or monitor then use VGA to HDMI converter.
Step 4: Connect your Raspberry Pi device with the Internet with the help of your Ethernet port or USB WiFi modem.
Step 5: Now connect the power source towards your Raspberry Pi device either with the help of a 5V micro power adapter or with the help of a USB data cable connected towards your laptop or PC.
Step 6: Now switch on the monitor.
You will be getting the following screens in which your Windows 10 IoT Core OS for Raspberry Pi gets loaded,
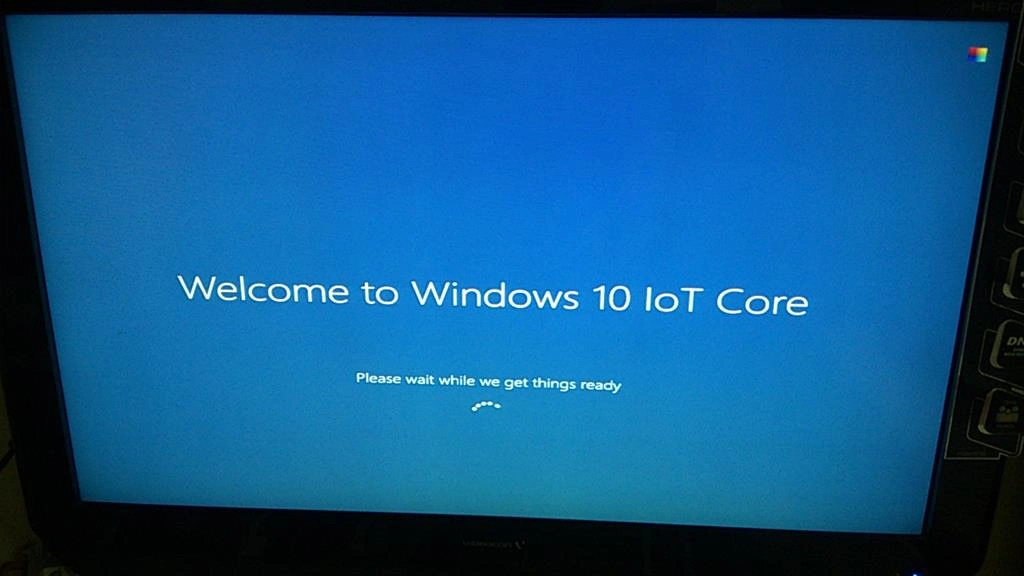 Step 7: Select your language in which you need your OS to work with followed by that you will be getting the Device Info screen of Windows 10 IoT Core Raspberry Pi 2.
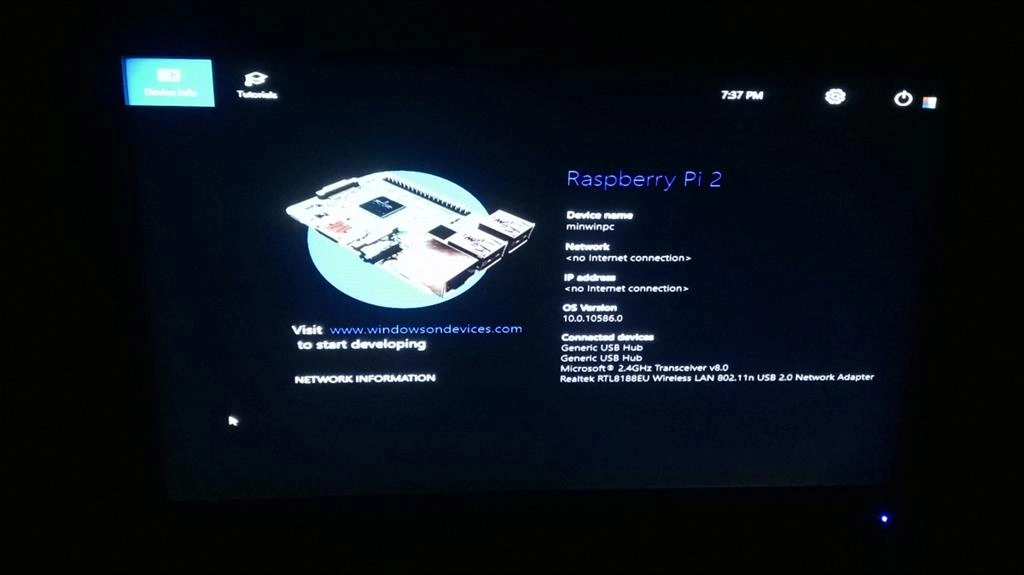
About Windows 10 IoT Core:
The Device Info screen of Windows 10 IoT Core holds the following menu items:
- Device Info / Home Screen
- Tutorials
- Settings
- Power
Device Info / Home Screen:
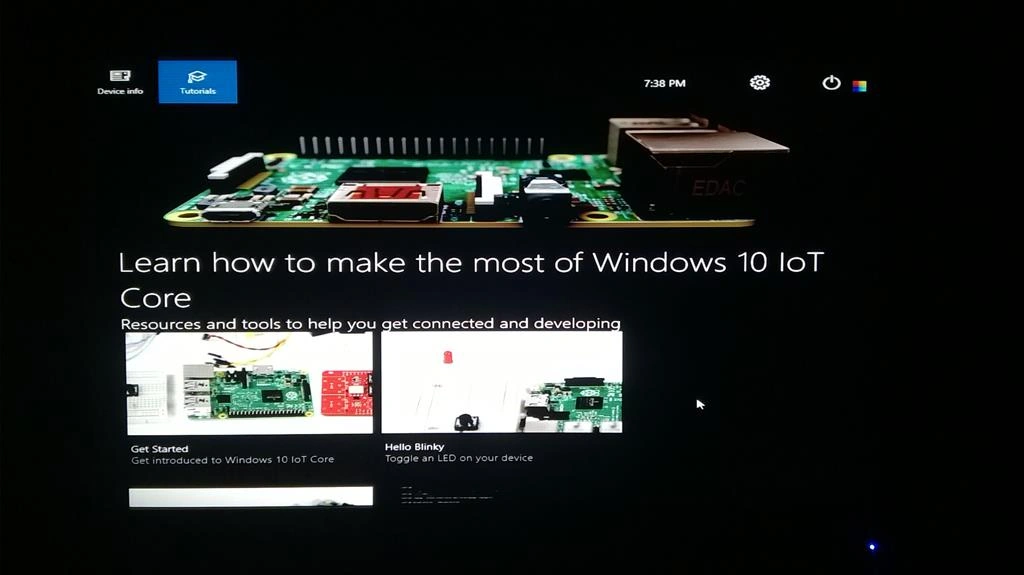
- Tutorials: Tutorials briefs about what you can do with Raspberry Pi device, how to plug in your device, a basic LED program, Hello Blinky, etc.,
- Settings: Settings helps you to connect for the network – Ethernet or WiFi and languages.
- Power: Power allows you to either Shutdown the Raspberry Pi device or restarts the device.
Read more articles on the Internet of Things (IoT):
Santhakumar MunuswamyPosted May 21, 2016, 2:35 AM
Thank you for nice work
Kuppurasu NagarajPosted Apr 22, 2016, 12:09 PM
Nice Sharing..
Sr KarthigaPosted Apr 21, 2016, 10:53 PM
Nice explanation
Debasis SahaPosted Apr 21, 2016, 1:29 PM
Nice One..
Tamilan SPosted Apr 21, 2016, 10:00 AM
Great Start Bro
Rahul Kumar SaxenaPosted Apr 21, 2016, 9:03 AM
Good one
Vignesh ManiPosted Apr 21, 2016, 8:22 AM
Nice