

Introduction
If we want to access Power BI for FREE, then Power BI Desktop is an option, a free application that we can install on the local computer that lets us connect to, transform, and visualize your data. We can create Data Model by connecting to multiple different data sources. With this data model, we can build visuals and it as reports, with other people inside our organization. Power BI service is used to share our reports with others.
Install Power BI Desktop
We can download the Power BI Desktop from the official site and select download free. It redirects to Microsoft Store and chooses the Get option. Once after installing, start Power BI Desktop from the Windows Start menu or the icon in the Windows taskbar. It displays the Welcome Screen first.
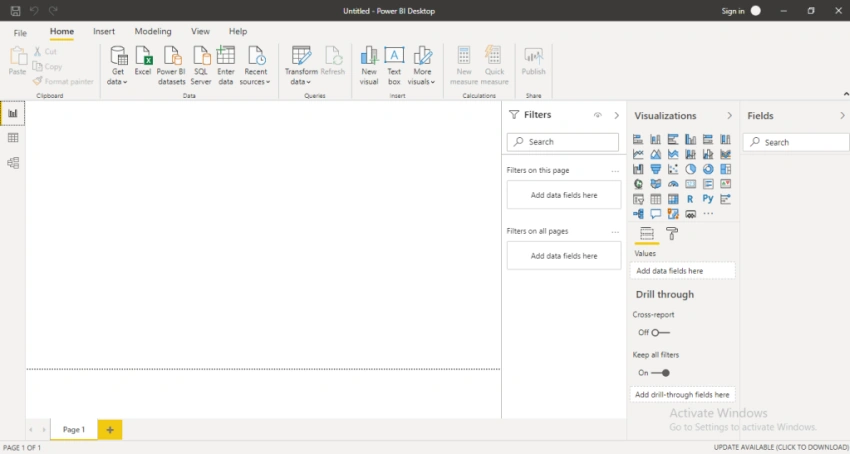
Fig.1 Power BI Desktop Overview
Let's get into the deep introduction of Power BI Desktop. Fig.1 shows the overview of the Power BI Desktop. On the top left corner, we can see some icons as Save, Undo and Redo which are quick access toolbar in the Power BI.
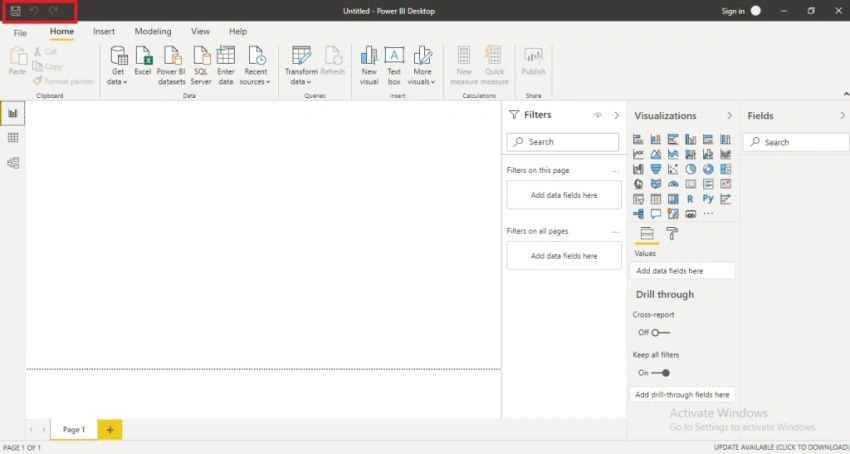
Fig. 2 Quick Tool Bar
Ribbon Tab
Just below the Quick Tab, we can see options like File, Home, Insert, Modeling, View, Help. These are part of the Ribbon Tab in Power BI Desktop. Each option has some sub-options as well, which we will learn more in detail in the latter part.

Fig. 3 Ribbon Tab with Options and Sub Options
Report
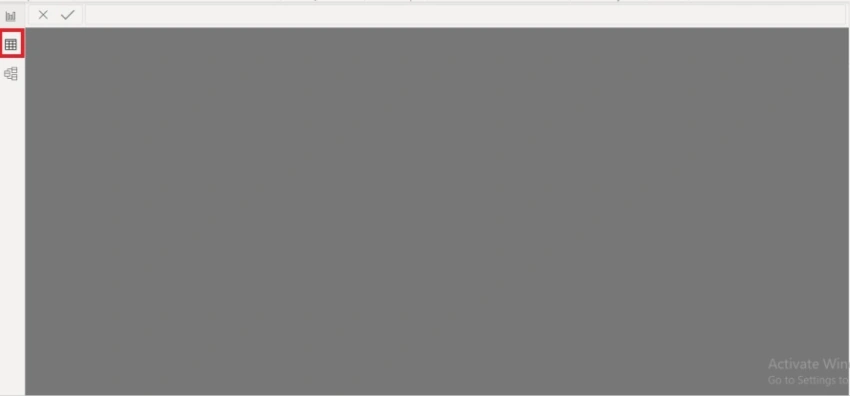
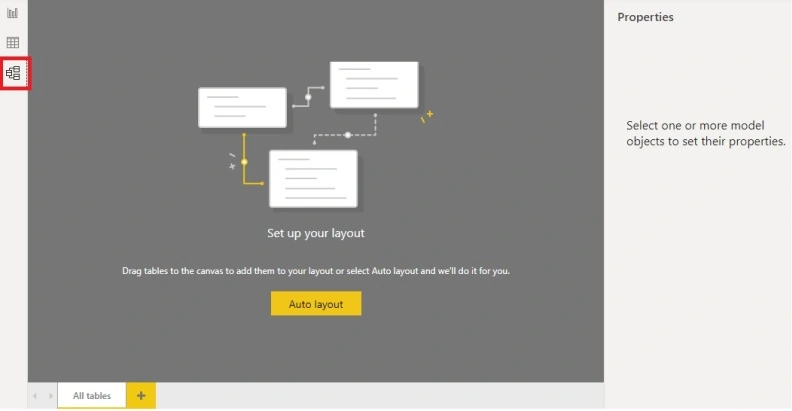
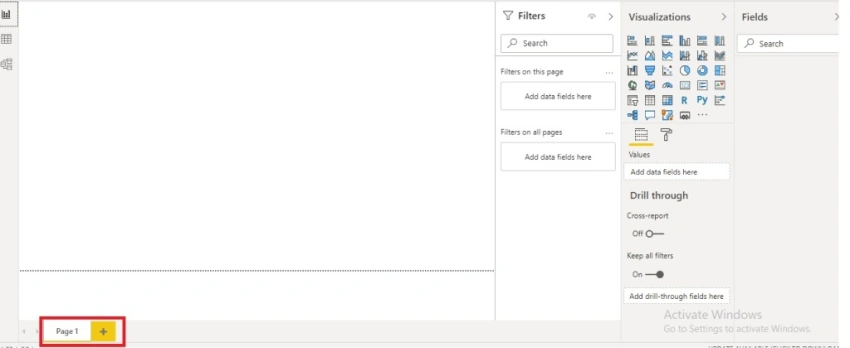
On the left side of the Power BI Desktop, we can see three icons. Among those, the first one is Report. Reports are the visuals that we create in Power BI.

Fig.4 Report
Join the conversation! Your thoughts help the community grow.