

Introduction
This would be a common scenario in most cases working with camera control in PowerApps. In this article, we will go through some of the important functions of camera control. There is a step-by-step article already explained by Anugunila Meghanathan, and the link I am putting in the references section.
Feeding the images from Camera Control to Gallery
For this create an empty canvas App with a Tablet layout and do the following steps,
Step 1
Drag the camera control to your design pane, name it “MyCameraControl”.
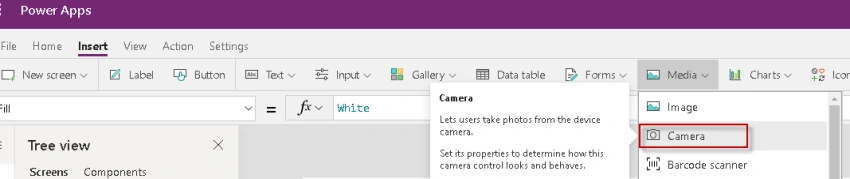
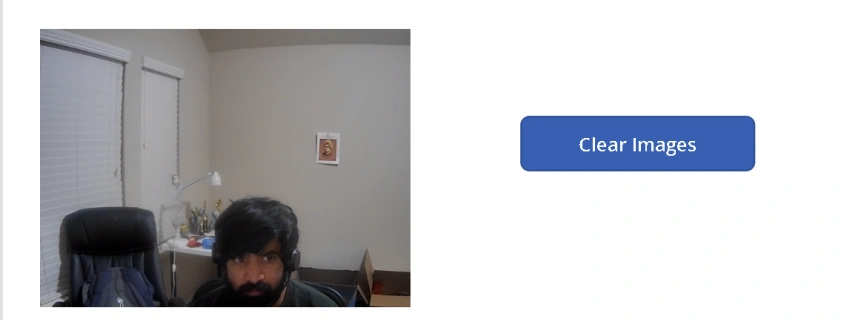
You can name it according to your needs. You should see a screen capture similar to the one below,
Step 2
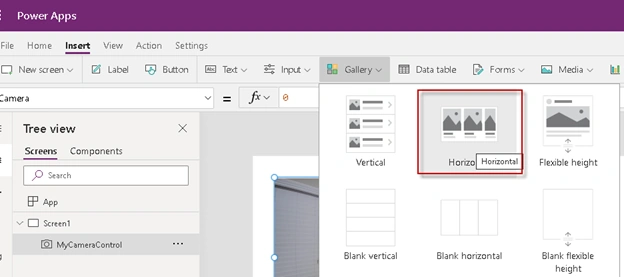
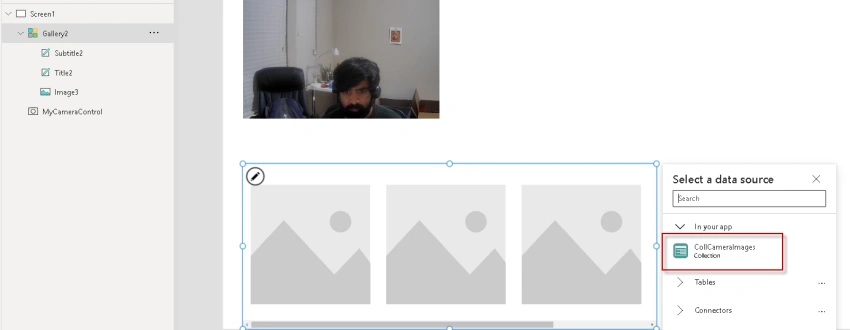
Now insert the ‘Gallery’ control from the Ribbon, and then select ‘Horizontal’ gallery. Adjust this according to your screen.
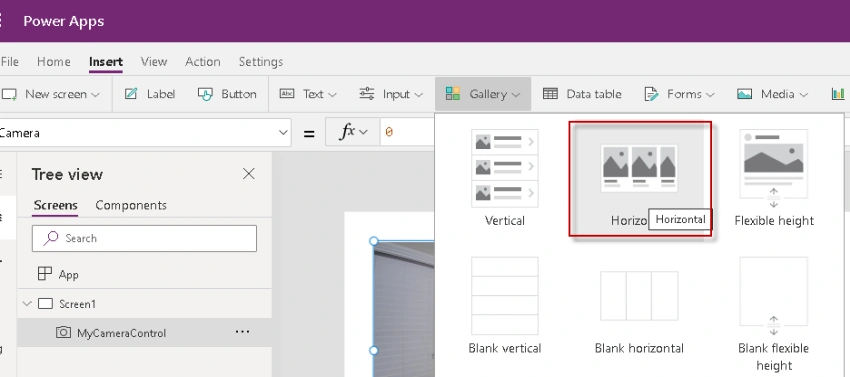
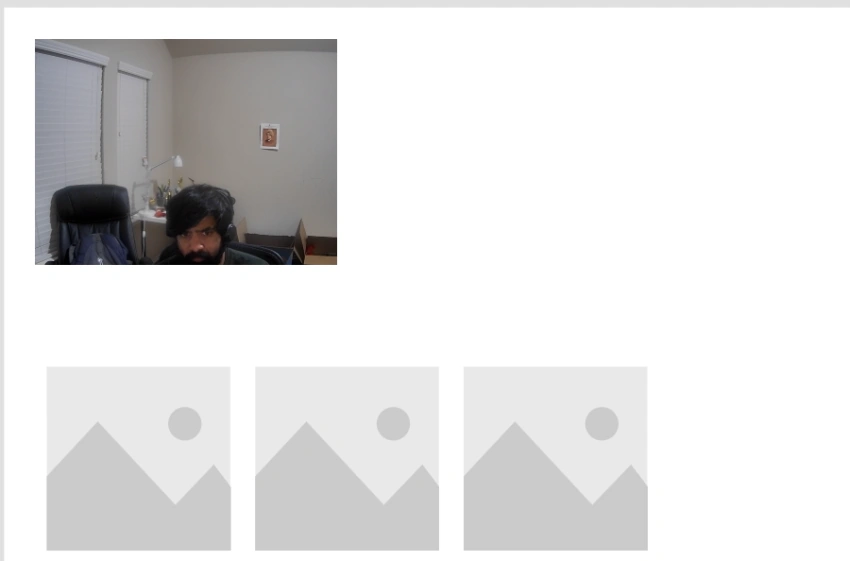
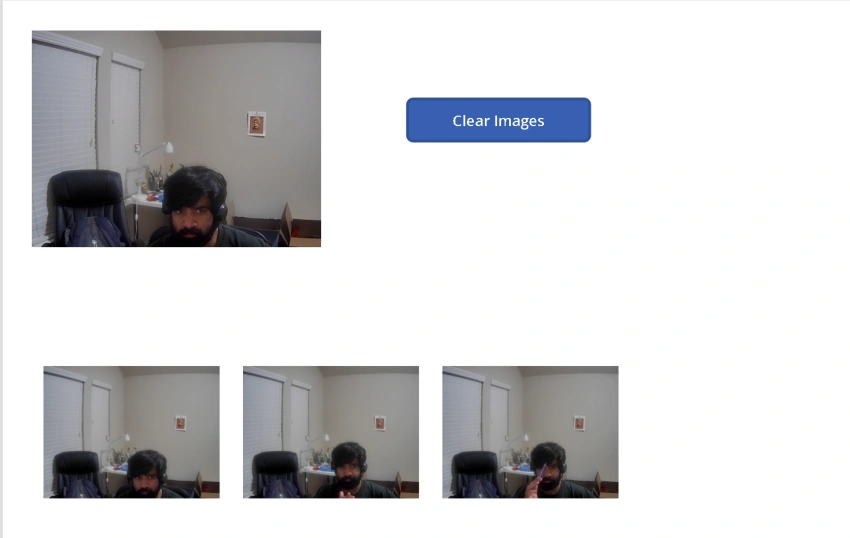
After adjusting you should see the below screen.
Step 3
For the camera, you have the ‘OnSelect’ function. Select the camera control and then select the ‘OnSelect’ function, in the value enter the following formula.
Collect(CollCameraImages,Self.Photo)
Let's try to understand. At first, you are using ‘Collect’ which is used to create a collection and declared a collection variable called ‘CollCameraImages’. You can name this variable according to your need. Last I have used the ‘Self’ function, which is a function defined for ‘Camera’ control, and then select the ‘Photo’ property. You can also choose the camera control (in this case MyCameraControl.Photo).
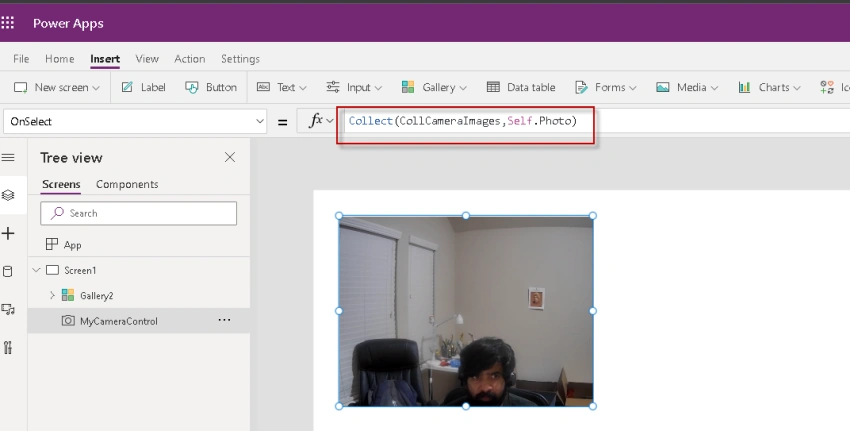
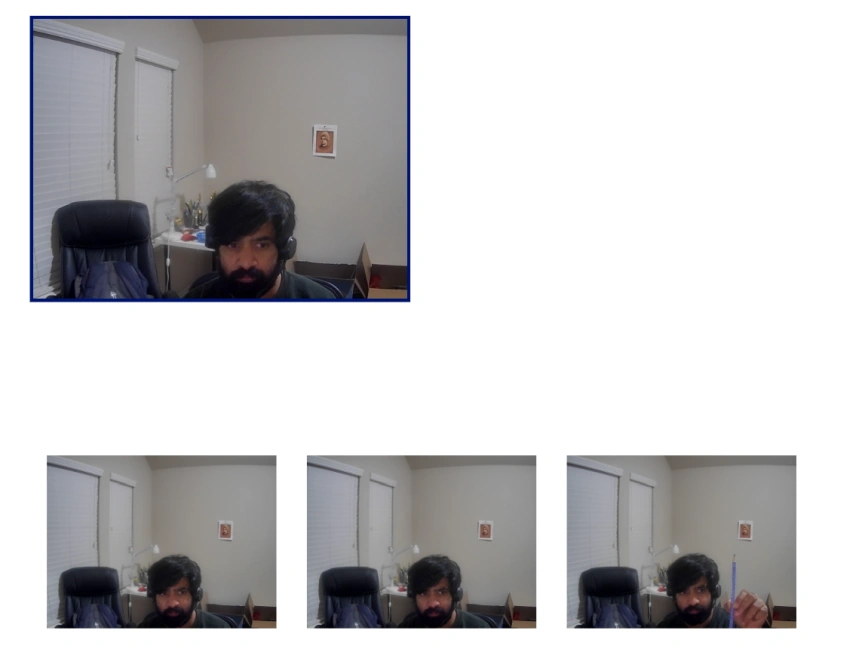
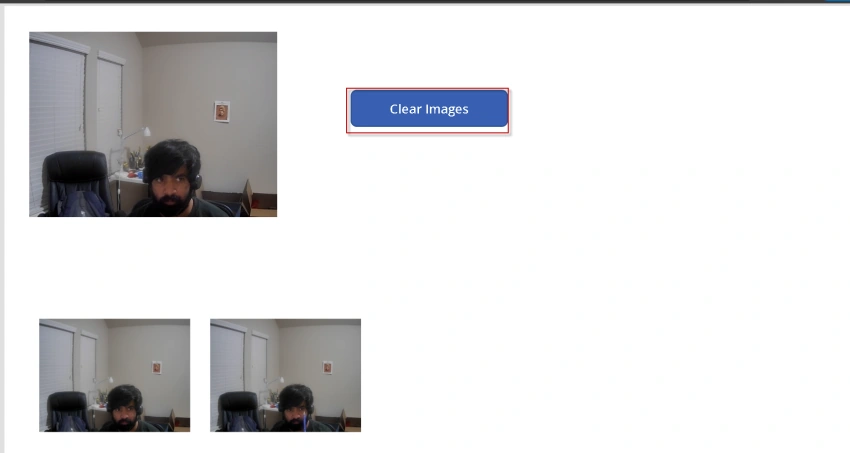
Now that you have defined the function for camera ‘Onselect’, each time you click on the camera control, it captures the picture and then stores it in the collection ‘CollCameraImages’.
Pranam BhatPosted Jun 24, 2021, 4:49 AM
Good one. .