

Introduction
In this article we are going to learn about what the pug template engine in node.js is, and how we can get started with it.
Pug in node.js is a template engine that uses case sensitive syntax to generate html, in other words it returns a string of html rendered as per data specified in a pug file.
We can say that pug is the middleman who plays a role to convert the injected data and translate it into html syntax.
The syntax of pug makes it a very clean and effective structure, but beware of the extra spaces because one extra space may change your html markup structure completely.
For more reference about pug you can go through their official docs site.
Let's see pug as a template engine in node.js in a brief example.
Table of contents
- Installation
- Simple hello world program
- Comments
- Simple text
- Attributes
- Include
- Code
- Conditions
- Iterations
Installation
Installation of pug is a really straightforward process, to get started there is a npm package available called pug.
You can install and use pug as described below.
Prerequisites
- Latest version of Node.js
- Any code editor like Sublime, Vs code etc.
To get started with pug, we need to install pug by executing the given npm command.
- npm install pug
Also we need to install pug-cli to execute the pug files code separately by using given npm command.
- npm install [email protected] -g
- pug --help
So far we have installed all the related dependencies, now we are ready to write code using pug.
Simple Hello World Program using Pug
Note
extension of Pug file will be ".pug".
extension of Pug file will be ".pug".
First step is to open your favorite editor and create a new file by giving an appropriate name like hellopug.pug.
Now open hellopug.pug, and write simple code as given below.
- doctype
- html
- head
- title Welcome To C#Corner
- body
- h1 Welcome To C#Corner
Its time to see the compiled pug file as below using the command window just like described below.
- pug helloworld.pug

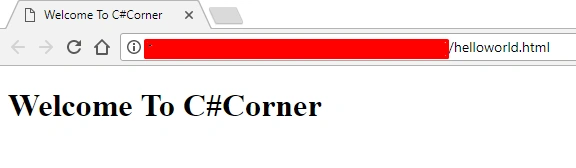
As the command line says, our pug file is now rendered and we can see the rendered page as html file.
After completion of all above operations, we can now see the generated html file from pug file which looks exactly like a traditional html file.
Here is the converted html code which was generated from pug file syntax, and got the same output as expected.
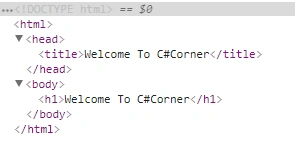
So at the end of pug file compilation, output will be converted to html itself. This is how we have developed a simple demo using pug.js.
Comments
Comments are used to explain the code or you can say for what purpose the code was written and help us when re-working the same code.
Comments in pug syntax are very simple to use as described below.
Single line comment
- // This is single line comment
And if you don't want your comments to appear as a part of dom just use [-] hyphen after slash like the below line of code.
- //- This is single line comment
You can specify comments for specific blocks of lines.
- doctype
- html
- //
- head
- title Welcome To C#Corner
- body
- h1 Welcome To C#Corner
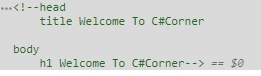
Working with simple text
Sometime we need to have some static or plain text to just show something for a specific reason, so we can use the same with pug also.
Using piped text to render static text,
- | This is <b>plain text</b>
- P This is plain text with p tag

Attributes
Attributes in pug looks similar to Html controls, but with a different syntax to be rendered into html.
Let's see the practical implementation of how attributes work in pug.js.
For that you just need to paste your code into the editor and execute it.
- doctype
- html
- head
- title Welcome To C#Corner
- style
- include styles.css
- body
- div(id="MyDiv",class="bordered")
- h1 C#Corner
- br
- input(id="txt1",value="manav")
- br
- h3(style={color:"red"}) MANAV
A point to note here is that I have used the "include" section where I have used external css file styles.css for styling purposes.
If you run the above snippet in the browser, you can get output like the below image.
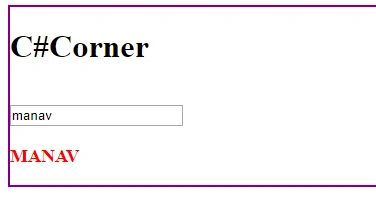
The above demo is for single attribute, but in the same way we can provide multiple attributes as well like the below code snippet.
- div(
- id="MyDivision",
- class="demo"
- ) Manav
In the same way assign id and class, using the syntax using hash(#) and (.)dot.
- p#id1 Inline Id
- p.class1 Inline Class
Include
Include functionality in pug is used to add external pug file content into the current file, like we need to use external stylesheet or any other files we want to use with our pug files.
Just like we normally use header or footer parts for multiple pages, it make reusability of an element or a block.
For including any files you just need to use "include" keyword, after that you can specify the file name.
I have developed a simple example of the header, content and the footer reusable code as below snippet.
- doctype
- html
- head
- style
- styles.css
- body
- include header.pug
- h1 This is content part
- include footer.pug
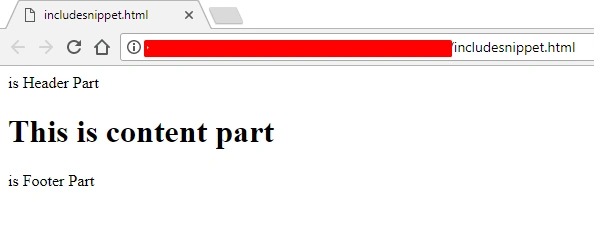
Rendered html content will look like below image.
Code
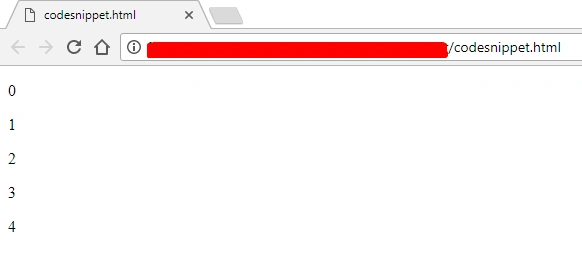
In pug there is a functionality to write javascript code, as we generally need to do within <script> block like for(), foreach() etc.
- doctype
- html
- body
- - for(let i =0 ;i < 5 ;i++)
- p= i
Condition
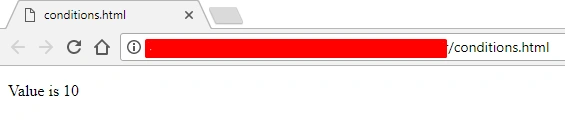
If you want to perform some conditional statements than you may get the advantage of condition in pug in a very easy manner as described below.
- doctype
- html
- body
- - var a = 10
- #a
- if a < 10
- p Value is Not less than 10
- else if a < 5
- p Value is Not less than 5
- else
- p Value is 10
Iteration
Generally the pugjs which supports two types of iteration are.
- each
- while
each
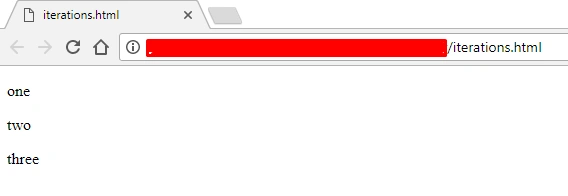
If you want to iterate over array or collection you can use the syntax of a pug for iteration just like the given snippet.
- doctype
- html
- body
- - TempOptions = [ 'one' , 'two' , 'three' ]
- each data in TempOptions
- p= data
While
While iternation is prettystraight forward as we have used in other programming languages.
After that you can see the result is something like below.
- doctype
- html
- body
- - MyData = 0
- div
- while MyData < 5
- p= MyData++
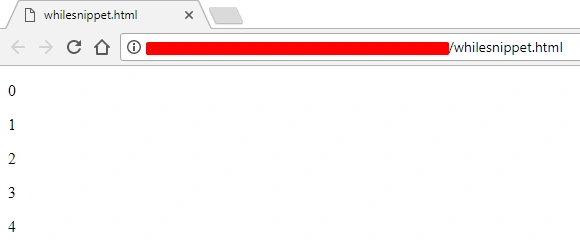
This is how you can use each and while iteration in a pugjs.
Conclusion
Conclusion
In this article, I have explained the basic installation part, and a few important concepts to get started with pugjs with node.js in an easy manner. After doing all the above stuff, you will be able to create whole html pages and websites as well.
Follow my other node.js articles.
I hope you have learned and enjoyed pug as template engine. Thanks for reading.
Viknaraj ManogararajahPosted Jul 21, 2018, 9:58 AM
nice article, thank you for sharing