

Introduction
In this article I am describing the OData Controller Scaffolding. Microsoft revealed the new platform to scaffold the OData Controller in the Visual Studio 2013. I will scaffold the OData Controller on a Web API2 project.
So let's use an example and follow the sections below:
- Create an ASP.NET Web Application
- Scaffolding the OData Controller
- Examine the Controller
Create an ASP.NET Web Application
Use the following procedure to create a sample web application.
Step 1: Open Visual Studio 2013
Step 2: Click "New Project" to create an application.

Step 3: Select the Project Template and choose the Web API checkbox.
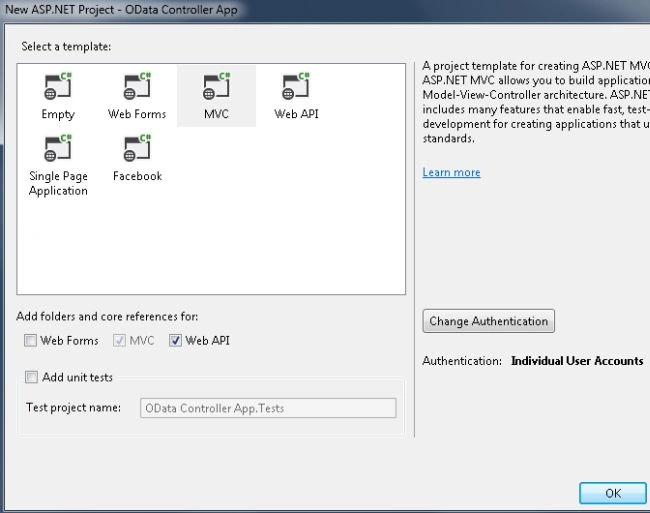
Step 4: Click "Create Project".
Visual Studio creates the application with the Web API Core Reference.
Scaffolding the OData Controller
Now we will scaffold the OData Controller. To scaffold use the following procedure.
Step 1: In your Solution Explorer, right-click on your Models folder to add a class.

Step 2: Enter the name as "Employee" and replace the boilerplate code with the following code:
using System;
using System.Collections.Generic;
using System.Linq;
using System.Web;
namespace OData_Controller_App.Models
{
public class Employee
{
public int EmployeeID { get; set; }
public string EmployeeName { get; set; }
public string CompanyName { get; set; }
}
}
Step 3: Build your project
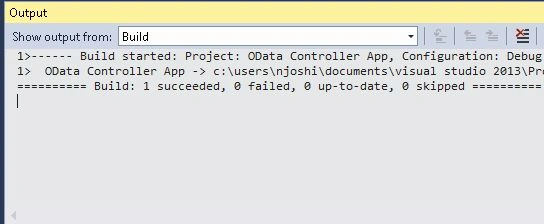
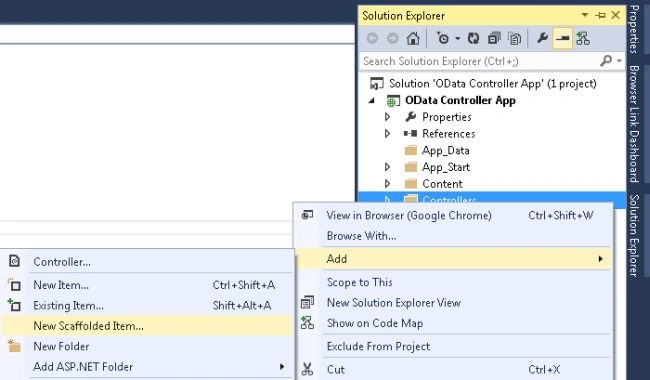
Step 4: In your Solution Explorer, right-click on the Controller folder to add the New Scaffolded Item.
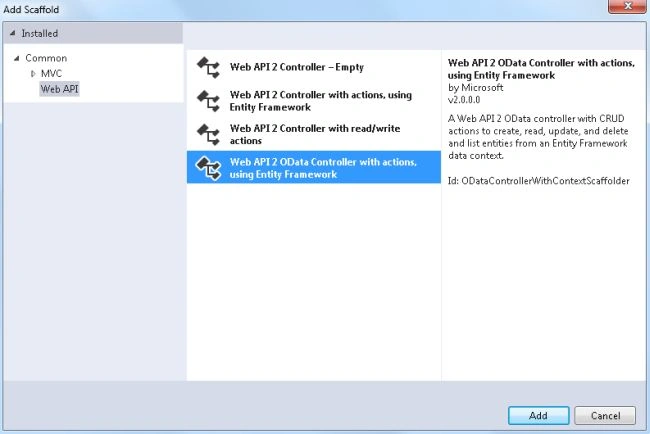
Step 5: Select the We API from the left pane and then select the Web API 2 Odata Controller.
Step 6: In the next Add Controller wizard, enter the controller name and select the model Class and click on New data context





Ravi KumarPosted Nov 18, 2013, 5:57 AM
Good Information bro..it really helpful