Often, In
applications, we require to save images to database (for eg. photograph of
employee, students etc.). Here we learn how it comes in effect using WPF and
VB.net.
To store an image to database, I created a table named "ImgContainer" which
contains three columns -
| Column Name |
Data Type |
Description |
|---|
|
Id |
Int |
Defines as Identity and
handeled by itself to generate and store the unique Id for each image
stored in database |
|
Name |
Varchar |
This field holds the name
of each image |
|
ImgData |
Image |
Image files are stored as
binary in this column |
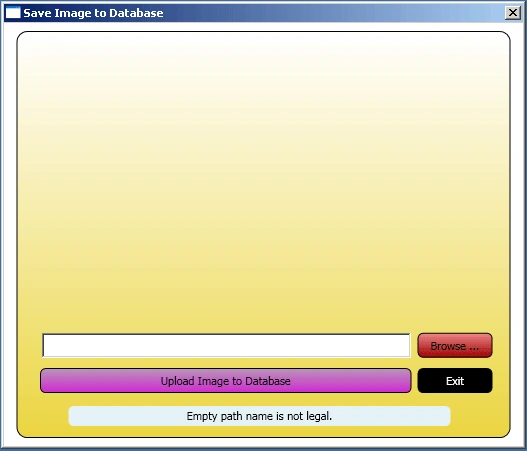
Now, come to the front-end :
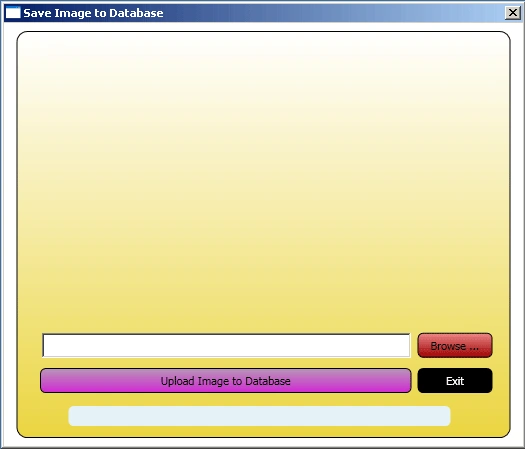
Controls on the interface :
Button Control
- Browse... (Button1)
- Upload Image to Database (Button2)
- Exit (Button3)
Text Box Control
- TextBox1 (Used to show
the full path of the selected image)
Image Control
- Image1 (To show the
selected Image)
Label Control
- Label1 (To display the
messages/errors)
How it works?
Note : Download source code to
learn in better way, code snippets are just used to clear the steps and may not
work separately.
Step 1: Select a File from
storage disk.
Dim FileDialog As New OpenFileDialog
FileDialog.Title = "Select A File"
FileDialog.InitialDirectory = ""            FileDialog.Filter = "Image Files (*.gif,*.jpg,*.jpeg,*.bmp,*.png)|*.gif;*.jpg;*.jpeg;*.bmp;*.png"
FileDialog.FilterIndex = 1
FileDialog.ShowDialog()
|
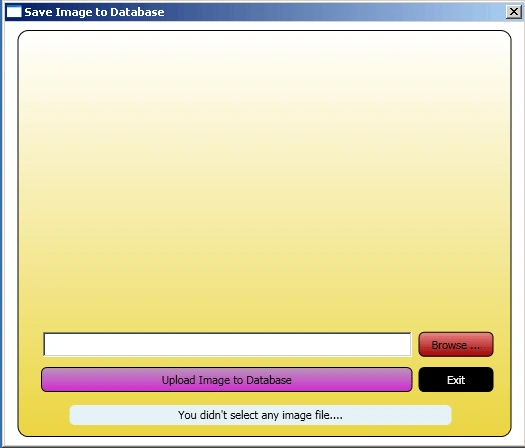
Step 2: Display
the path of file in the TextBox1.
|
Label1.Content
		= FileName(TextBox1.Text.Trim)
|
Step 3: Display the file name
on Label1
|
TextBox1.Text
= FileDialog.FileName()
|
* File Dialog is a function which takes full path of the file and returns the
file name.
Step 4: Display
the Image in the Image Control - Image1
|
Dim bmp As New BitmapImage(New Uri(TextBox1.Text.Trim))
Image1.Source = bmp
|
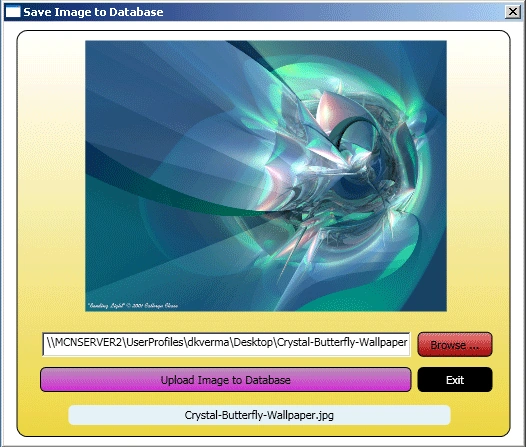
* If you don't select any image file and click on
cancel button of OpenFileDialog, you'll receive a message in Label1
|
Label1.Content
		=
"You
didn't select any image file...."
|
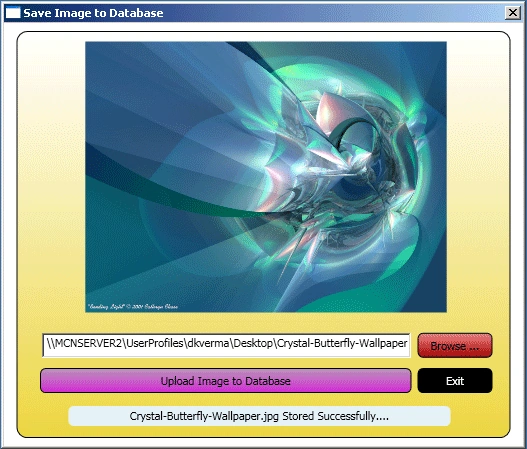
Step 5: Save image to database
- When you select an image click on "Upload Image to Database" Button. If you
have selected an image,
you'll receive the following message as shown in below
image
|
Dim Stream As FileStream
Dim Reader As StreamReader
Stream
		=
New FileStream(TextBox1.Text, FileMode.Open, FileAccess.Read)
Reader = New StreamReader(Stream)
Dim ImgData(Stream.Length
- 1) As Byte
Stream.Read(ImgData,
		0, Stream.Length - 1)
Dim str As String = "Data
Source=.;uid=sa;pwd=wintellect;database=MYDATABASE"
Dim con As New SqlConnection(str)
Dim sql As String = "INSERT
INTO ImgContainer (Name, ImgData) VALUES(@Name, @ImgData)"
Dim cmd As New SqlCommand(sql,
con)
cmd.Parameters.Add("@Name", SqlDbType.Text).Value
= FileName(TextBox1.Text.Trim)
cmd.Parameters.Add("@ImgData", SqlDbType.Binary,
Stream.Length).Value = ImgData
con.Open()
cmd.ExecuteNonQuery()
		 Label1.Content =
		FileName(TextBox1.Text.Trim) &
"
Stored Successfully...."
con.Close()
|
Otherwise you'll receive a message at Label1 -
"Empty path name is not legal".


Chris StonePosted Feb 5, 2013, 1:52 PM
do you have any source code available for this? thanks