

In this fourth article of the OWIN and Katana series, we'll be discussing the various hosting options available for Katana. As the OWIN specification says, the server and host are separated so we can use a list of types of hosts to host the OWIN middleware, Katana.
The application will be working in a normal hosting environment.
Warning
This article is valid with the version of Microsoft.Owin.SelfHost 2.1.0.
Let's first discuss why Katana was provided with the various hosting types. In the legacy framework of ASP.NET the only available option was using System.Web or IIS. We have already seen the Hosting of Katana in the IIS in our previous posts.
In the initial phase of releases the Katana was supposed to support the following hosting types:
- ASP.NET IIS hosting pipeline
- OWIN self host
First we'll discuss how to start a self-host for OWIN. As the new release are coming for the Katana the more it's becoming a more charming and easy to use in a way of usability. The documentation of MSDN, in other words the ASP.NET website, is outdated. So I've placed a disclaimer in the start of this article too.
Let's:
- Fire up VisualStudio
- Add a new project
- A Console Application.
Install the following pre-requisites.
Install-Package Microsoft.Owin.SelfHost 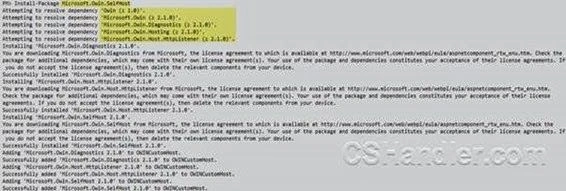
Now we need a Startup class that will be identified as the Configuration setup class. The naming is important for this class and should be named Startup. If you're interested in knowing the detection of the Startup for OWIN then read this article on OWIN Startup Class detection.
Here's the supplementary package for you.
- public class Startup
- {
- public void Configuration(IAppBuilder appBuilder)
- {
- // Those who are familier with HttpContext, owinContext is just a brother from another mother.
- appBuilder.Run((owinContext) =>
- {
- owinContext.Response.ContentType = "text/plain";
- // here comes the performance, everythign in the Katana is Async. Living in the current century.
- // Let's print our obvious message: :)
- return owinContext.Response.WriteAsync("Hello World.");
- });
- }
- }
This will provide you many extension methods with various options to invoke the Usage, StageMarker and Map functions. Go as you like.
Now let's add some code to the Main function to start the code.
- public static class Program
- {
- public static void Main(string[] args)
- {
- const string baseUrl = "http://localhost:5000/";
- using (WebApp.Start<Startup>(baseUrl))
- {
- Console.WriteLine("Press Enter to quit.");
- Console.ReadKey();
- }
- }
- }
Now you're ready to roll. Run the console application hitting F5 in Visual Studio and you're on.

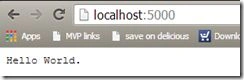

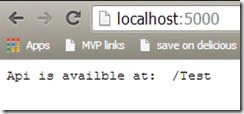
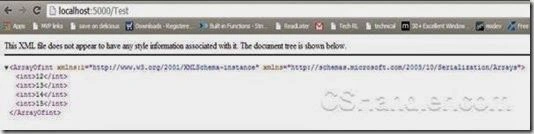
Mahesh ChandPosted Jul 29, 2014, 10:22 AM
As an author, you can set Reader Level when you publish an article. This is definitely an advanced level.
Amit ChoudharyPosted Jul 29, 2014, 8:12 AM
Don't know why the reader level is beginner for this article?