

Introduction
In this article I describe how to create permission and write code to set permission for a query using LightSwitch in Visual Studio 2012.
Here, we learn how to define a permission for our application. The permission can be assigned to a user or a group of users.
Permission in LightSwitch for Queries
1. Creating a permission in LightSwitch
Step 1
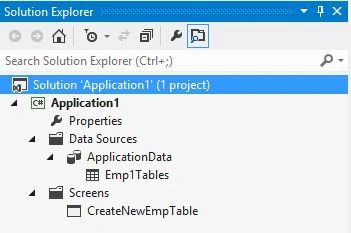
Open the Solution Explorer in LightSwitch Visual Studio 2012.
Image 1
Step 2
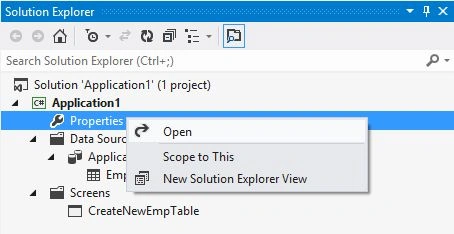
In the Solution Explorer double-click or right-click and select "Properties".
Image 2
Step 3
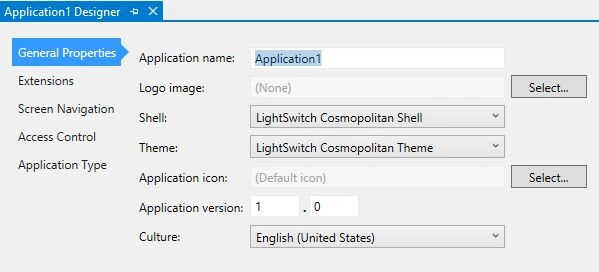
The Application Designer will appear.
Image 3
Step 4
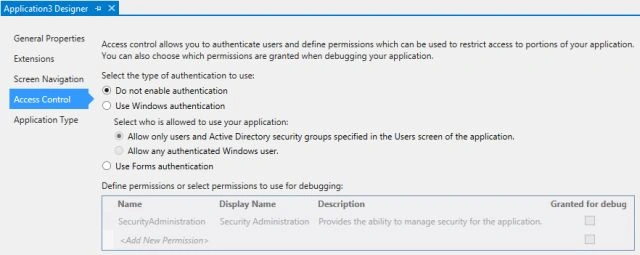
Choose the "Access control" option in the application designer.
Image 4
Step 5
Select the type of authentication to use and in this use form authentication.
Image 5
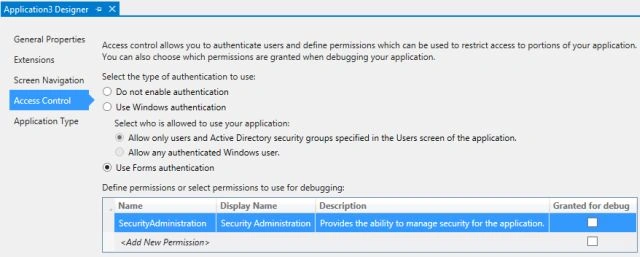
Step 6
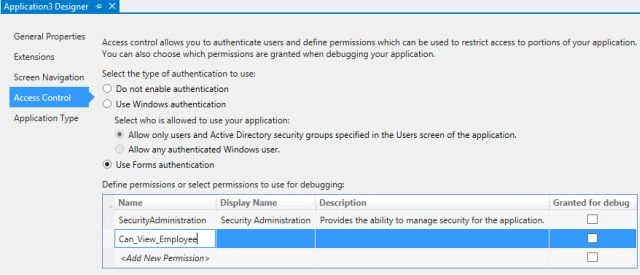
In the "Define permissions or select permissions to use for debugging" node click on "<Add New Permission>" then type "Can_View_Employee" under "Name".
Image 6
Step 7
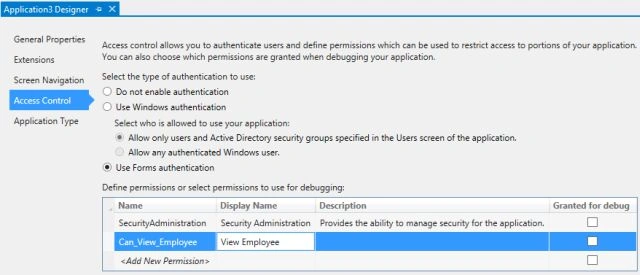
Similarly, under the "Display Name" column type "View Employee".
Image 7
Step 8
And in the same manner under the Description column type "Provide access to the employee screen".
Image 8

Step 9
Under the "Grant For Debug" column mark the checkbox as checked then the table will appear or if we mark the checkbox as unchecked then the table will not appear on the screen.
Image 9

2. Writing code to set permissions for the query
Step 1
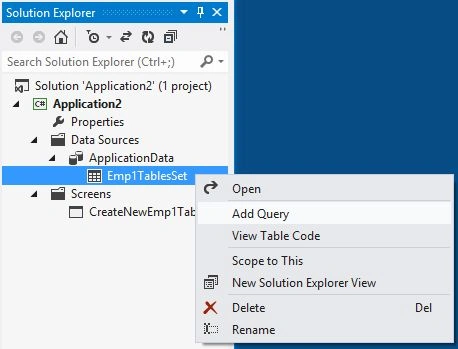
In the Solution Explorer we will right-click on the table ("Emp1Tables") and select "Add Query".
Image 1
Step 2
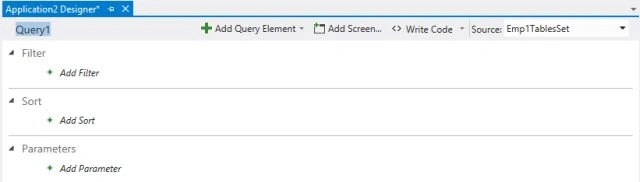
The Query Designer for the query will appear.
Image 2
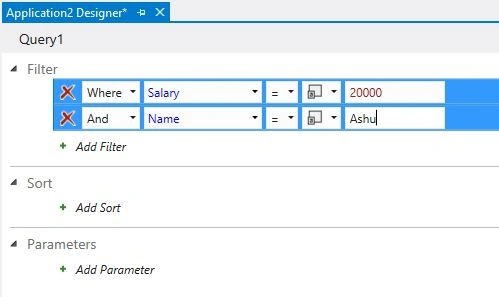
Step 3
In the Filter section, click "Add Filter" and apply the filter condition in the dropdown list and TextBox.
Image 3
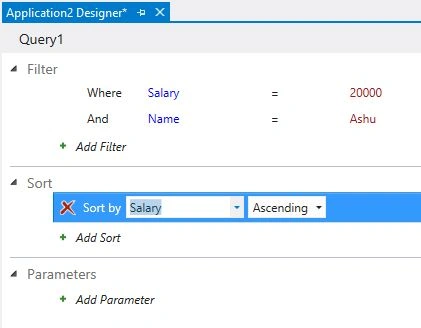
Step 4
In the "Sorting" section, click "Add Sort" and apply the sorting condition in the dropdown list.
Image 4
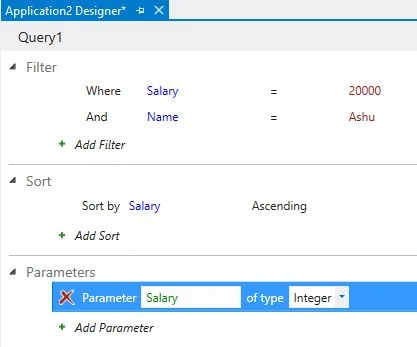
Step 5
Similarly, in the "Parameters" section, click "Add Parameters" and apply the parameter condition in the dropdown list and TextBox.
Image 5
Step 6
There is a "Write Code" option at the top in which we write the code for the given query.
Image 6
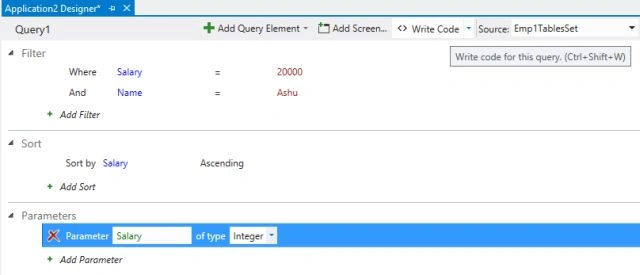
Step 7
In the Write Code drop down list, select the "QueryName_CanExecute" method. Here the QueryName is "Query1".
Image 7
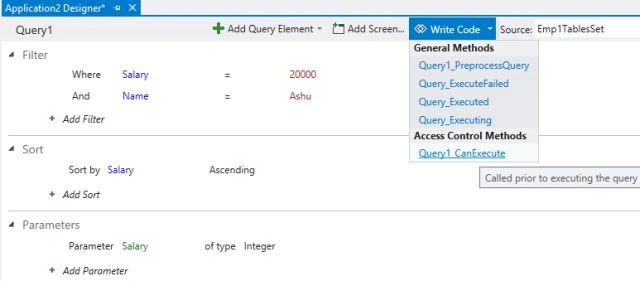
Step 8
In the "Query1_CanExecute" method write the code that you want to enter, as in the following:
using System;
using System.Collections.Generic;
using System.Linq;
using System.Text;
using Microsoft.LightSwitch;
using Microsoft.LightSwitch.Security.Server;
namespace LightSwitchApplication
{
public partial class ApplicationDataService
{
partial void Query1_CanExecute(ref bool result)
{
// Enter the Code Here
}
}
}
Join the conversation! Your thoughts help the community grow.