

Introduction
As per a recent note from the MSFT documentation, there are no active improvements in PowerShell ISE, and if you are starting to work on the latest PowerShell 7, there is no ISE support. However, there is an alternative to using VS code with a PowerShell extension. In this article, we will go through step by step in setting up the PowerShell ISE option in VS code. Thanks to Thomas Maurer for pointing me in the right direction to set up ISE mode for PowerShell in VS code.
Pre-requisites
As a pre-requisite, you need to have the VS code installed on your machine. To install VS code, follow the below links from the references section.
The following steps are targeting the Windows 10 operating system. However, similar steps can be followed for MAC and Windows 11.
Step 1. Open the command prompt and navigate to a folder where the PowerShell files need to be saved. In this case, I have created a folder called PSDemo in my local drive.
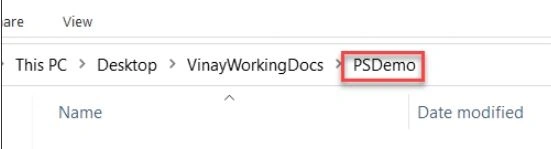
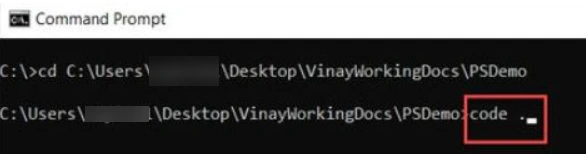
Step 2. As you can see, this is an empty folder. Open the command prompt and navigate to the folder. And then enter the code.
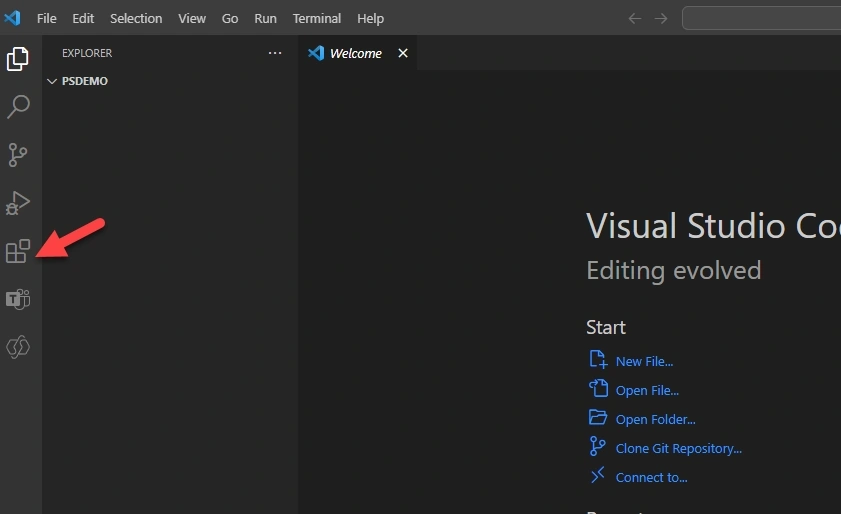
Step 3. Go to extensions in the VS code program.
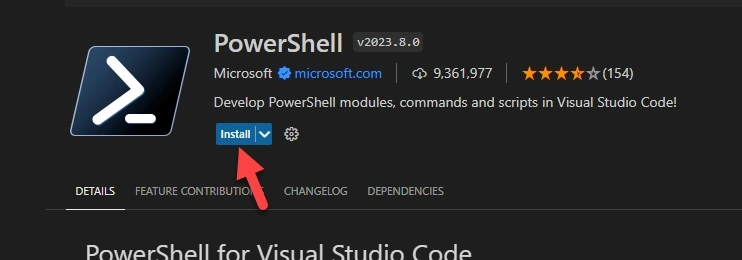
Step 4. Search for PowerShell, look for the Microsoft Version, and click on the ‘ Install’ button.

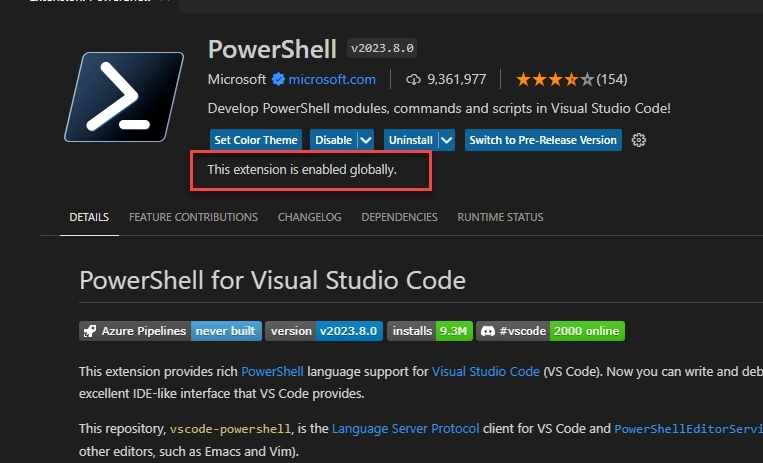
Step 5. validate the installation. After some time, you should see in the same extension window that ‘ This extension is enabled globally.’
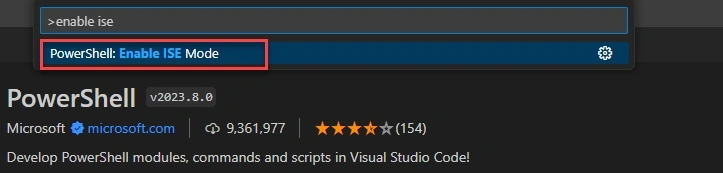
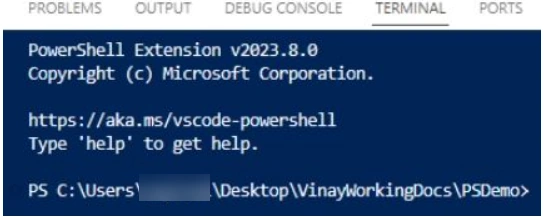
Step 6. Now it's time to enable ISE mode, which is my favorite one. For this, open the command palette(ctrl+shift+P). Type in enable ISE mode in the command option.
Join the conversation! Your thoughts help the community grow.