
In this article I will take you through an out-of-the-box, but not so popular, feature of SharePoint.
Group View
A group view is formed by applying a column grouping as shown below: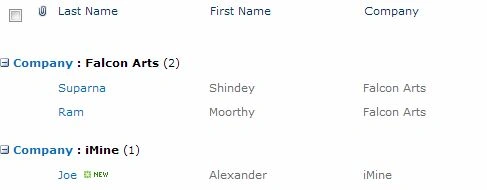
You can see that the original view was like this: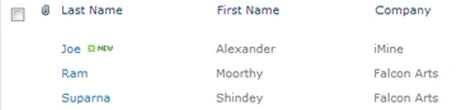
Please note that the Group View was based on the column Company. The items with the same company name were grouped together.
How to create a Group View
Please use the following procedure to create a Group View.
Step 1: Create List
For the test given below, create a new list of type "Contact". After creation, enter some items into the list. Please ensure you set the "Company" column value too.
Step 2: Create View
Open the "List" tab and choose the "Create View" option.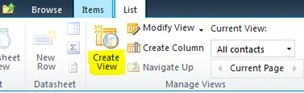
In the page that appears, choose the "Standard View" as shown below.
Enter a name for the View as shown below.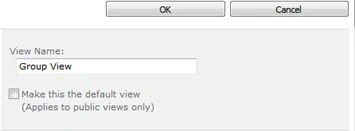
Step 3: Set Grouping
In this step, we will select the Grouping column. Scroll down in the Create View page and expand the "Group By" section. Then, choose the "Company" column for grouping.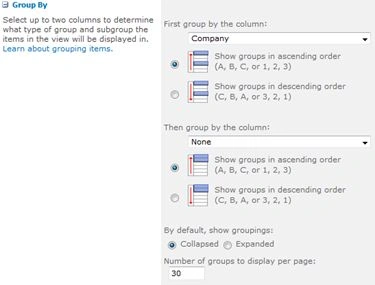
Save the changes and now you are ready with your Group View.
Step 4: Test View
You will be seeing the new view displayed as shown below: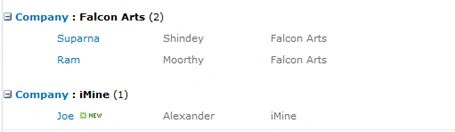
You can also change the view from the "List tab" > "View" drop down list.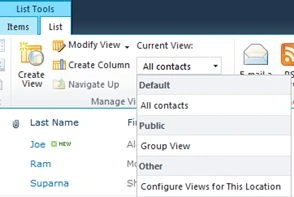
So this concludes our Group View creation. I hope you learned the simple technique.
How to delete the view
You can modify/make default/delete the view from the Modify view option of List tab.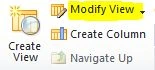
References
http://bit.ly/1gKoRTp
Summary
In this article we explored an out-of-the-box feature for grouping list items.

SharePoint 2010 - Group View
2 Comments
Join the conversation! Your thoughts help the community grow.
Sign in to leave a comment.
Jean PaulPosted Nov 29, 2013, 6:27 PM
You are Welcome Mahesh!
Mahesh BabuPosted Nov 29, 2013, 3:16 PM
good one..thanks for sharing.