

In this article we will see how to create navigation links, logo changes and other customizations. In the real world we will need to configure these items.
Scenario
The following are the requirements are going to do here:
- A company with the name XYZ Corporation
- A site collection with 2 sub sites
- Site names are Home and Reports
- The Home site contains Contacts & Tasks list
- The Reports site contains Documents library
The following is the Tree Level View:

The following is the banner of the company to be displayed on the home page:

The following is the logo of the company to be displayed on the Title Panel:

Site Collection Creation
You can create a new site collection from Central Administration.

Create a site collection named XYZ Corporation:

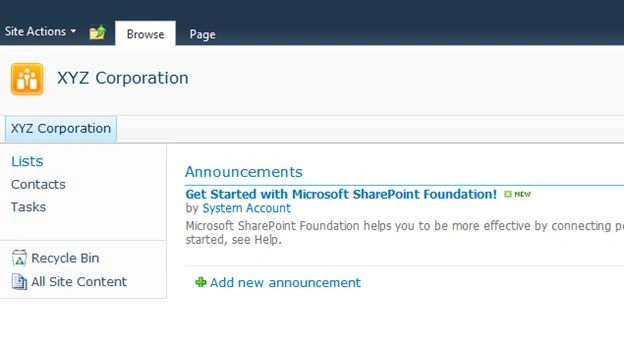
Now the new site looks like following on entering the URL:

Customizations
Now we can start with the customizations.
Quick Launch
The Quick Launch is the area where the Lists and Libraries are displayed. We need to modify this as the first site.
According to the requirement the Home page should contain only 2 lists named Tasks and Contacts. So manually delete the unwanted list or library, create the Contacts and Tasks list as shown below.
(list > list settings > delete)

You can see that the groups Libraries and Discussions are unwanted.
Navigation link
In order to delete this use the Site Actions > Site Settings > Navigation link as shown below:

If you cannot see the above link, you need to activate the following feature from Site Actions > Site Settings > Site Collection Administration >
Site collection features:

The feature to be activated is SharePoint Server Publishing Infrastructure as shown below:

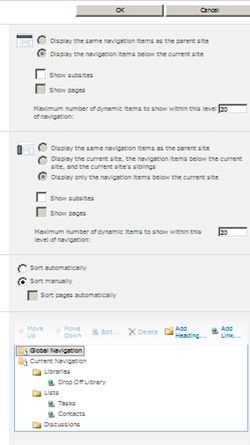
After activating the above feature you will get the Navigation link enabled. You need to wait for some time for the activation to be completed. Open the Navigation link and you will get the screen below:









Join the conversation! Your thoughts help the community grow.