

What is Workflow Visualization?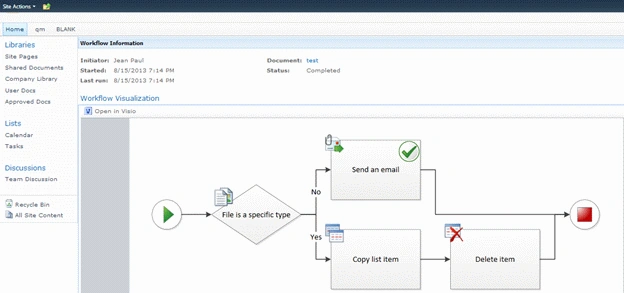
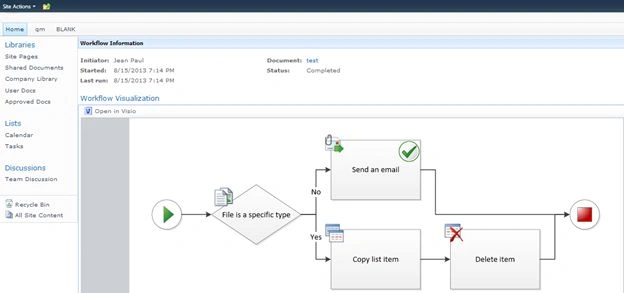
Workflow Visualization was introduced in SharePoint 2010 & Visio Services is the infrastructure required to enable this feature. Workflow Visualization helps in representing a visual clue on the activities of a workflow & the current state.
Prerequisites
In addition to SharePoint 2010 the following is required:
- Visio 2010 Client Application
- SharePoint 2010 Visio Service started
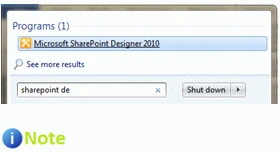
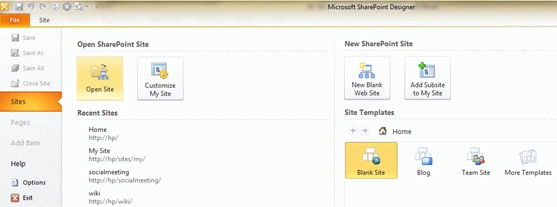
- SharePoint Designer 2010
- Silverlight
Scenario
In our scenario, there are 2 document libraries as in the following:
- User Docs library for submitting documents
- Approved Docs library serves as the destination for moved documents.
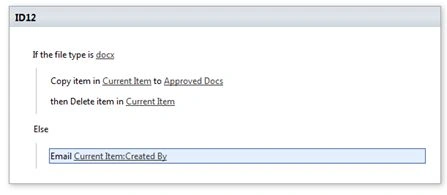
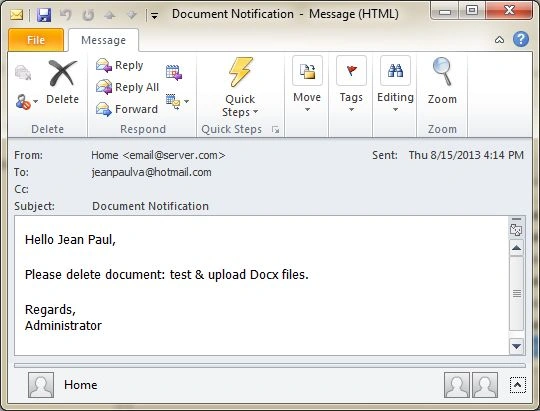
If a user submits a DOCX file to User Docs then it will be moved to the Approved Docs library. If a user submits PDF or TXT files then he will receive an email notifying the re-submission.
Create the Workflow
In this step, we are creating a workflow in Visio 2010.
Open Visio 2010 & choose the Flowchart category as in the following: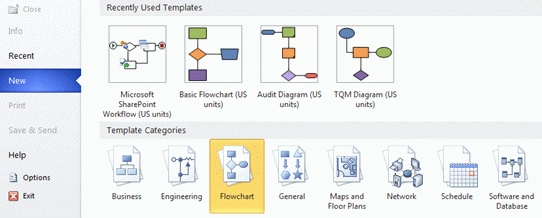
In the next page, choose "Microsoft SharePoint Workflow" as in the following: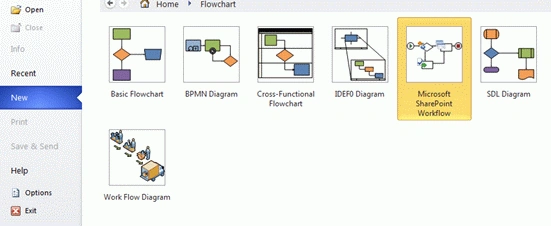
Click the "Create" button. You will get the design screen with the Shapes toolbar. The Shapes toolbar contains mainly the following 3 SharePoint shapes:
- SharePoint Workflow Actions
- SharePoint Workflow Conditions
- SharePoint Workflow Terminators
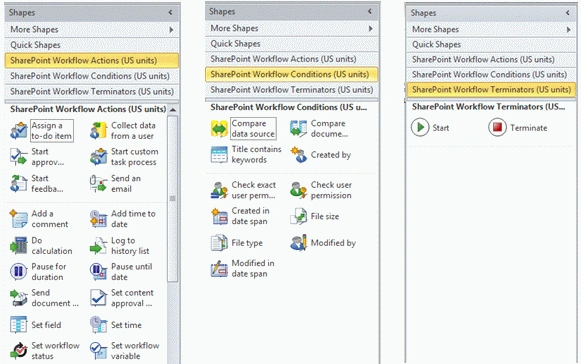
Actions contain action items like Start approval, Send an email, Add a comment, Set field and so on. Actions performs changes to the underlying objects.
Conditions contain conditions like Compare data source, Title contains keywords, File type and so on. Obviously, the condition branches to separate Yes / No areas.
Terminators contain Start and Terminate items, that are used to denote begin & end a workflow.
For starting with, drag & drop the Start item from Terminators category. Then add the following actions & condition items.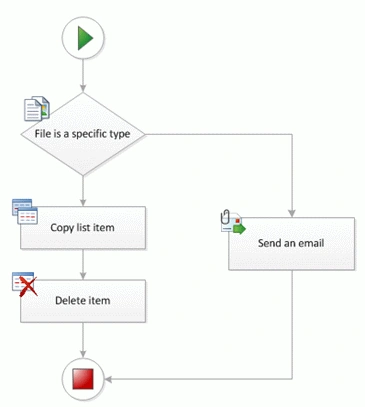
Our idea is to create a workflow for a document library.
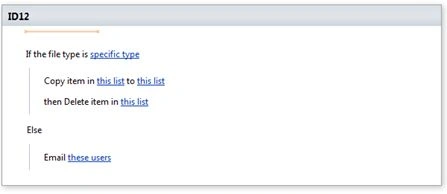
The first condition File is a specific type that checks if the document is a DOCX, evaluating to Yes or No. Right-click on the Yes connector and choose the option "Yes". Right-click on the No connector & choose the option "No".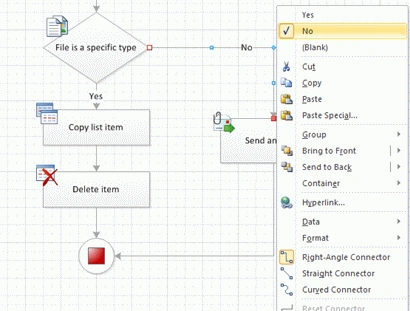
Now the Yes/No branches are defined as in the following: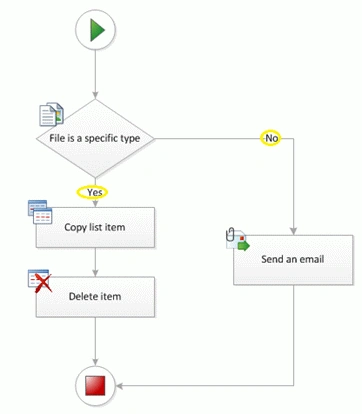
The second & third actions "Copy list item" & "Delete item" denotes that the document will be copied to another library and will be deleted from the current one. (Moving operation)
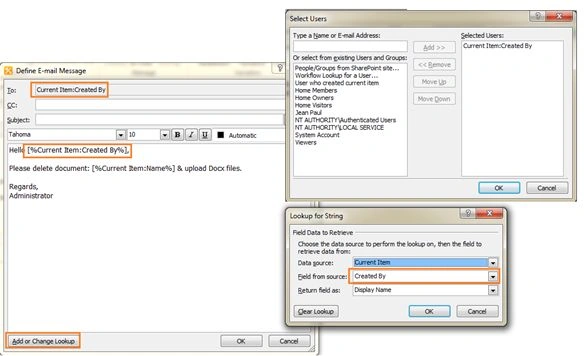
The No branch will send an email to the user requesting a change in document type.
Validations: For validations, you can choose the Process menu category and click the "Check Diagram" button.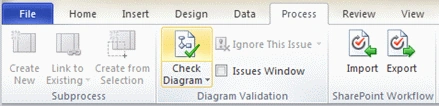
If no errors are found then you will get the following message box: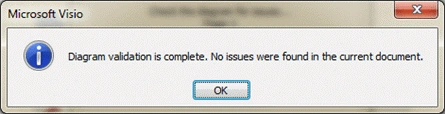
Parameters: You have noted that, we have still not specified the document type extension, email content, library names and so on. These are set during the association phase within SharePoint. This dynamicity makes the workflow reusable.
Save: changes for the Visio file.
Export the Workflow
Now we are ready to Export the Workflow. Exporting is required for compatibility with the SharePoint Designer. Without exporting, we cannot use the workflow within SharePoint.
From the "Process" tab, click the "Export" button.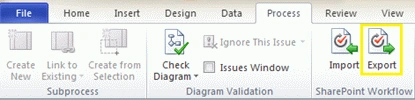
In the dialog box that appears, enter the file name.
Create Document Libraries
Create the following 2 document libraries:

Join the conversation! Your thoughts help the community grow.