

Introduction
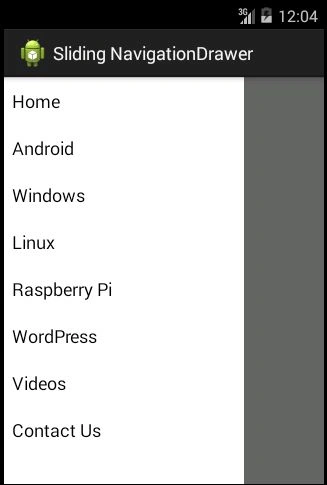
A sliding drawer is the same as a custom ListView or a simple ListView. The only difference is that a Sliding Drawer remains hidden in the start. It only appears when we slide it out. After clicking on an item, it hides again. Today I will show a demo of a sliding drawer.
Now we move to the code part of this article.
In this project, I used two activities. Our first activity is activity_main activity_main.xml. The XML code of this activity is,
- <android.support.v4.widget.DrawerLayout
- xmlns:android="http://schemas.android.com/apk/res/android"
- android:id="@+id/drawer_layout"
- android:layout_width="match_parent"
- android:layout_height="match_parent">
- <FrameLayout
- android:id="@+id/content_frame"
- android:layout_width="match_parent"
- android:layout_height="match_parent" />
- <ListView android:id="@+id/left_drawer"
- android:layout_width="240dp"
- android:layout_height="match_parent"
- android:layout_gravity="start"
- android:choiceMode="singleChoice"
- android:divider="@android:color/transparent"
- android:dividerHeight="0dp"
- android:background="#fff"/>
- </android.support.v4.widget.DrawerLayout>
- <android.support.v4.widget.DrawerLayout
- xmlns:android="http://schemas.android.com/apk/res/android"
- android:id="@+id/drawer_layout"
- android:layout_width="match_parent"
- android:layout_height="match_parent">
- </android.support.v4.widget.DrawerLayout>
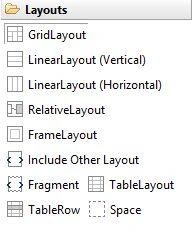
The second Activity is menu_detail_fragment.xml. The following is the XML code of this activity,
- <?xml version="1.0" encoding="utf-8"?>
- <LinearLayout xmlns:android="http://schemas.android.com/apk/res/android"
- android:orientation="vertical"
- android:layout_width="match_parent"
- android:gravity="center"
- android:background="#5ba4e5"
- android:layout_height="match_parent">
- <TextView
- android:layout_width="wrap_content"
- android:layout_height="wrap_content"
- android:textSize="40px"
- android:textColor="#ffffff"
- android:layout_gravity="center"
- android:id="@+id/detail"/>
- </LinearLayout>
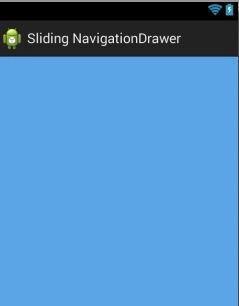
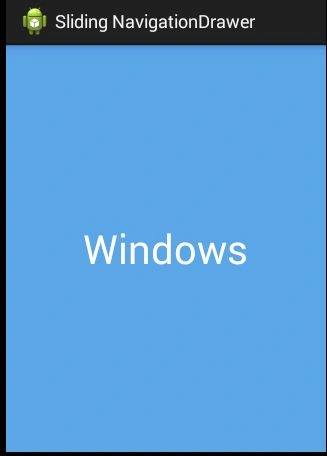
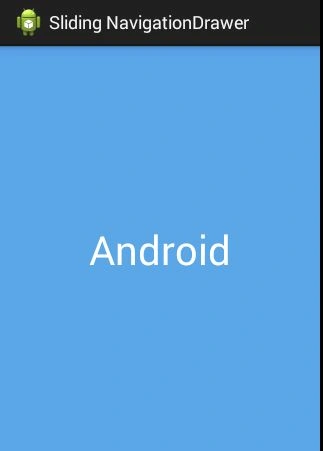
Graphical Layout
- public class MainActivity extends Activity {
- String[] menu;
- DrawerLayout dLayout;
- ListView dList;
- ArrayAdapter < String > adapter;
- @Override
- protected void onCreate(Bundle savedInstanceState) {
- super.onCreate(savedInstanceState);
- setContentView(R.layout.activity_main);
- menu = new String[] {
- "Home", "Android", "Windows", "Linux", "Raspberry Pi", "WordPress", "Videos", "Contact Us"
- };
- dLayout = (DrawerLayout) findViewById(R.id.drawer_layout);
- dList = (ListView) findViewById(R.id.left_drawer);
- adapter = new ArrayAdapter < String > (this, android.R.layout.simple_list_item_1, menu);
- dList.setAdapter(adapter);
- dList.setSelector(android.R.color.holo_blue_dark);
- dList.setOnItemClickListener(new OnItemClickListener() {
- @Override
- public void onItemClick(AdapterView <? > arg0, View v, int position, long id) {
- dLayout.closeDrawers();
- Bundle args = new Bundle();
- args.putString("Menu", menu[position]);
- Fragment detail = new DetailFragment();
- detail.setArguments(args);
- FragmentManager fragmentManager = getFragmentManager();
- fragmentManager.beginTransaction().replace(R.id.content_frame, detail).commit();
- }
- });
- }
- }
- String[] menu;
- DrawerLayout dLayout;
- ListView dList;
- ArrayAdapter<String> adapter;
- menu = new String[]{"Home","Android","Windows","Linux","Raspberry Pi","WordPress","Videos","Contact Us"};
- dLayout = (DrawerLayout) findViewById(R.id.drawer_layout);
- dList = (ListView) findViewById(R.id.left_drawer);
- adapter = new ArrayAdapter<String>(this,android.R.layout.simple_list_item_1,menu);
- dList.setAdapter(adapter);
- dList.setSelector(android.R.color.holo_blue_dark);
- dList.setOnItemClickListener(new OnItemClickListener() {
- @Override
- public void onItemClick(AdapterView <? > arg0, View v, int position, long id) {
- dLayout.closeDrawers();
- Bundle args = new Bundle();
- args.putString("Menu", menu[position]);
- Fragment detail = new DetailFragment();
- detail.setArguments(args);
- FragmentManager fragmentManager = getFragmentManager();
- fragmentManager.beginTransaction().replace(R.id.content_frame, detail).commit();
- }
- });
- public class DetailFragment extends Fragment {
- TextView text;
- @Override
- public View onCreateView(LayoutInflater inflater,ViewGroup container, Bundle args) {
- View view = inflater.inflate(R.layout.menu_detail_fragment, container, false);
- String menu = getArguments().getString("Menu");
- text= (TextView) view.findViewById(R.id.detail);
- text.setText(menu);
- return view;
- }
- }
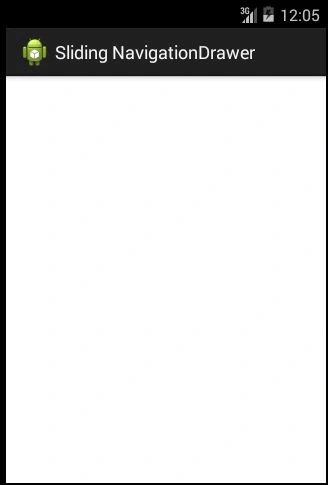
In the preceding code we use an inflate method of the LayoutInflater class. The LayoutInflater class dynamically adds or removes items for a Layout. The Inflate method reads an XML file and converts the contents of the XML file into a View type object. Using the getString method we retrieve the data passed from the MainActivity class. We assign this value to the TextView and finally return the View.
Yashwanth MuthineniPosted Aug 27, 2015, 5:55 AM
Nice Share
Santhakumar MunuswamyPosted Jul 30, 2015, 10:56 AM
Good article. Thanks for sharing
Neeraj KumarPosted Jul 29, 2015, 4:00 PM
Good Article
Pankaj Kumar ChoudharyPosted Jul 29, 2015, 12:04 PM
Thanks Gopi Sir..............
Gopi ChandPosted Jul 29, 2015, 8:59 AM
Nice effort
Pankaj Kumar ChoudharyPosted Jul 29, 2015, 7:08 AM
Thanks Nilesh Sir.............
Nilesh JadavPosted Jul 29, 2015, 6:47 AM
Nice article sir
Pankaj Kumar ChoudharyPosted Jul 29, 2015, 6:13 AM
Thanks Sibeesh Sir.....
Sibeesh VenuPosted Jul 29, 2015, 6:08 AM
Nice Share.
Rajeesh MenothPosted Jul 29, 2015, 6:03 AM
Good One...