

Table In LightSwitch
A table is data arranged in rows and columns.
Here we will see how to create a table in LightSwitch using Visual Studio 2012.
The following is the procedure for creating a table in LightSwitch.
Step 1
Open the LightSwitch in Visual Studio and create a new project "Table" and click "OK".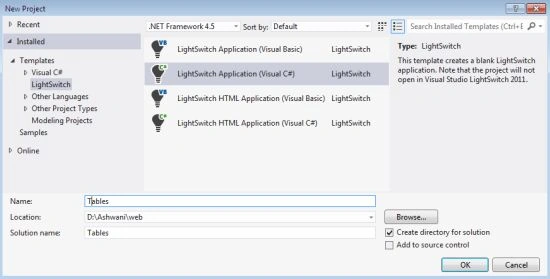
Step 2
The New Project designer page appears.
Step 3
There are two ways by which we can create a new table.
1. Click on "Create New Table" in the new project.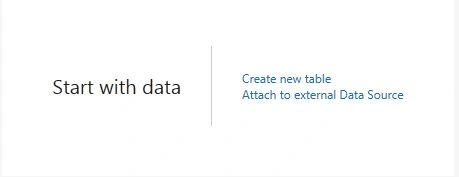
2. We can also create a new table by right-clicking on Data Source in the Solution Explorer and choose "Add Table".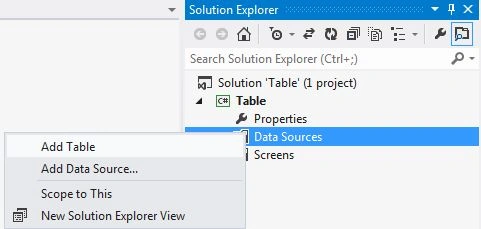
Step 4
The Table Designer or Data Designer appears.
Provide a name for the table and press the "Enter" key.
Step 5
After pressing Enter we will see Table Name in the Solution Explorer under Application Data in the Data Source.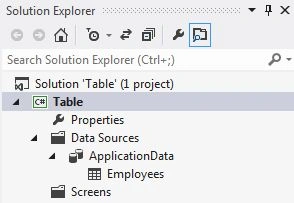
Note that Application Data represents an intrinsic database created in LightSwitch whereas Employee refers to the table in the database.
Step 6
In the table, the Id property is created by default that cannot be modified. Id is created as primary key by default. It should be unique, always required and of Integer type.
Now we provide the following fields for the table and the table will look like this: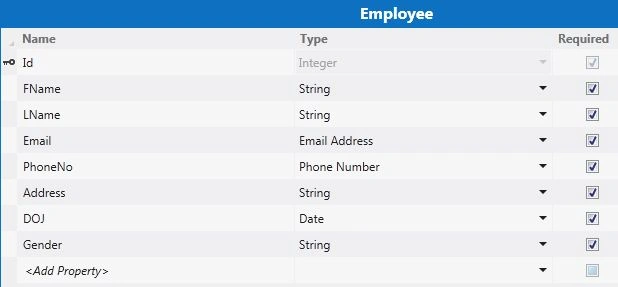
For the DOJ Field we set the minimum value for the date field.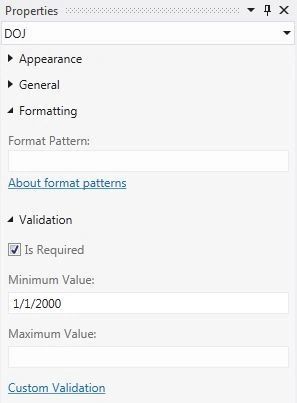
In order to display the value to the person you can use a Choice List.
Click on the "Choice list" button in the property window. This will open a Choice List dialog box.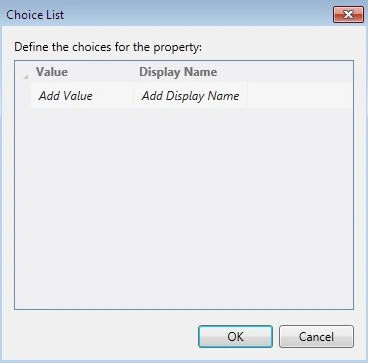
Define the Various types of choices.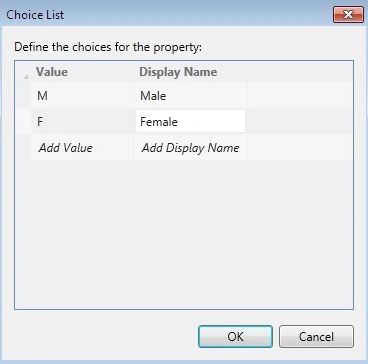
After clicking "OK" we will see: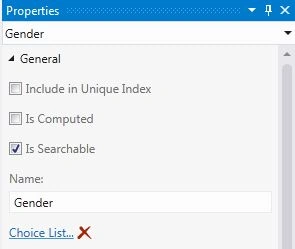
Join the conversation! Your thoughts help the community grow.