

Introduction
This article shows how to do table splitting and insert data operations.
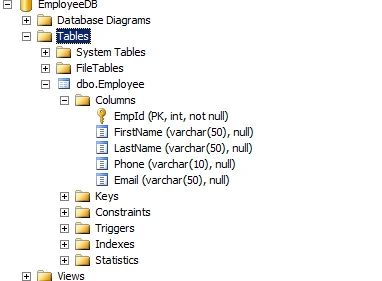
SQL Server table structure
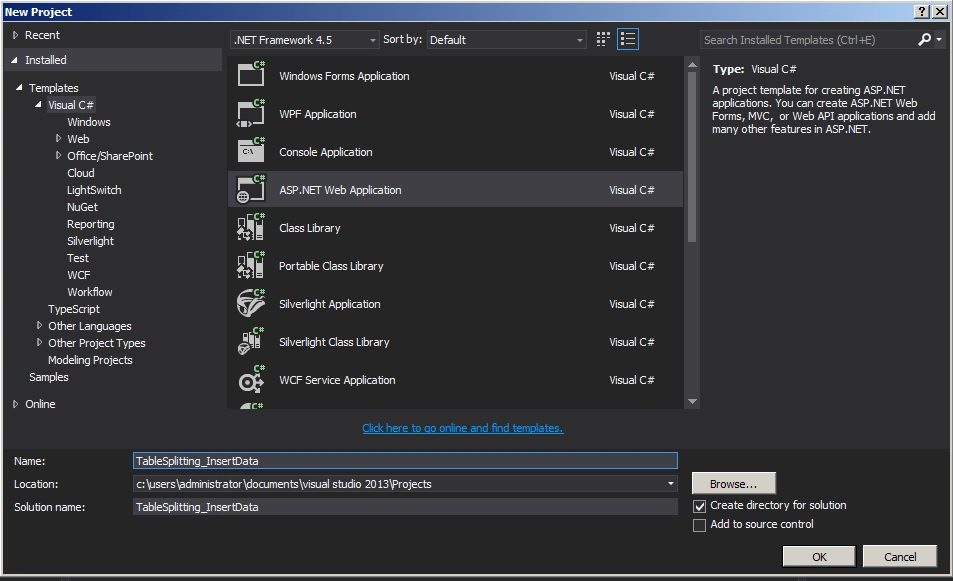
Create an ASP.Net Web Application as in the following:
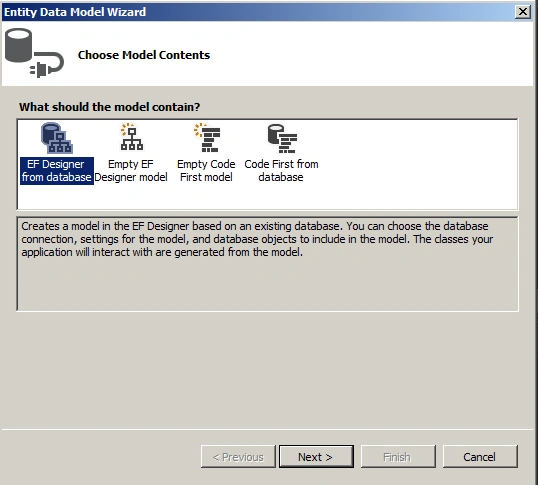
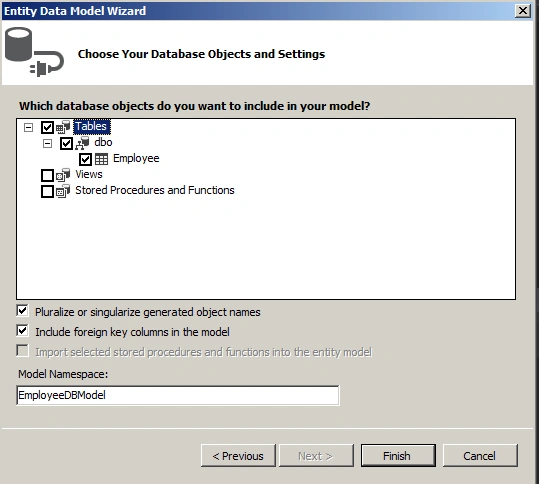
Set up Entity Framework as in the following:
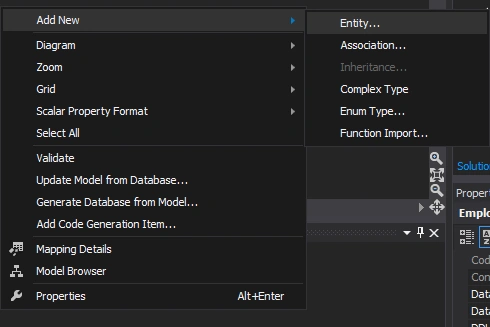
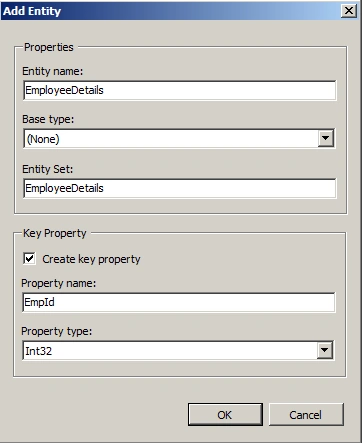
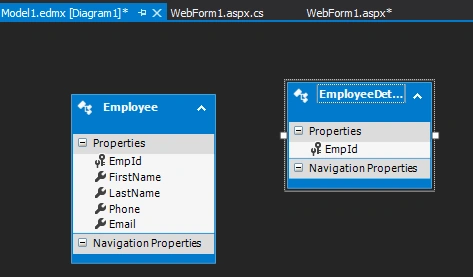
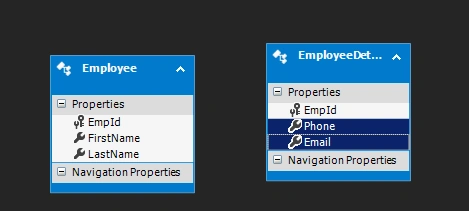
Cut columns from the Employee entity as in the following:
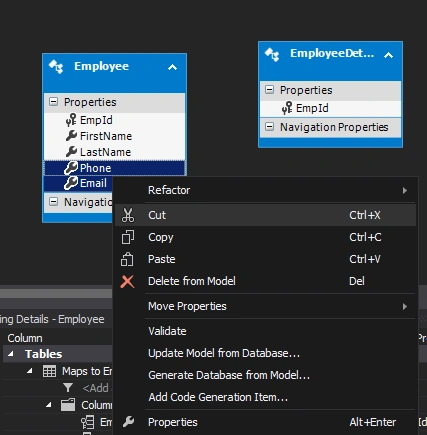
Paste them into the EmployeeDetails entity as in the following:
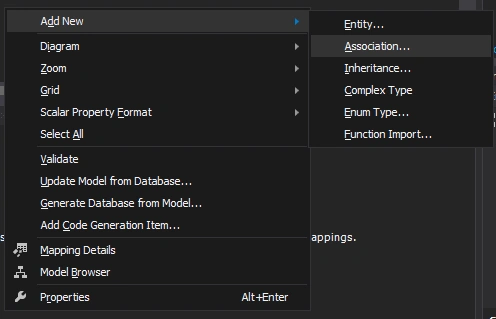
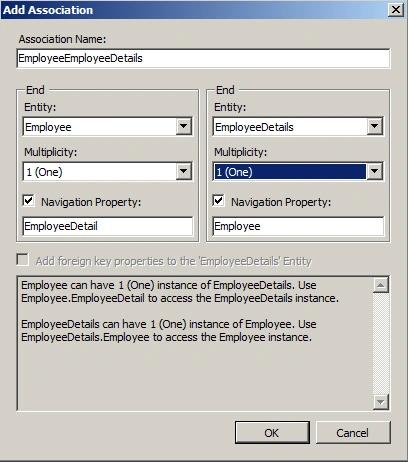
Add an association between Employee and EmployeeDetails as in the following:
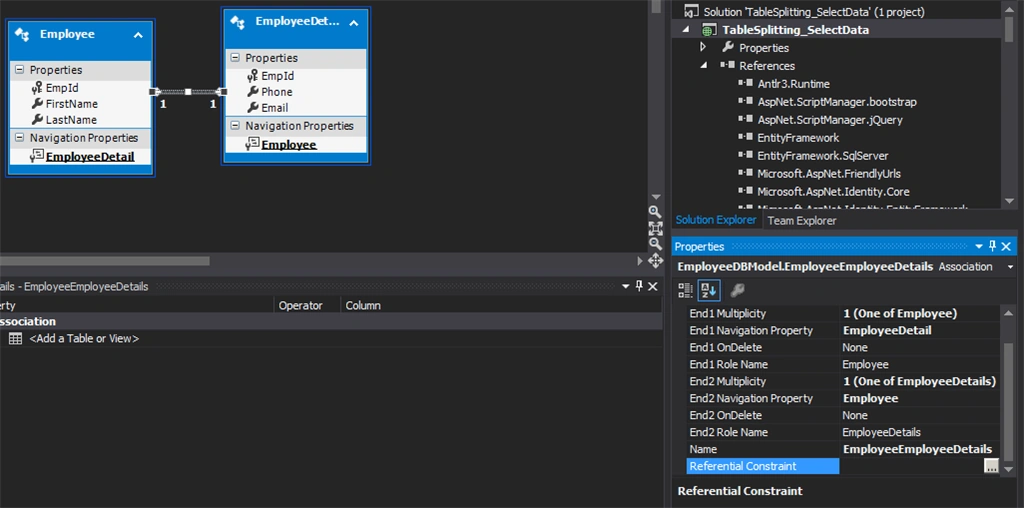
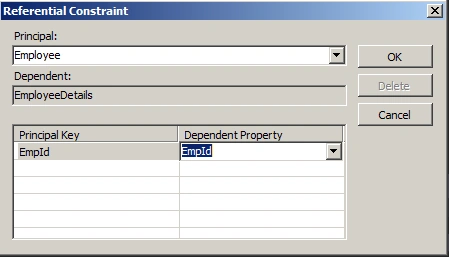
Referential constraint
Webform1.aspx
- <%@ Page Language="C#" AutoEventWireup="true" CodeBehind="WebForm1.aspx.cs" Inherits="TableSplitting_InsertData.WebForm1" %>
- <!DOCTYPE html>
- <html xmlns="http://www.w3.org/1999/xhtml">
- <head runat="server">
- <title></title>
- </head>
- <body>
- <form id="form1" runat="server">
- <div>
- <asp:Button ID="Button1" runat="server" Text="Insert" OnClick="Button1_Click" />
- </div>
- </form>
- </body>
- </html>
Webform1.aspx.cs
- using System;
- using System.Collections.Generic;
- using System.Linq;
- using System.Web;
- using System.Web.UI;
- using System.Web.UI.WebControls;
- namespace TableSplitting_InsertData
- {
- public partial class WebForm1 : System.Web.UI.Page
- {
- protected void Page_Load(object sender, EventArgs e)
- {
- }
- protected void Button1_Click(object sender, EventArgs e)
- {
- using (var context = new EmployeeDBEntities())
- {
- var employee = new Employee
- {
- FirstName = "Steve",
- LastName = "Robin"
- };
- employee.EmployeeDetail = new EmployeeDetails()
- {
- Phone = "122443",
- Email = "[email protected]"
- };
- context.Employees.Add(employee);
- context.SaveChanges();
- }
- }
- }
- }
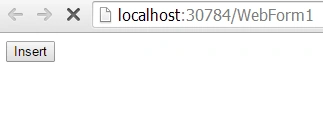
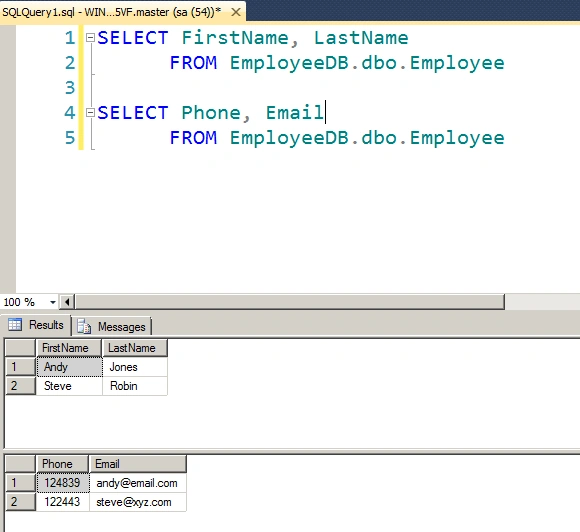
The following is the output of the application:
Summary
In this article we saw how to do table splitting and insert data operations.
Happy coding!
Sonu ChaudharyPosted May 26, 2016, 10:44 AM
Good one...
Bhuvanesh MohankumarPosted May 6, 2016, 4:01 PM
Nice
Pankaj Kumar ChoudharyPosted Aug 26, 2015, 1:22 PM
Nice Explain Sir........
Santhakumar MunuswamyPosted May 22, 2015, 2:47 PM
Thanks for sharing